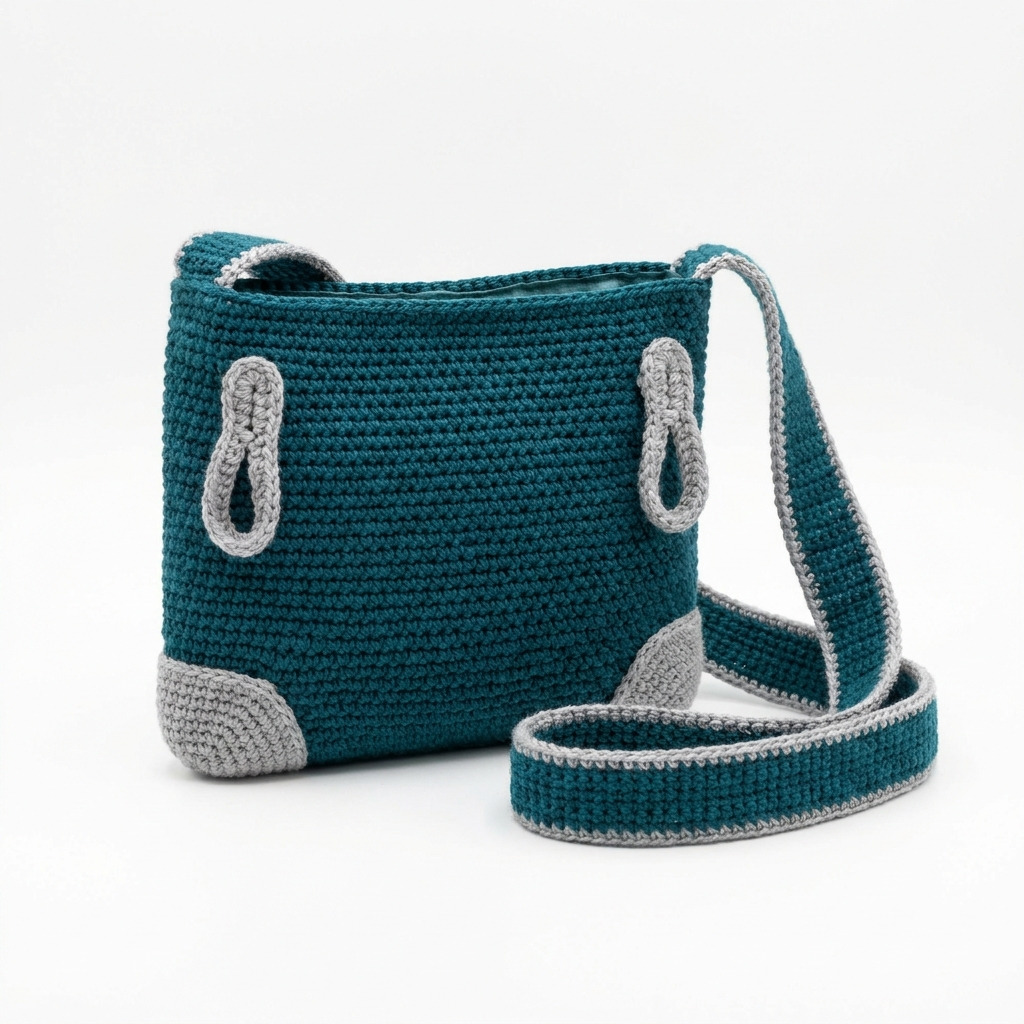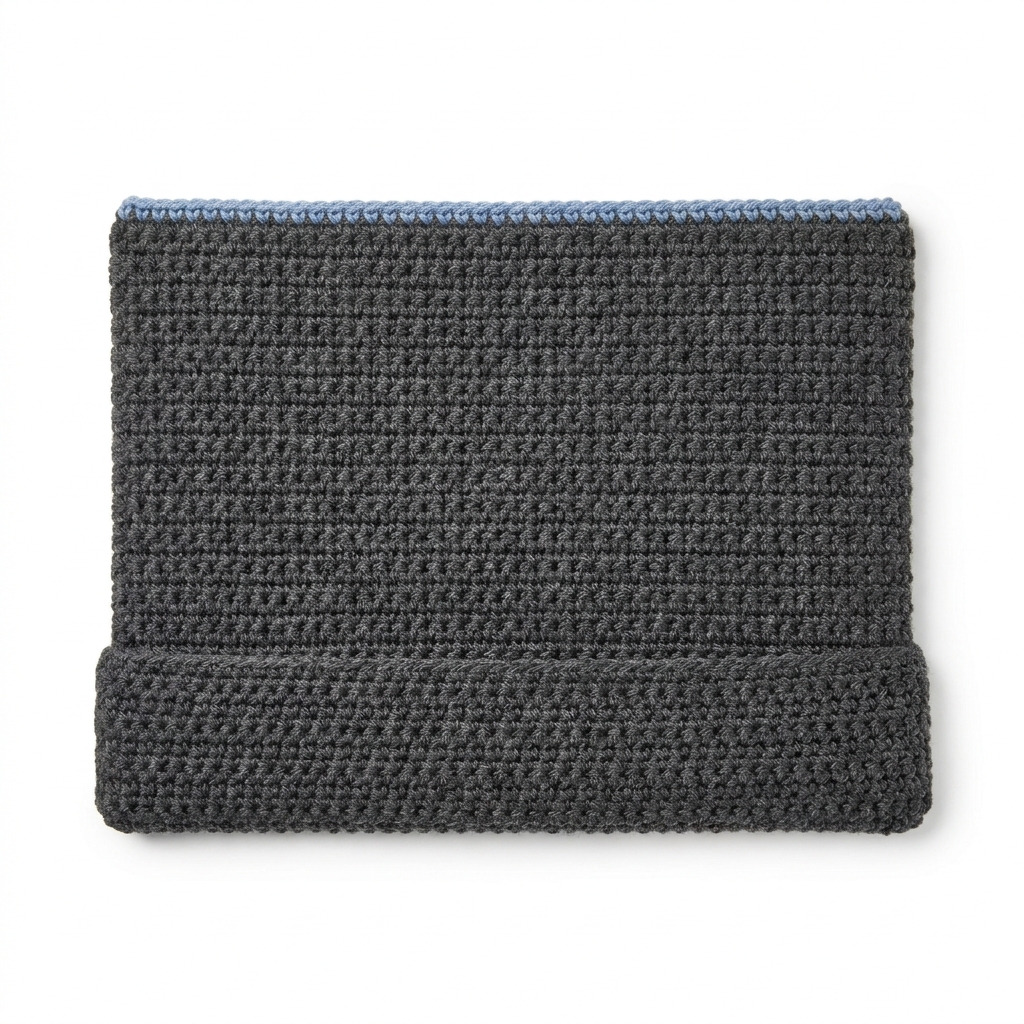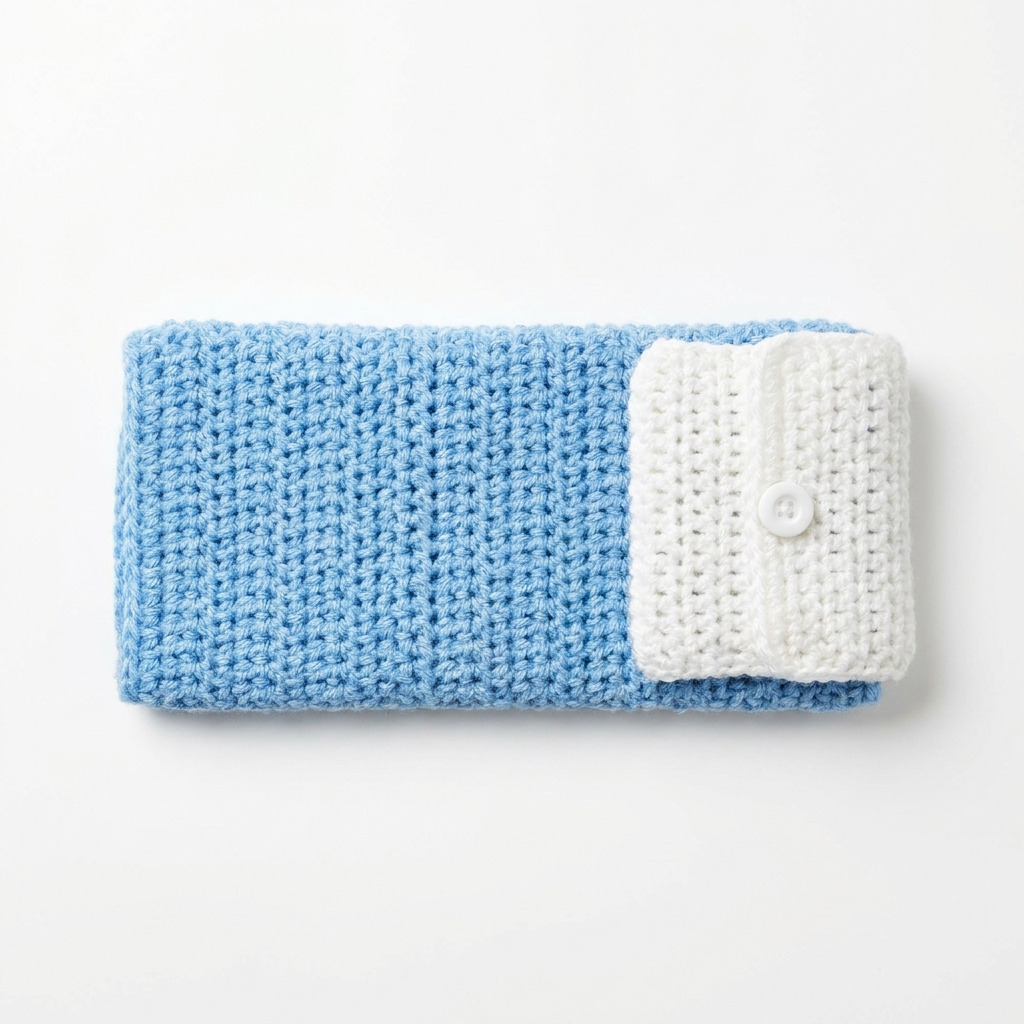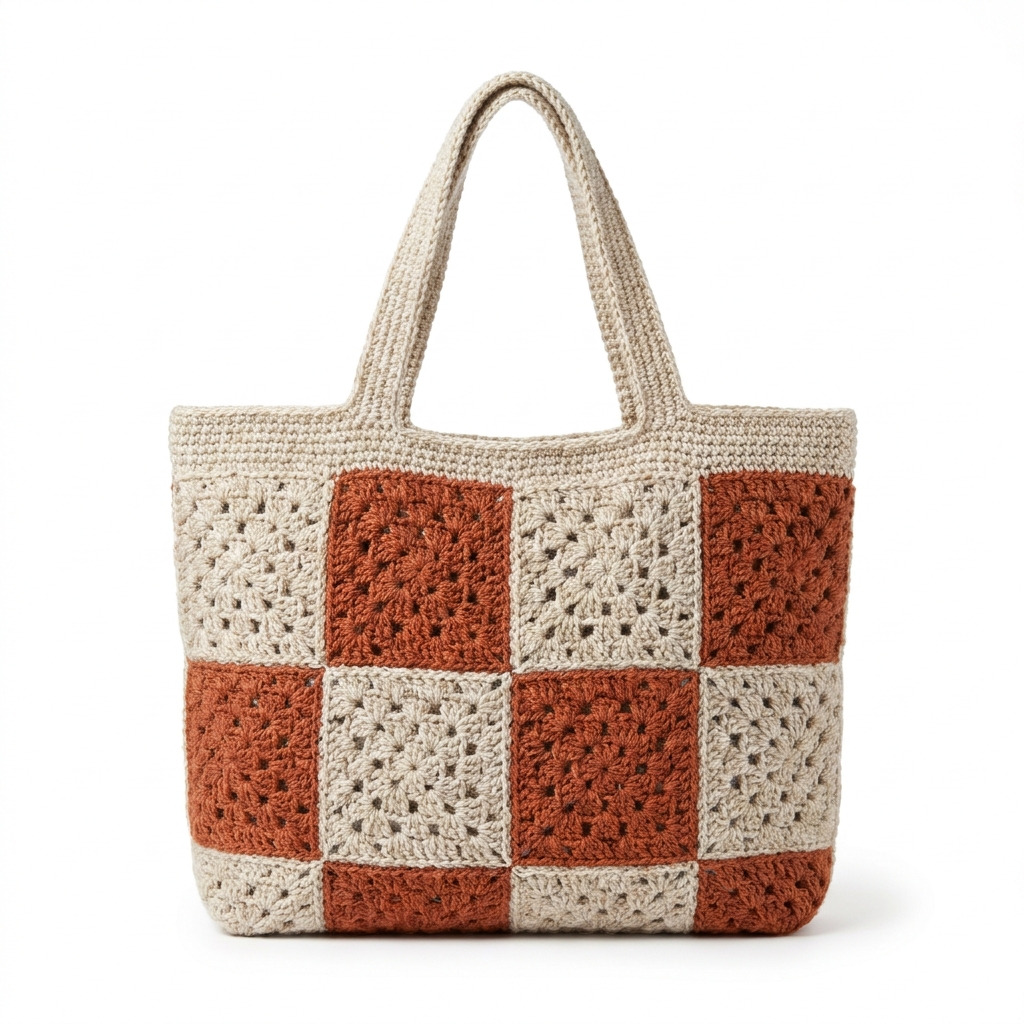
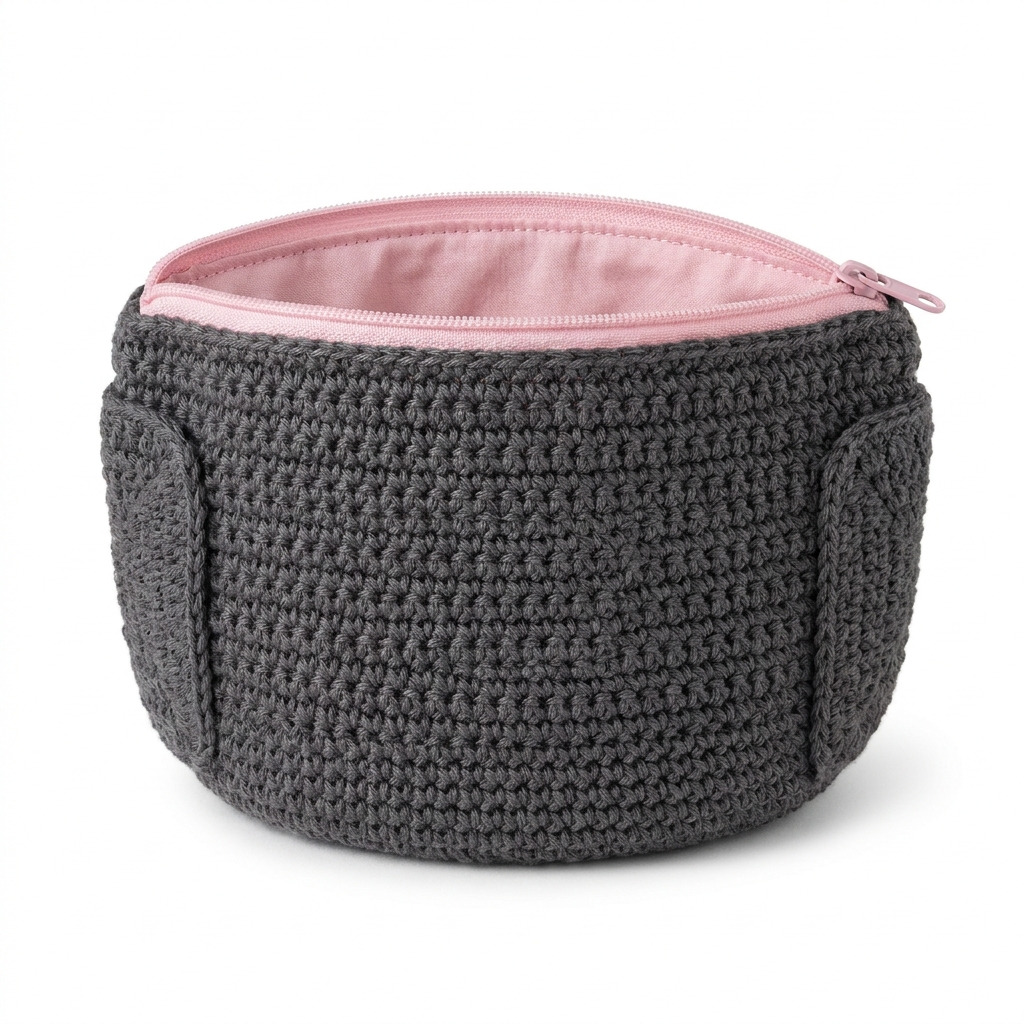
This lined crochet makeup pouch with a zipper is perfect for organizing your makeup essentials. It’s a practical accessory that combines functionality and a touch of style, all while using simple yet effective stitches. You’ll find satisfaction in both the crochet work and the sewing involved, making it an enjoyable project for intermediate crocheters.
This project is suitable for those who are comfortable with basic crochet techniques and are ready to enhance their skills. You’ll gain experience in both crocheting a pouch and sewing a lining, which can be applied to various other projects in the future.
Why You’ll Love This Pouch
- Functional design – keeps your makeup organized and easily accessible.
- Unique touch – the handmade element makes it a personal gift or treat for yourself.
- Versatile sizing – create smaller or larger variations to fit different needs.
- Simple sewing skills – perfect for beginner sewists looking to expand their craft.
Skill Level: Intermediate
You’ll need to know basic stitches like chaining, double crochet, and single crochet. This project also introduces you to sewing techniques, providing a well-rounded crafting experience.
Crochet Abbreviations (US Terms)
- ch – chain
- dc – double crochet
- sl st – slip stitch
- sc – single crochet
Gauge and Finished Size
- Gauge: 12 dc and 8 rows = 10 cm (4 in)
- Finished Size: 20 × 13 × 7.5 cm (8 × 5 × 3 in)
How to Line a Crochet Makeup Pouch with a Zipper (Step by Step)
Pouch Body
The pouch body is made with double crochet stitches.
- Foundation Row: Ch 28.
- Row 1: Dc in the 4th ch from the hook, dc in each ch across. (26 sts)
- Row 2: Ch 3, turn, dc in each st across. (26 sts)
- Repeat Row 2 until piece measures 25 cm (10 in) in height.
- Row 11: Ch 1, turn, sc in each st across. (26 sts)
- Row 12: Ch 1, turn, sc in each st across. (26 sts)
- Fasten off and weave in ends.
Pouch Sides
The sides are created by adding rows of single crochet along the edges.
- Row 1: Attach yarn to the short edge of the pouch, ch 1, sc in each row end along the edge. (approx. 10 sc)
- Row 2: Ch 1, turn, sc in each st across. (10 sts)
- Repeat Row 2 until it measures 7.5 cm (3 in) in height.
- Fasten off and repeat on the opposite end of the pouch.
Bottom
Now, we’ll add depth to the pouch with the bottom section.
- Row 1: Attach yarn to the bottom, sc in the same space and in each side sc below. Connect with a sl st to the first sc to form a round. (20 sts)
- Row 2: Ch 1, sc in each st around. (20 sts)
- Repeat Row 2 for 4 rounds to create a deeper base.
- Fasten off and weave in ends.
Sewing the Lining
Now, let’s prepare the lining.
- Cut fabric measuring 43 × 25 cm (17 × 10 in) and interfacing to the same size.
- Iron the interfacing onto the back of the fabric lining.
- Fold the fabric in half width-wise and sew along the side edges, leaving the top open.
- Turn the lining right side out.
Attaching the Zipper
Next, attach the zipper for closure.
- With the pouch inside out, align the zipper on top of the open edge of the lining and pin in place.
- Sew the zipper onto the lining with a sewing machine or hand stitch to secure.
- Repeat on the other side of the zipper to attach it to the pouch.
Final Assembly
Let’s put everything together.
- Tuck the lining inside the pouch and pin it in place.
- Use a tapestry needle to sew the lining to the pouch edges for a clean finish.
- Weave in all ends.
Beginner Tips
- Use stitch markers to keep track of your rows.
- Take your time measuring the fabric correctly for a neat fit.
- Practice managing your tension to avoid puckering in your finished product.
Common Mistakes (and How to Fix Them)
- My stitches are too tight. This makes sewing difficult. Try to keep your stitches consistent and comfortable when crocheting.
- The zipper doesn’t fit. Double-check the zipper length before cutting your fabric.
- The edges are puckering. Use straight stitches for the lining to keep everything flat and tidy.
How to Care for Your Pouch
Hand wash your pouch with a mild detergent, and lay it flat to dry. Avoid machine washing to keep its structure intact.
FAQ
How do I resize my pouch?
To resize your pouch, adjust the foundation chain and row counts according to your desired dimensions. Just remember to keep the proportions consistent to maintain shape.
Can I use a different type of fabric for the lining?
Yes, feel free to experiment with different fabrics! Just make sure they’re not too thick for sewing the zipper.
How do I choose a zipper?
Select a zipper that matches your pouch size and color preferences. A 9-inch (23 cm) zipper fits perfectly for this project.
Looking for more ideas? Check out our collection of lovely blankets.
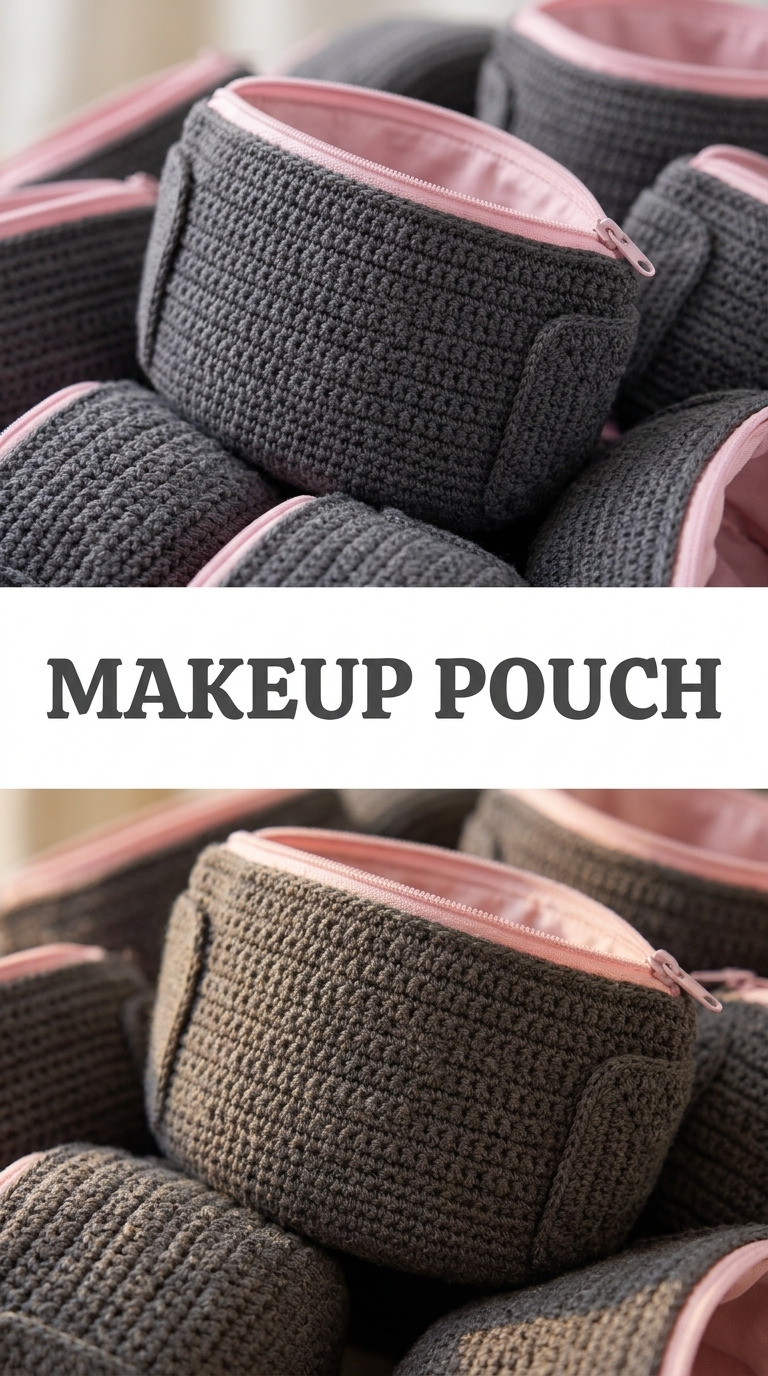
Image shown for inspiration — your finished result may vary slightly.