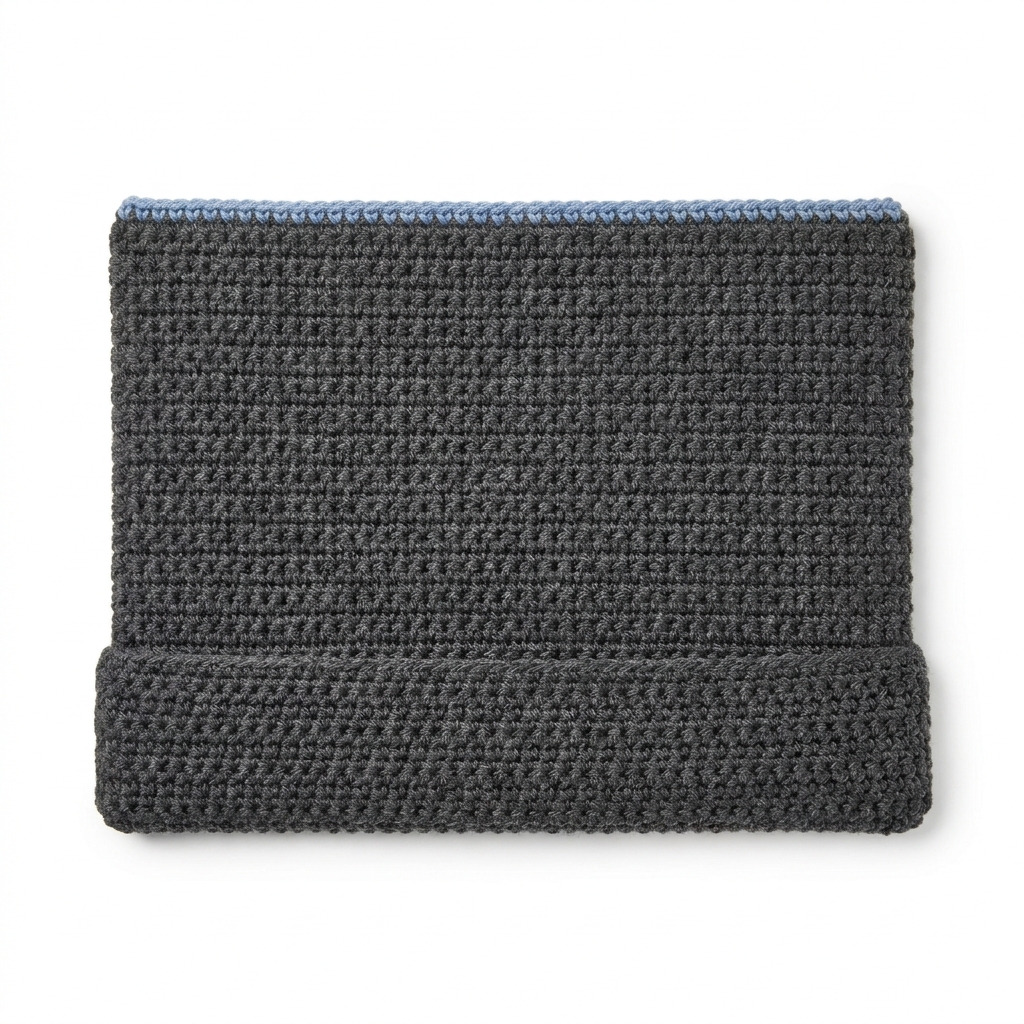
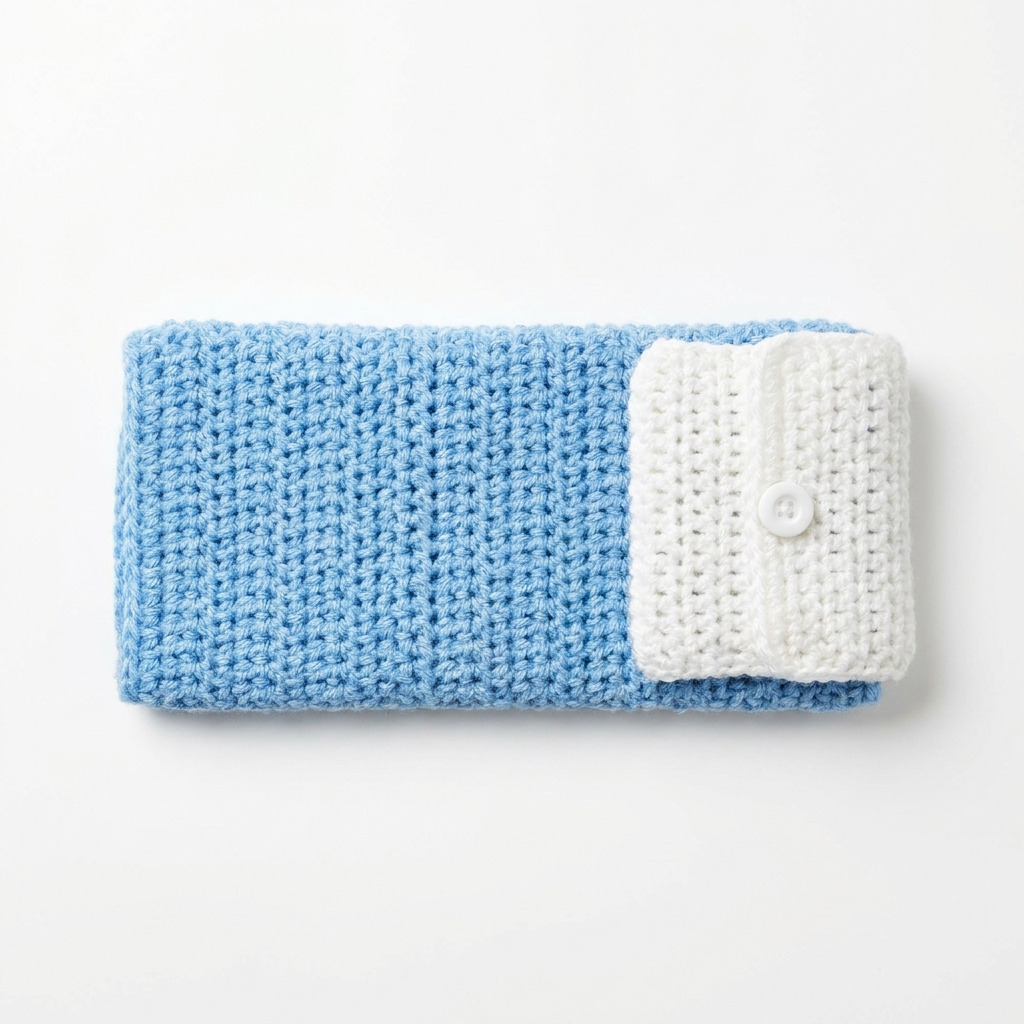
This crochet seatbelt cover, known as The Belt Buddy, provides a comfortable and stylish way to cushion a seatbelt while featuring an integrated pocket for tissues. It’s easy to make and can be personalized to your liking. We’ll be using basic stitches like double crochet and single crochet, making it a satisfying project to complete.
The Belt Buddy is suitable for beginners and anyone looking to add a touch of flair to their car interior. You’ll gain skills in working with both double and single crochet, plus you’ll learn how to sew fabric for the tissue pocket.
Why You’ll Love This Seatbelt Cover
- Quick to make – a straightforward project that can be finished in just a few hours.
- Practical design – cushions the seatbelt and provides a handy tissue pocket.
- Personalizable – choose your favorite yarn colors to match your style.
- Easy assembly – simple sewing steps make it a breeze to complete.
Is This Pattern Good for Beginners?
Absolutely! This pattern uses basic stitches and straightforward construction, making it perfect for anyone starting their crochet journey.
Crochet Abbreviations (US Terms)
- CH – chain
- DC – double crochet
- SL ST – slip stitch
- SC – single crochet
- ST – stitch
- RND – round
- FO – fasten off
Size and Gauge
- Finished Item Dimensions: 25.4 × 10.2 cm (10 × 4 in)
- Gauge: 14 dc and 16 rows = 10 cm (4 in). Make a swatch of 20 stitches and 20 rows in double crochet to check your gauge.
Step-by-Step Instructions
Seatbelt Cover Body
The seatbelt cover body is made using flat rows.
- Foundation Chain: CH 30.
- Row 1: DC in the 4th CH from the hook and in each CH across. (28 STS)
- Row 2: CH 3 (this counts as your first DC), turn. DC in each ST across. (28 STS)
- Rows 3–20: Repeat Row 2 until the piece measures approximately 25.4 cm (10 in) long.
- Row 21: CH 1, SC in each ST across. FO, leaving a long tail for sewing. (28 STS)
Tissue Pocket
The tissue pocket uses an accent color for a nice contrast.
- Foundation Chain: With Accent Color, CH 24.
- Row 1: DC in the 4th CH from the hook and in each CH across. (22 STS)
- Row 2: CH 3, turn. DC in each ST across. (22 STS)
- Rows 3–8: Repeat Row 2 until the pocket measures approximately 15.2 cm (6 in) long.
- Row 9: CH 1, SC in each ST across. FO, leaving a long tail for sewing. (22 STS)
Assembly
The assembly combines all pieces securely.
- Fold the body piece in half lengthwise.
- Use a whip stitch to sew along the long side and one short edge, leaving the opposite short edge open for the seatbelt slot.
- With the tissue pocket piece, fold it in half and whip stitch along the long sides, leaving the top open.
- Sew one edge of the tissue pocket to the open edge of the seatbelt cover, aligning it with the fold.
- Attach the button on the flap of the tissue pocket to close it securely.
Beginner Tips for a Neat Seatbelt Cover
- Use stitch markers to keep track of your rows and avoid missing any stitches.
- Count your stitches regularly to ensure evenness in your work.
- Keep your tension consistent to avoid uneven edges.
Common Mistakes (and How to Fix Them)
- “My stitches are too tight.” – This can happen if you’re uncomfortable with tension. Try relaxing your grip on the yarn.
- “The cover is a different size than expected.” – Make sure to double-check your gauge before starting.
- “The pocket is too small for tissues.” – Revisit the pattern to see if you’ve miscounted stitches in the pocket section.
How to Care for Your Seatbelt Cover
For best results, machine wash the seatbelt cover on a gentle cycle and lay it flat to dry. This will help maintain its shape and color.
FAQ
How many tissues can the pocket hold?
The pocket is designed to hold a standard travel pack of tissues, accommodating most sizes.
Can I use a different yarn weight?
While worsted weight yarn is recommended for this pattern, you can use a different weight. Just be mindful that this may affect the final size, so adjust your gauge accordingly.
How long does it take to make?
On average, it takes approximately 3 hours to make the whole seatbelt cover, including the tissue pocket.
Looking for more ideas? Check out our collection of lovely blankets.
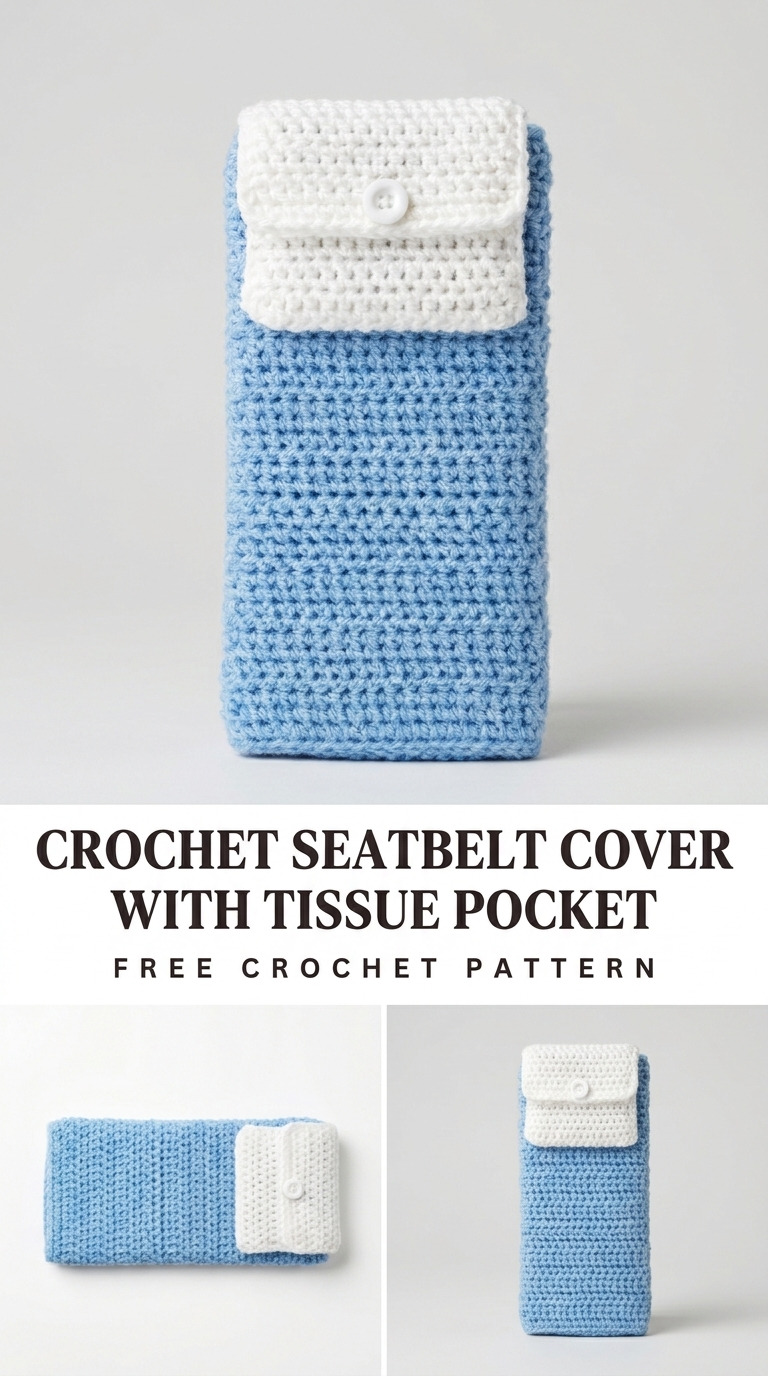
Image shown for inspiration — your finished result may vary slightly.