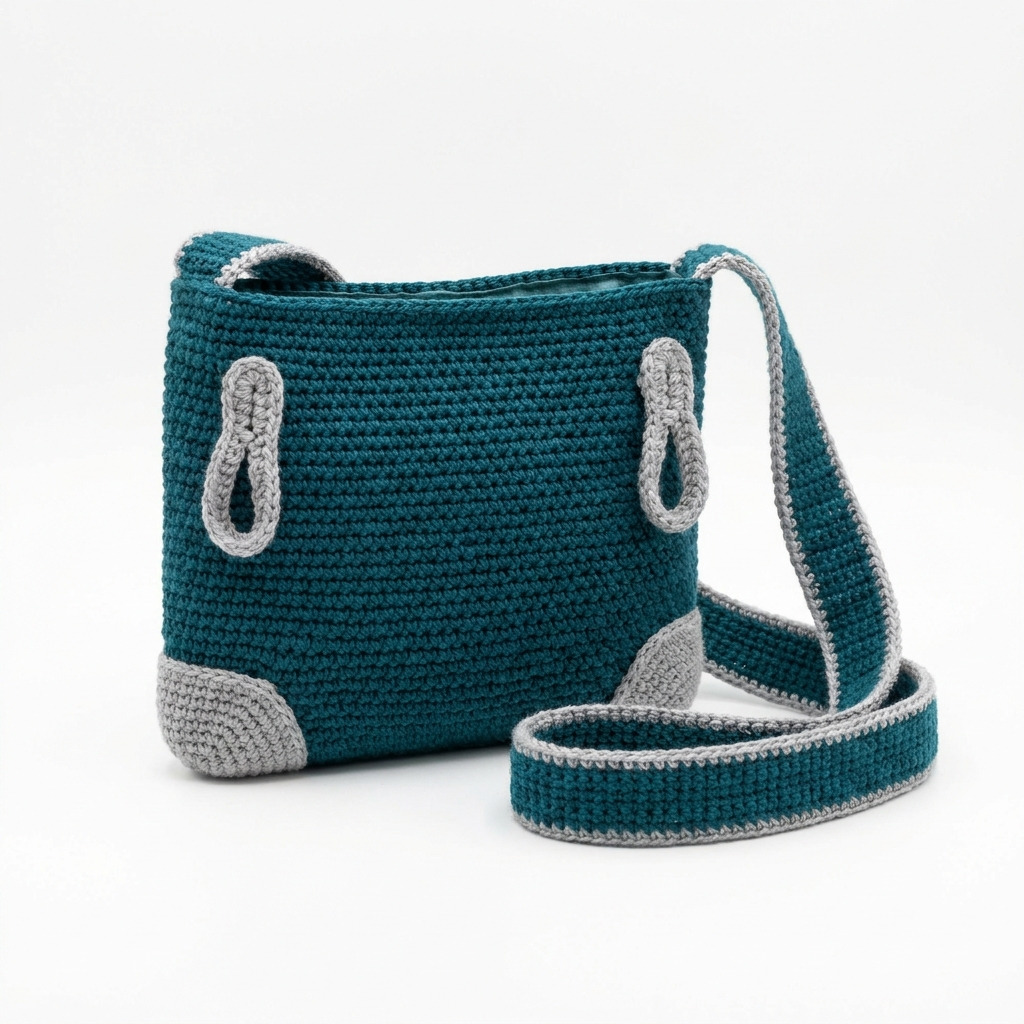
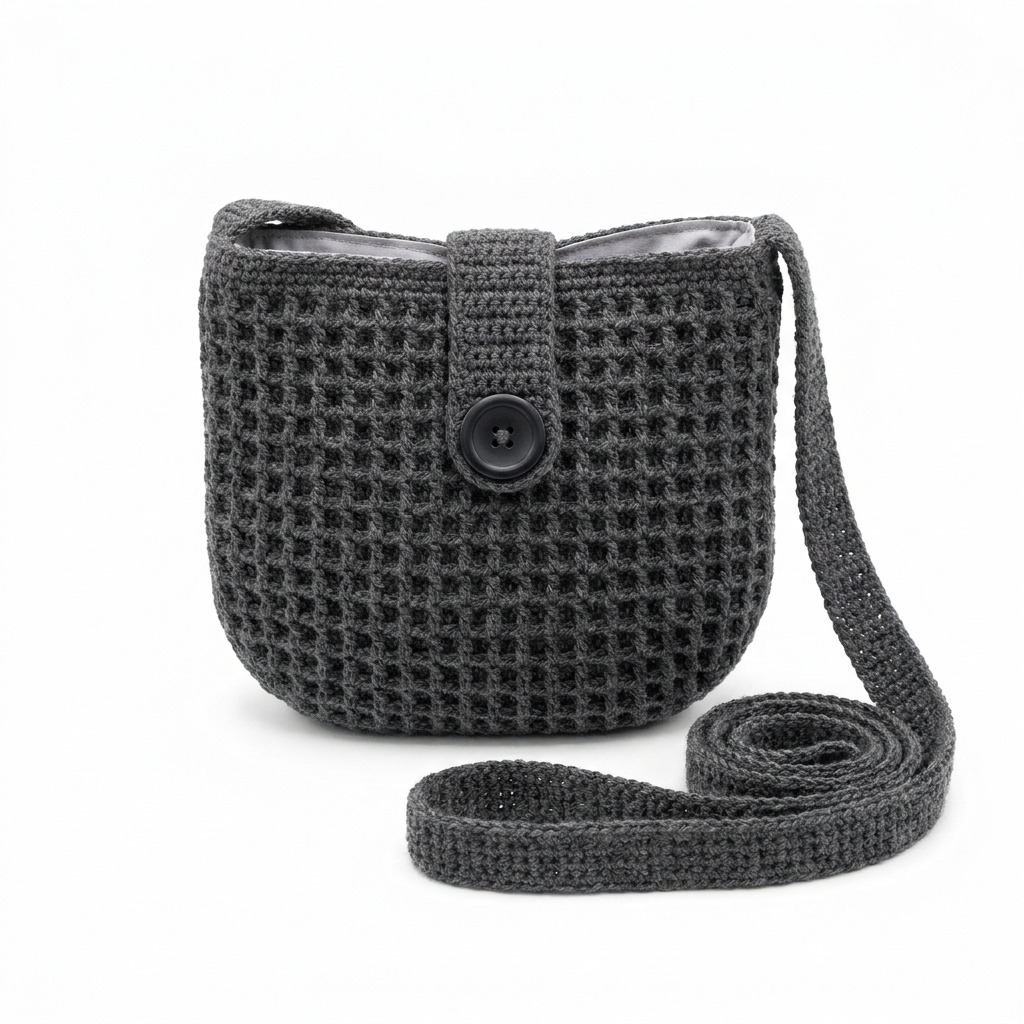
This cozy waffle stitch crossbody bag crochet pattern is perfect for winter outings. The finished product is a handy bag that features a unique waffle stitch design, making it both functional and stylish. You’ll enhance your crochet skills by practicing stitches like single crochet and double crochet, along with the waffle stitch.
This project is suitable for intermediate crocheters looking to tackle a fun and practical item. As you work through this pattern, you’ll gain confidence in your ability to create textured projects and assemble them with lining and a strap.
Why You’ll Love This Crossbody Bag
- Functional design – perfect for carrying your essentials while keeping your hands free.
- Cozy texture – the waffle stitch adds a delightful look and feel to your bag.
- Quick project – it can be completed in about 6 hours, making it great for a last-minute accessory.
- Adjustable strap – customize the length to suit your style and comfort.
Is This Pattern Good for Beginners?
Absolutely! While this pattern is marked as intermediate, beginners with some experience will find it manageable. You’ll have the chance to learn and practice the waffle stitch, which can be a fun new addition to your crochet repertoire.
Crochet Abbreviations (US Terms)
- ch – chain
- sc – single crochet
- dc – double crochet
- st – stitch
- sp – space
- WS – waffle stitch: (1 dc, 1 sc) in the same st, skip 1 st.
How to Make a Waffle Stitch
- Yarn over and insert the hook into the designated stitch.
- Pull up a loop (you will have three loops on your hook).
- Yarn over again and pull through the first two loops on the hook (you now have one loop left).
- Insert your hook into the same stitch again, yarn over, and pull up another loop.
- Yarn over and pull through the first two loops on your hook (two loops left).
- Yarn over and pull through both loops on your hook. You’ve made one waffle stitch!
Size and Gauge
- Finished dimensions: 25.5 × 20.3 × 5 cm (10 × 8 × 2 in)
- Gauge: 12 sts and 10 rows = 10 cm (4 in) in Waffle Stitch.
The Pattern
Body of the Bag
The body of the bag is made using the waffle stitch to create a textured fabric.
- Foundation Row: Ch 34.
- Row 1: Sc in 2nd ch from hook and in each ch across (33 sc).
- Row 2: Ch 2 (counts as first dc), turn. (1 dc in next st, 1 sc in next st) repeat across to last st. 1 dc in last st (33 sts).
- Row 3: Ch 1, turn. (1 sc in next st, 1 dc in next st) repeat across (33 sts).
- Row 4: Ch 2, turn. (1 dc in next st, 1 sc in next st) repeat across to last st. 1 dc in last st (33 sts).
- Row 5: Ch 1, turn. (1 sc in next st, 1 dc in next st) repeat across (33 sts).
- Repeat Rows 2–5 for 16 more rows for a total of 20 rows (approx. 20.3 cm (8 in)).
Note: The fabric should have a nice textural appearance with a visible waffle pattern.
- Rows 21–24: Repeat Row 2 for 4 additional rows (33 sts).
- Finish: After Row 24, do not fasten off.
Sides of the Bag
To finish the sides of the bag, create a neat edge. 10. Work a sc around the entire rectangle to create a finished edge. Join with a sl st to the first sc. (33 sc for top edge and 16 sc for each side). 11. Sides: Ch 2, turn. Work the remaining rows in the same waffle stitch pattern but skip the last dc at the end of the row to pull it in.
Repeat until you reach a height of 20.3 cm (8 in), then fasten off.
Bottom of the Bag
- Ch 34, and attach at corners with sl st to form a rounded bottom.
Strap
Create a sturdy strap using a larger hook. 13. Using size I/9 (5.5 mm) hook, ch 120 (or desired length). 14. Row 1: Sc in 2nd ch from hook and across. (119 sc) 15. Fasten off and weave in ends.
Assembly & Finishing
- Sewing: Use fabric to line the inside of the bag, sewing along the edges.
- Fasten Button: Sew the button on the front of the crossover flap.
- Attach the strap using sl st to the desired places on the bag.
- Weave in all ends.
Beginner Tips for a Neat Bag
- Use stitch markers to keep track of your row counts.
- Count your stitches regularly to avoid any mistakes.
- Check your tension to ensure even stitches throughout.
Common Mistakes (and How to Fix Them)
- My stitches are too tight. – This is likely due to using a smaller hook than needed. Try switching to a larger hook.
- The piece is curling. – Curling can happen if you’re using the wrong stitch or too tight of a tension. Make sure you’re consistent with your stitches.
- My bag is too small. – If your foundation chain is too short, simply add more chains at the beginning to adjust size.
How to Care for Your Crossbody Bag
For easy care, machine wash your bag on cold and lay it flat to dry. This will keep it looking great for many seasons of use!
FAQ
How do I adjust the size of my bag?
You can adjust the size by adding more chains to the foundation row or by increasing the number of rows in the body.
Can I use a different yarn?
Yes, you can use any worsted weight yarn, but keep an eye on your gauge to ensure the size remains consistent.
How do I wash my bag?
Machine wash on cold and lay flat to dry to maintain its shape and structure.
Looking for more ideas? Check out our collection of lovely blankets.
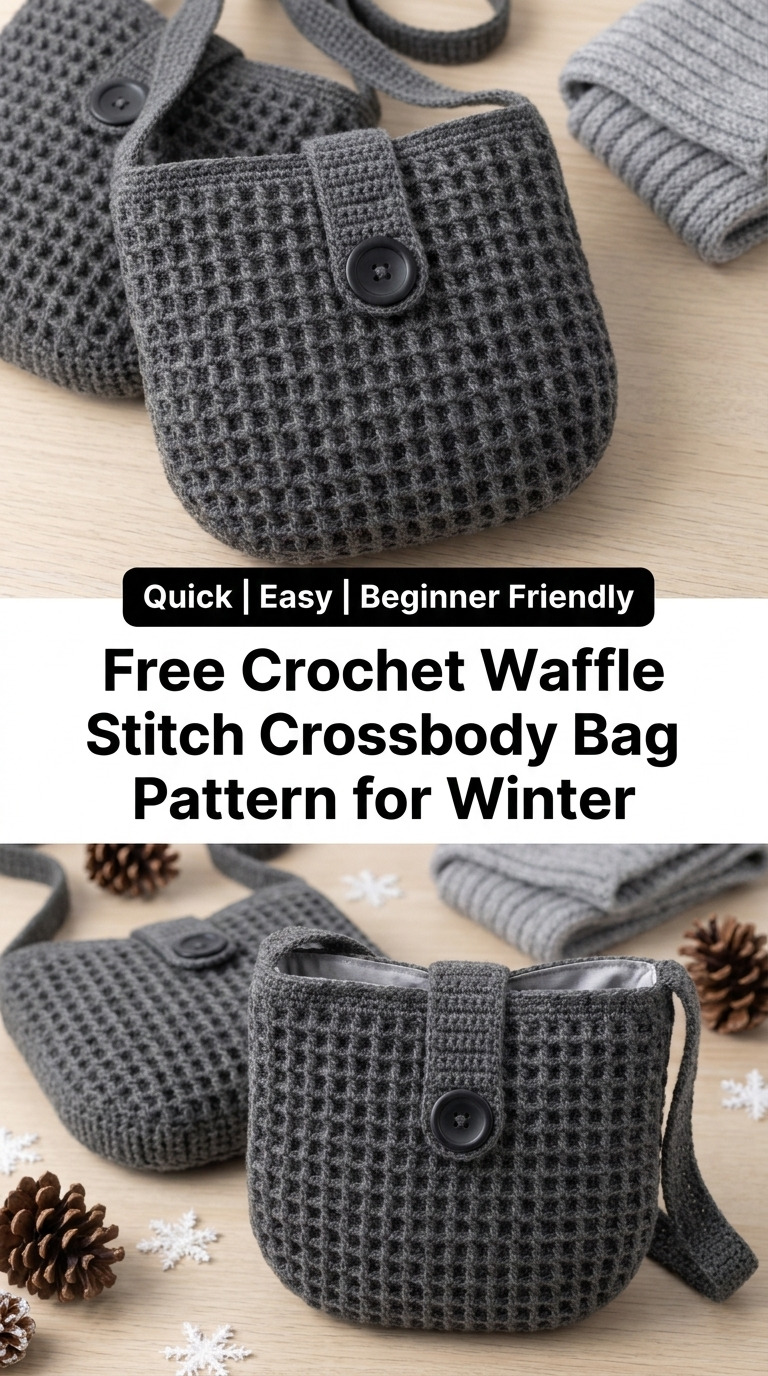
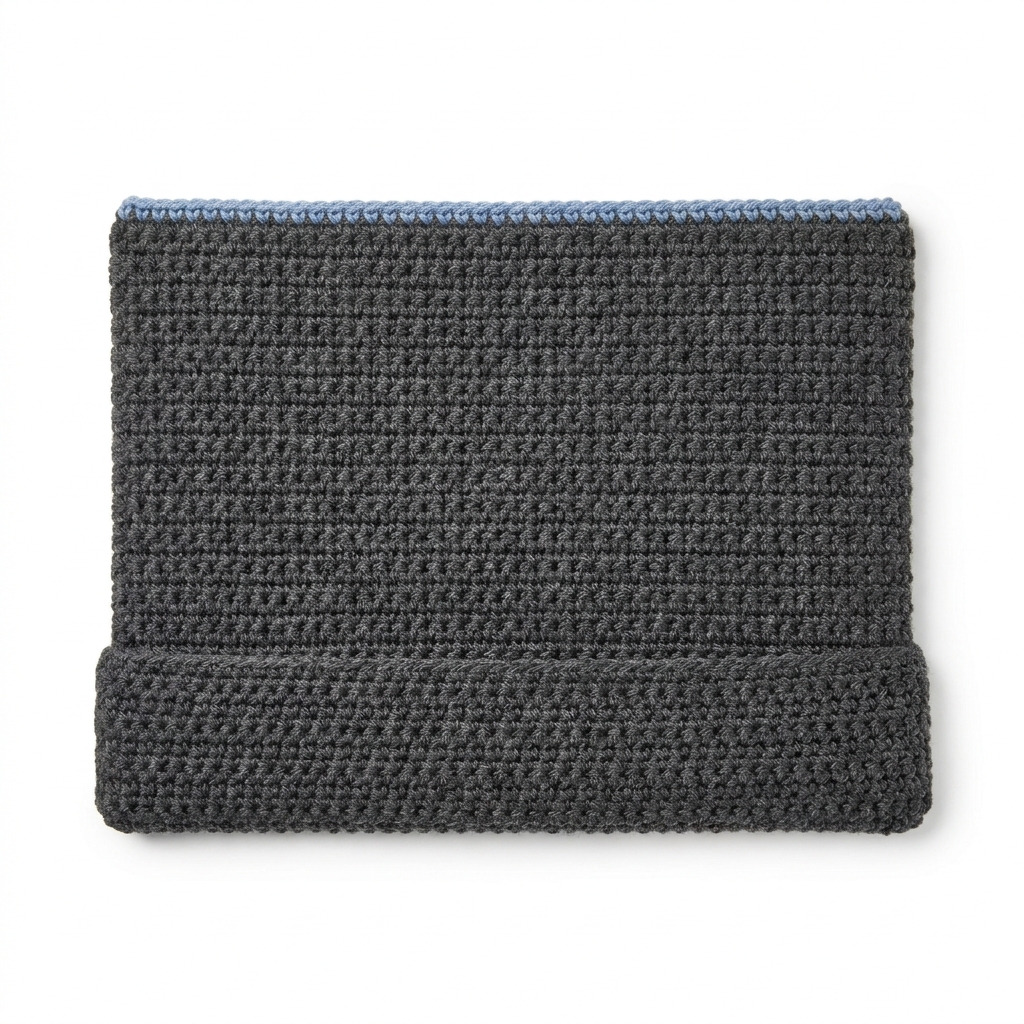
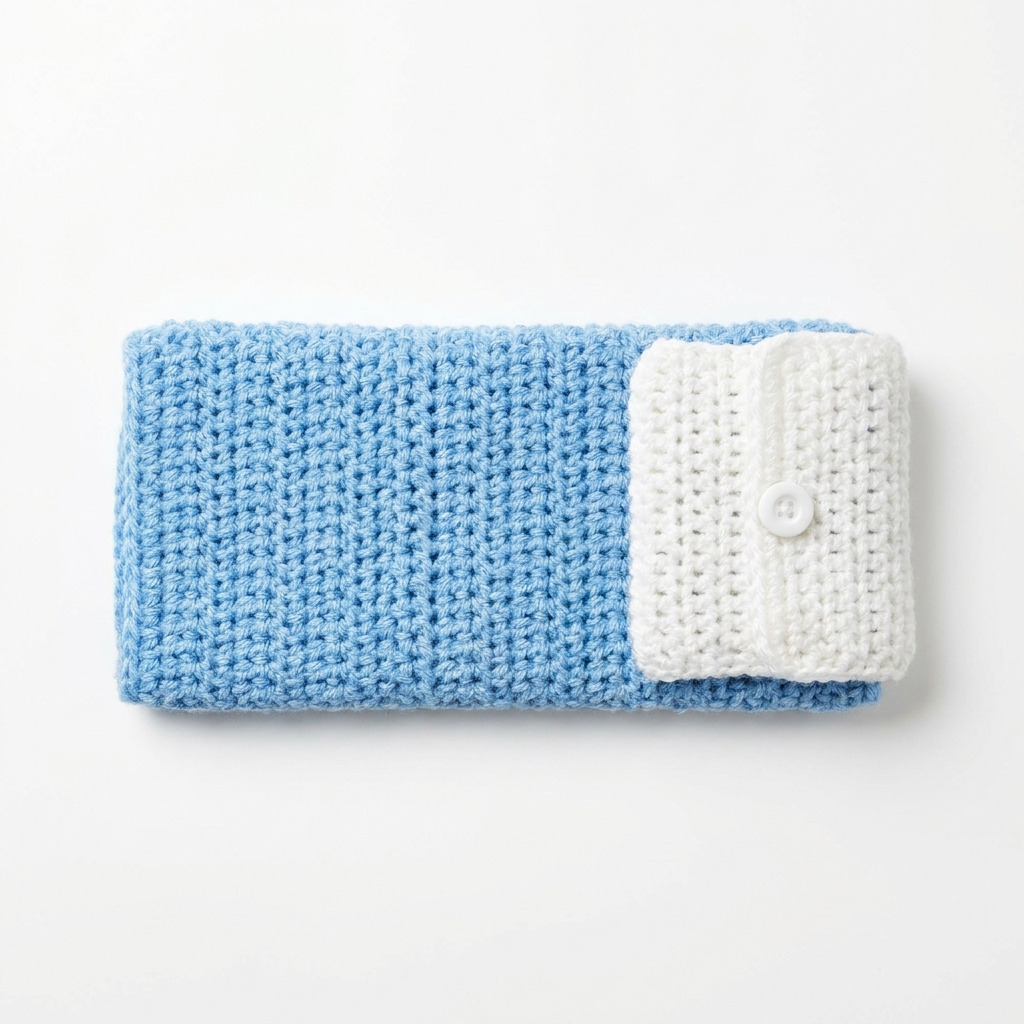
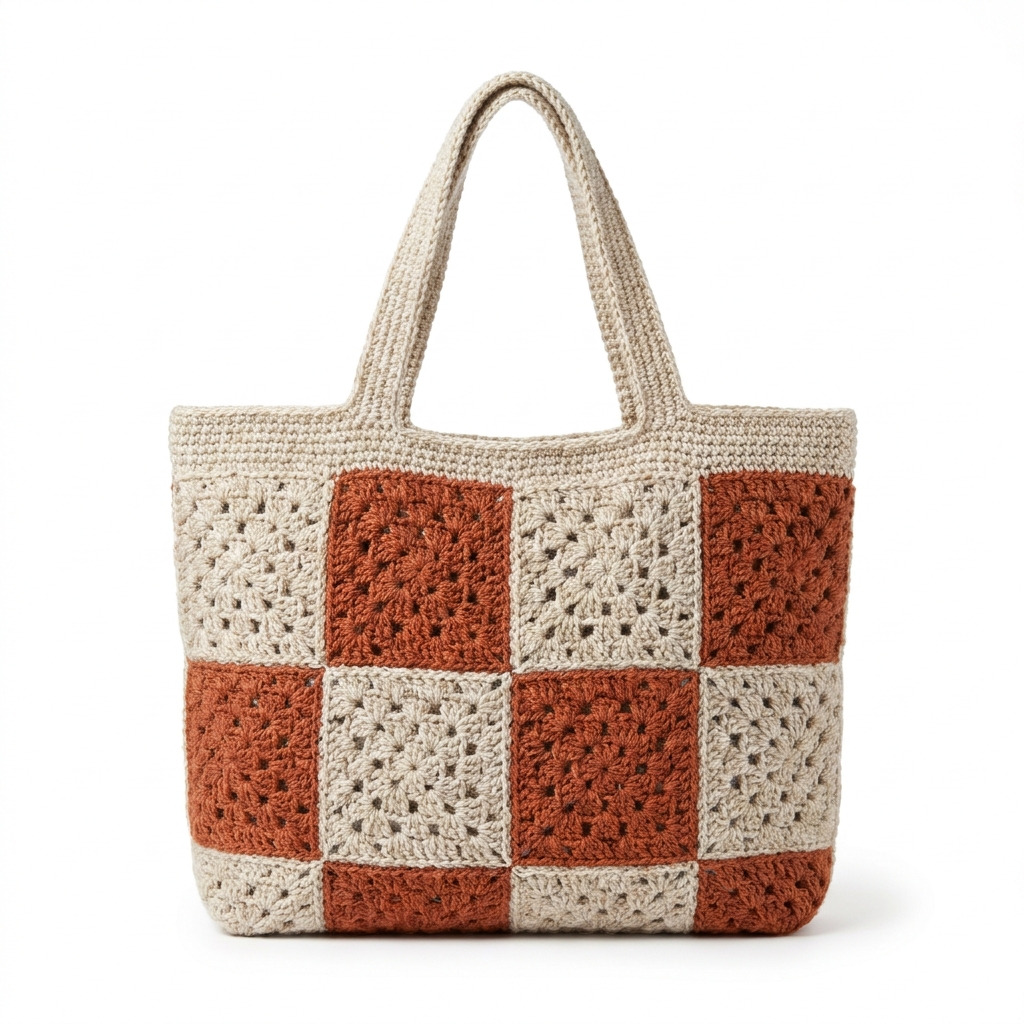
Image shown for inspiration — your finished result may vary slightly.