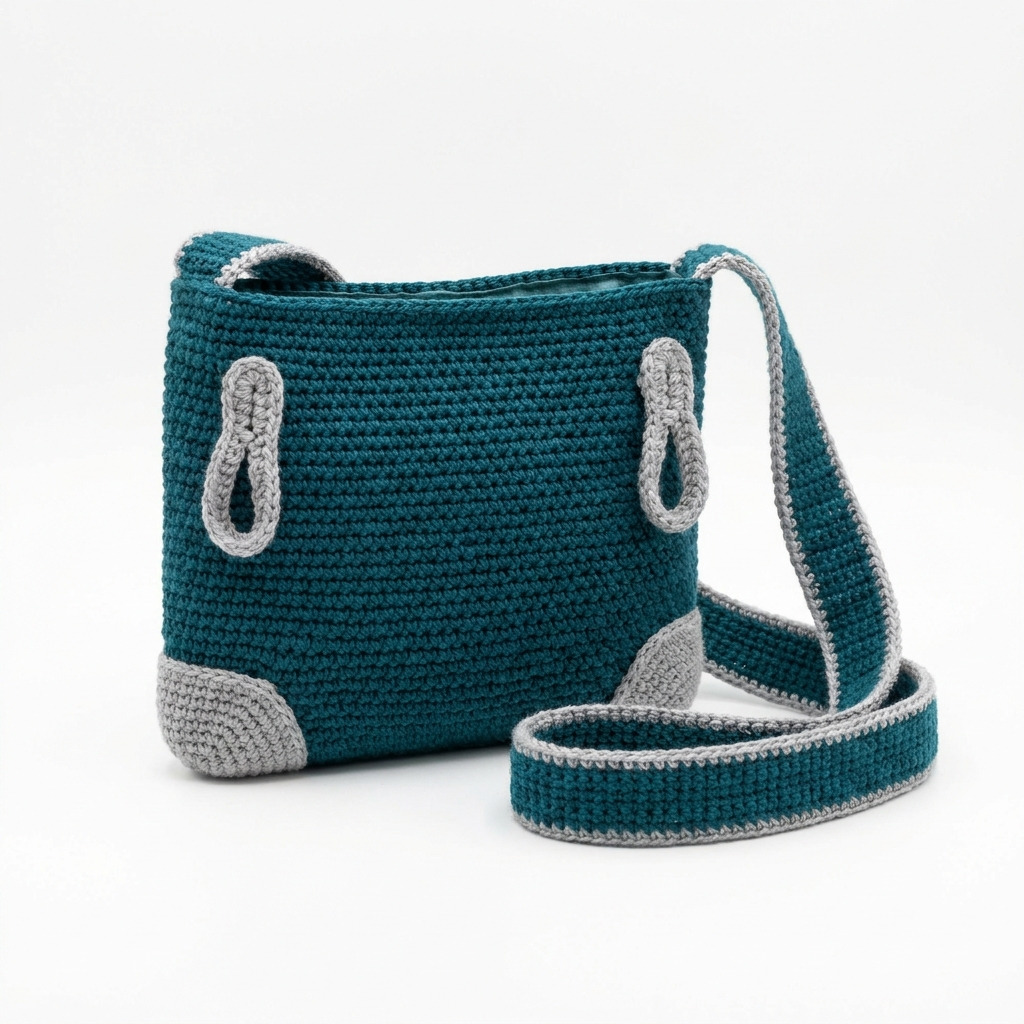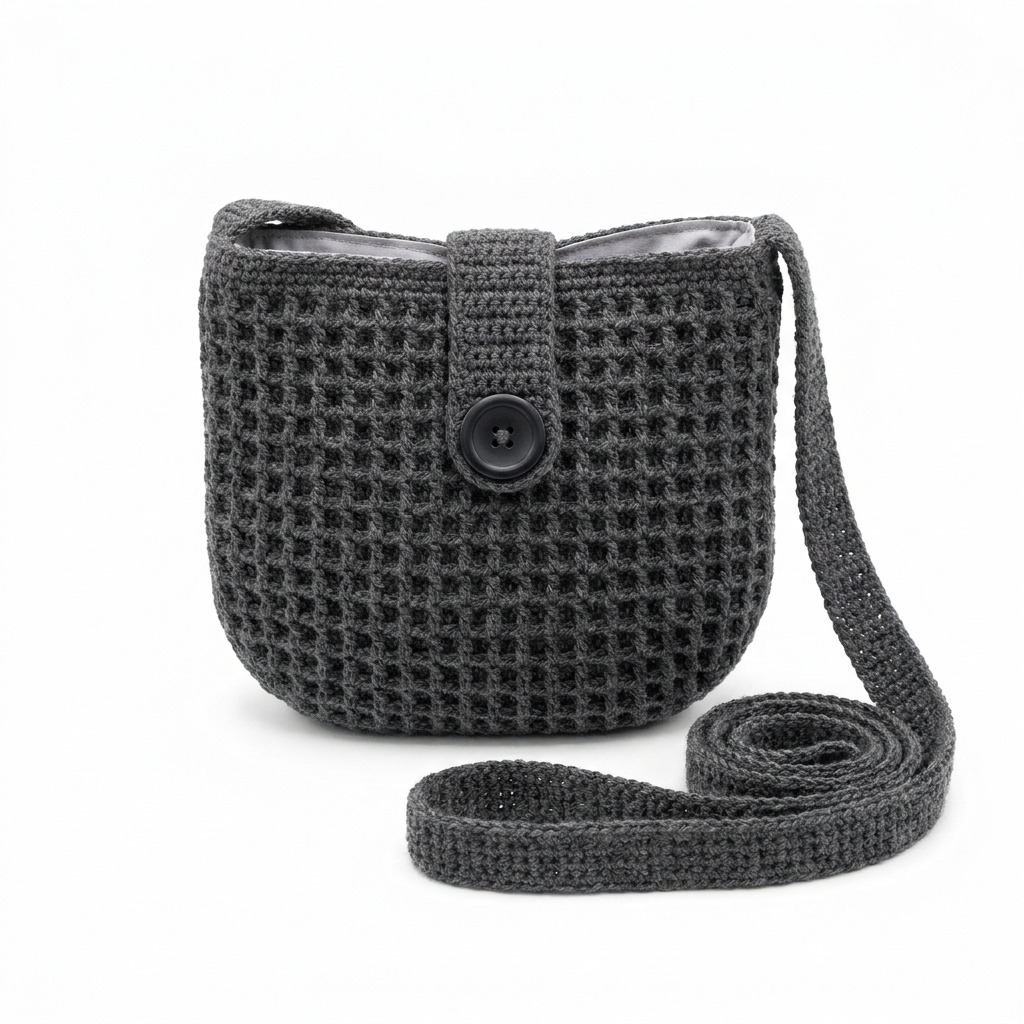
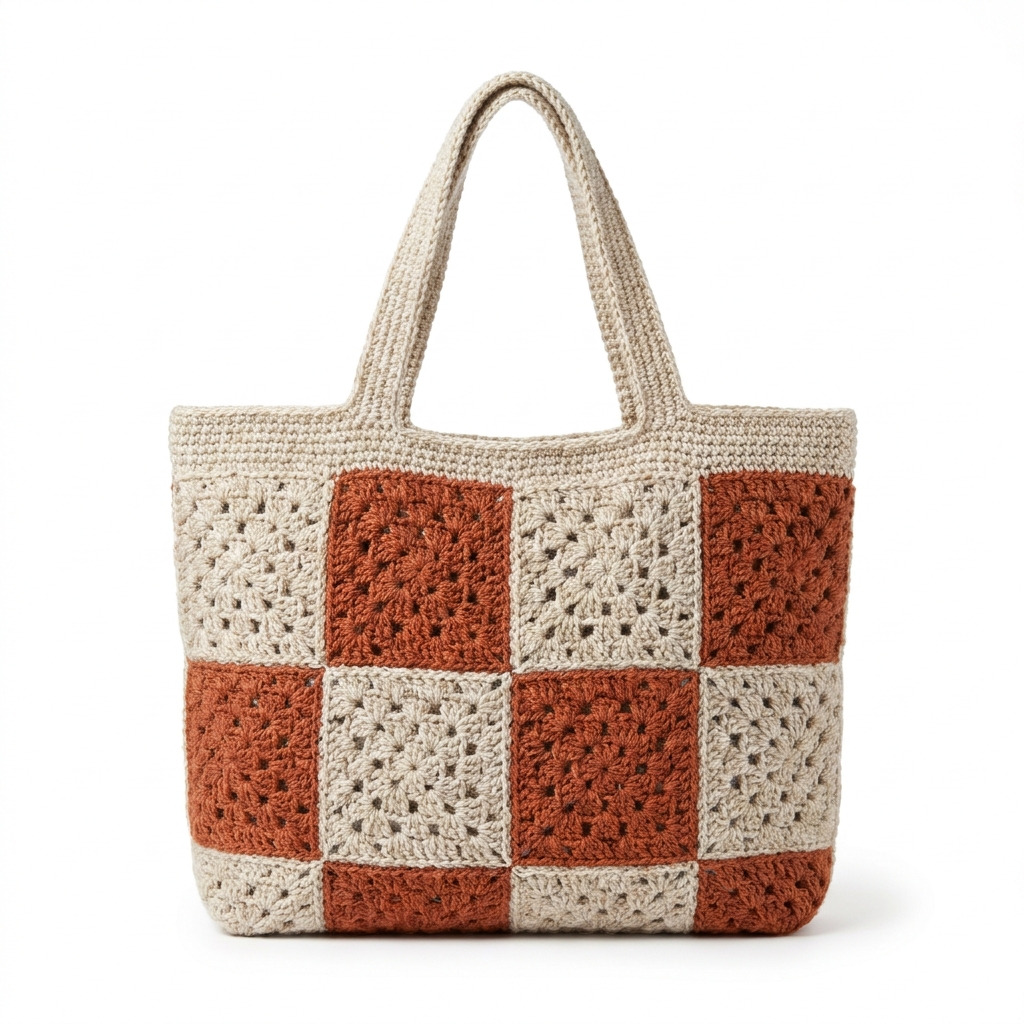
This crochet granny square tote bag pattern showcases a classic design using oatmeal and rust colors, creating a stylish and functional accessory. It’s perfect for everyday use, shopping, or as a beach tote. With just basic granny square skills, this project is both satisfying and beginner-friendly.
You’ll gain confidence in working granny squares and assembling them into a lovely tote. Let’s create something fun and practical together!
Why You’ll Love This Tote Bag
- Stylish design – perfect for everyday use or as a unique gift.
- Easy and quick – beginner-friendly and can be made in just a few hours.
- Customizable colors – use any favorite color combination you like.
- Functional with a sturdy construction – great for shopping or the beach.
Is This Pattern Good for Beginners?
Absolutely! You’ll learn how to create granny squares and assemble them into a tote. Plus, you’ll have the satisfaction of making a useful accessory.
Crochet Abbreviations (US Terms)
- ch – chain
- sc – single crochet
- dc – double crochet
- sl st – slip stitch
- sp – space
- rnd – round
- rep – repeat
Size and Gauge
- Finished Size: Approximately 35.5 × 35.5 cm (14 × 14 in), with a 10 cm (4 in) gusset
- Gauge: 10 dc and 6 rows = 10 cm (4 in)
How to Crochet a Granny Square Tote Bag (Step by Step)
Part 1: Granny Squares (Make 8)
The squares are the foundation of our tote bag.
-
Square 1 (Oatmeal):
- Ch 5, join with a sl st to form a ring. (1 st)
- Rnd 1: Ch 3 (counts as dc), 2 dc in the ring, ch 2, 3 dc in the ring; repeat from * around, join with sl st to top of ch 3. (12 dc, 4 ch 2)
- Rnd 2: Sl st to ch 2 sp, ch 3 (counts as dc), 2 dc in same sp, ch 2, 3 dc in next ch 2 sp; repeat from * around, join with sl st to top of ch 3. (24 dc, 4 ch 2)
- Rnd 3: Sl st to ch 2 sp, ch 3 (counts as dc), 2 dc in same sp, ch 2, 3 dc in next ch 2 sp; repeat from * around, join with sl st to top of ch 3. (36 dc, 4 ch 2)
- Finish off.
-
Square 2-8: Repeat square 1, alternating colors (Rust for Squares 2, 4, 6, 8 and Oatmeal for Squares 3, 5, 7).
Part 2: Assembling the Bag
Once your squares are complete, let’s bring them together!
-
Arrange squares in two rows of four with alternating colors to form a rectangle.
-
Join squares using slip stitch or single crochet method:
- Position squares right sides together.
- Beginning from the bottom left, align squares and join edges with a sl st (or sc).
- Continue joining until the ends of the squares are fully secured.
-
For the sides:
- With the squares still connected, create a rectangle by alternating sides until you have a total height of 35.5 cm (14 in).
- Once all squares are joined, use an additional strip of oatmeal to reinforce the top edge of the bag (Optional: single crochet around the top edge).
-
Bottom Gusset:
- Join remaining granny squares together to form a base 10 cm × 35.5 cm (4 in × 14 in).
- Attach this gusset piece to the bottom of the bag using slip stitch or sc.
Part 3: Handles
Let’s make the handles for your tote bag.
- For the handles, crochet two strips:
- Ch 50 in Oatmeal.
- Row 1: Sc in 2nd ch from hook, sc across (49 sc).
- Row 2-5: Ch 1, turn, sc across (49 sc).
- Finish off.
- Attach each handle to the inside of the bag on opposite sides, using slip stitches to secure.
Assembly & Finishing
- Weave in all loose ends using a tapestry needle.
- Optional: Add a cotton lining inside the bag for extra durability.
- Block the finished bag to even out squares and assist in structure.
Beginner Tips for a Neat Tote Bag
- Use stitch markers to keep track of your rounds or squares.
- Count your stitches as you go to ensure even squares.
- Check your tension: consistent tension will result in even squares.
Common Mistakes (and How to Fix Them)
- “My stitches are too tight.” – This may cause distortion; try to relax your grip.
- “The squares are curling.” – This could be due to loose stitches; check your tension and try blocking them.
- “Squares don’t fit together.” – Ensure your gauge is correct; making a test square can help.
How to Care for Your Tote Bag
Hand wash in cold water and lay flat to dry. Avoid wringing or twisting the bag to maintain its shape.
FAQ
How do I resize my bag?
To resize, adjust the number of squares or the size of each square, while keeping gauge in mind for even sizing.
Can I use different yarn?
Yes! Just ensure the new yarn is of a similar weight for consistent sizing.
How can I add pockets to my bag?
You can crochet smaller squares or rectangles for pockets, then attach them to the inside of the bag after assembly.
Looking for more ideas? Check out our collection of lovely blankets.
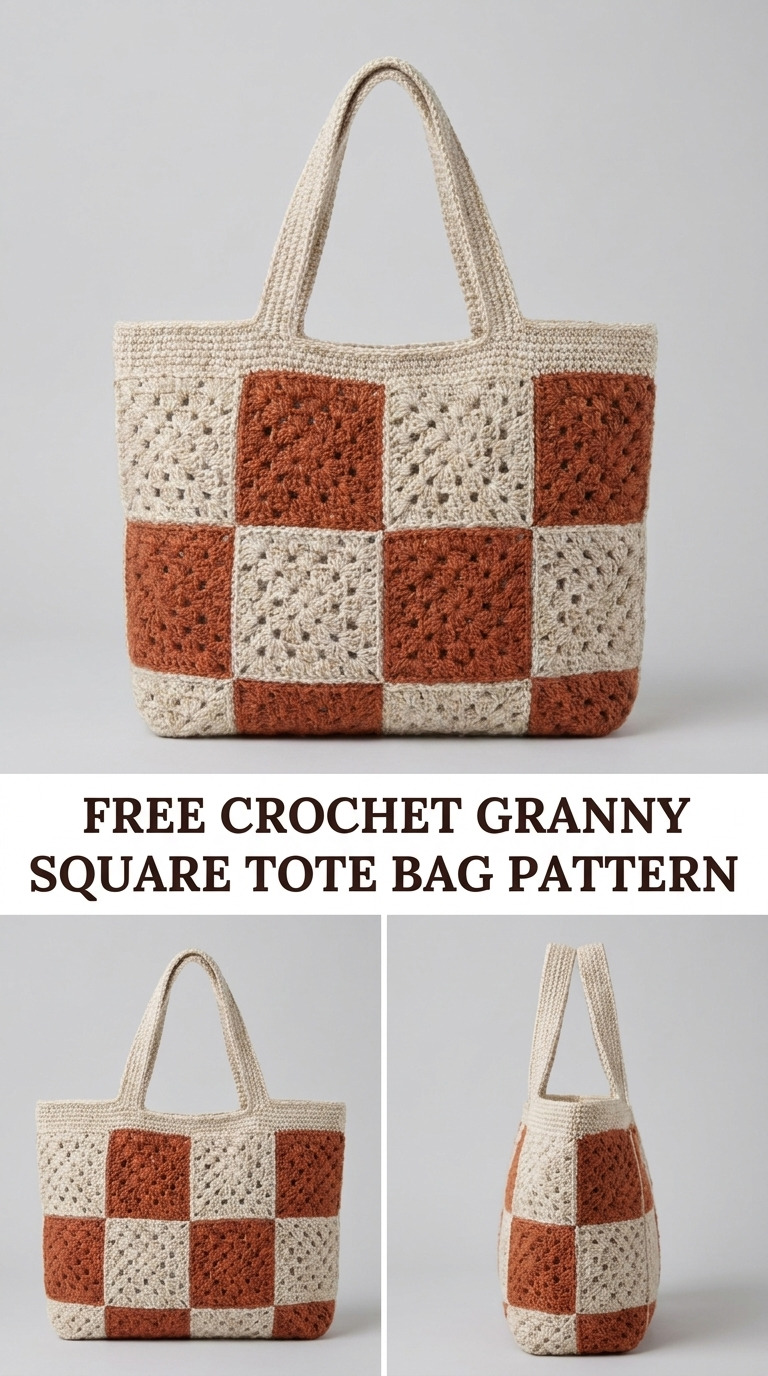
Image shown for inspiration — your finished result may vary slightly.