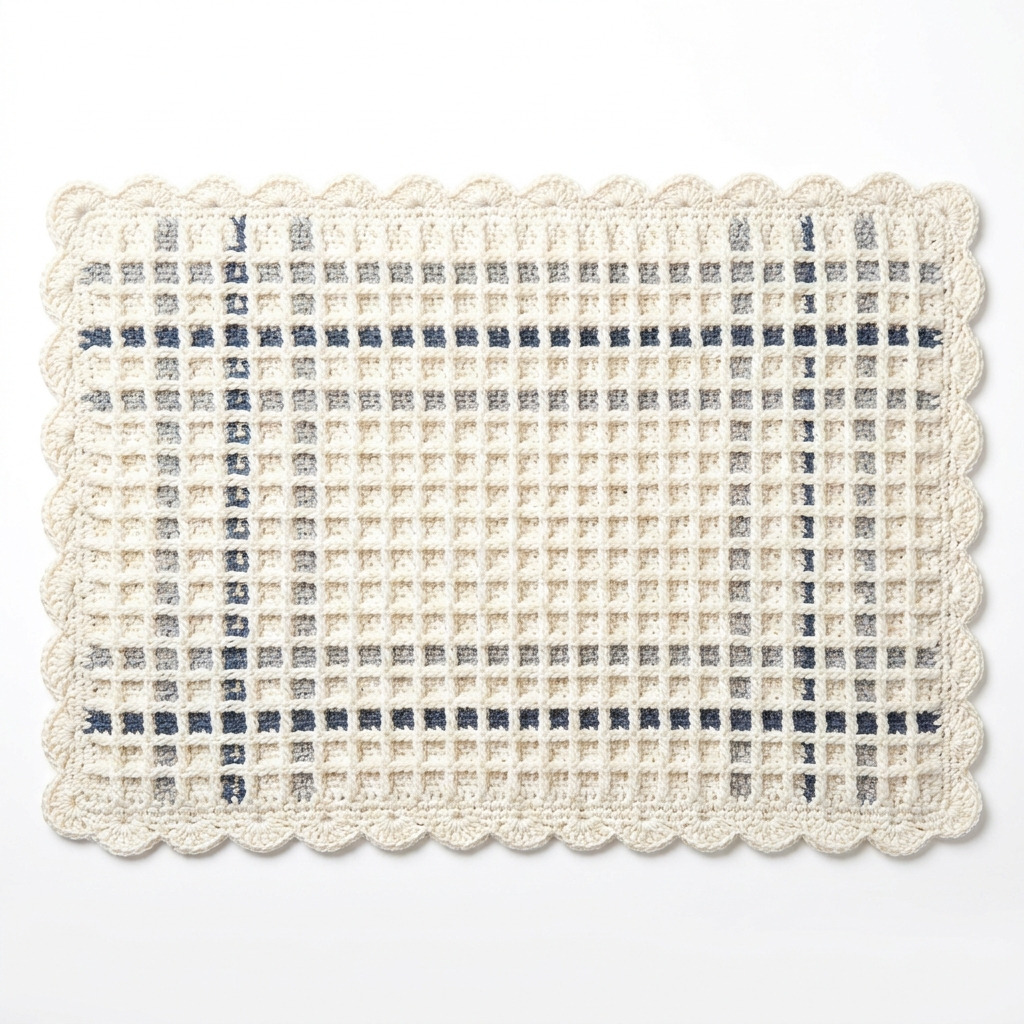
This waffle stitch crochet bath mat pattern is perfect for adding comfort and style to your bathroom décor. The finished item is cozy and absorbent, making it a lovely addition to your space. We’ll be using the simple combination of double crochets, front post double crochets, and back post double crochets to create this beautiful texture.
This project is ideal for crocheters who can chain and double crochet but wish to expand their skills. You’ll gain confidence working with the waffle stitch and creating a functional piece for your home.
Why You’ll Love This Bath Mat
- Cozy texture – the waffle stitch creates a soft and plush mat.
- Practical and absorbent – perfect for stepping out of the shower.
- Customizable sizes – easily adjust to fit any bathroom space.
- Quick to make – approximately 10 hours from start to finish.
Is This Pattern Good for Beginners?
Absolutely! If you know how to chain and work basic double crochet stitches, you’re ready to tackle this design. The waffle stitch is just a fun variation that builds on what you already know.
Crochet Abbreviations (US Terms)
- ch – chain
- dc – double crochet
- Fpdc – front post double crochet
- Bpdc – back post double crochet
- st(s) – stitch(es)
- rep – repeat
Waffle Stitch: A combination of Fpdc and Bpdc stitches creates a textured square pattern that looks wonderful as a bath mat.
Size and Gauge
- Finished Size: Approximately 61 × 91 cm (24 × 36 in)
- Gauge: 12 rows and 10 stitches = 10 cm in waffle stitch pattern.
- To check gauge, chain 20 and work 12 rows in the waffle stitch pattern.
How to Crochet the Waffle Stitch Bath Mat (Step by Step)
Foundation Chain
- Ch 72 to begin (72 sts).
Row 1: (Setup Row)
- Dc in 4th ch from hook (this counts as your 1st dc and 2 chs), *dc in next 5 chs, (fpdc around next dc, bpdc around next dc) 6 times; repeat from * until 3 chs remain, dc in last 3 chs (72 sts).
Row 2: (Waffle Stitch Pattern)
- Ch 2, turn. *Fpdc around next dc, bpdc around next dc; repeat from * across to last 3 sts, dc in last 3 sts (72 sts).
Row 3: (Waffle Stitch Pattern)
- Ch 2, turn. *Bpdc around next fpdc, fpdc around next bpdc; repeat from * across to last 3 sts, dc in last 3 sts (72 sts).
Repeat Rows 2 and 3
- Repeat Rows 2 and 3 until you have a total of 36 rows, ending with Row 3.
Border
- Ch 1, do not turn. Sc evenly around the entire mat, placing 3 sc in each corner for a rounded effect. Join to first sc with sl st (approximately 108 sc).
Final Rows
- Ch 1, turn, sc in each st around again for a second round of border; join and fasten off.
Assembly & Finishing
- Weave in all ends using a tapestry needle.
- Optionally, attach non-slip backing following the manufacturer’s instructions.
- Block mat to shape and allow to dry completely.
Beginner Tips for a Neat Bath Mat
- Use stitch markers to keep track of your beginning and end of the rows.
- Count your stitches regularly to avoid extra or missing stitches.
- Consider blocking your mat to ensure perfect dimensions and a neat finish.
Common Mistakes (and How to Fix Them)
- My stitches are too tight. – You might be using too small a hook or are holding the yarn too tightly. Try using a larger hook or loosening your grip.
- The piece is curling. – This could happen if you skip stitches. Ensure you’re following the pattern and not leaving any out.
- I can’t see the waffle pattern. – Make sure you’re alternating between Fpdc and Bpdc correctly. Check your work often for consistent rows.
How to Care for Your Bath Mat
Machine wash cold, lay flat to dry, and do not bleach to maintain the integrity of the cotton fibers.
FAQ
How do I resize my bath mat?
To resize, simply adjust the foundation chain to your desired width and continue with the same stitch pattern. Just be sure to maintain the stitch count for each row.
What yarn can I use instead of cotton?
If you don’t have 100% cotton yarn, a cotton blend or bamboo blend can work too, but be mindful of the absorbency and care instructions.
How do I make my bath mat slip-resistant?
You can attach a non-slip backing to the bottom or use a rug gripper beneath your bath mat to help it stay in place.
Looking for more ideas? Check out our collection of lovely blankets.
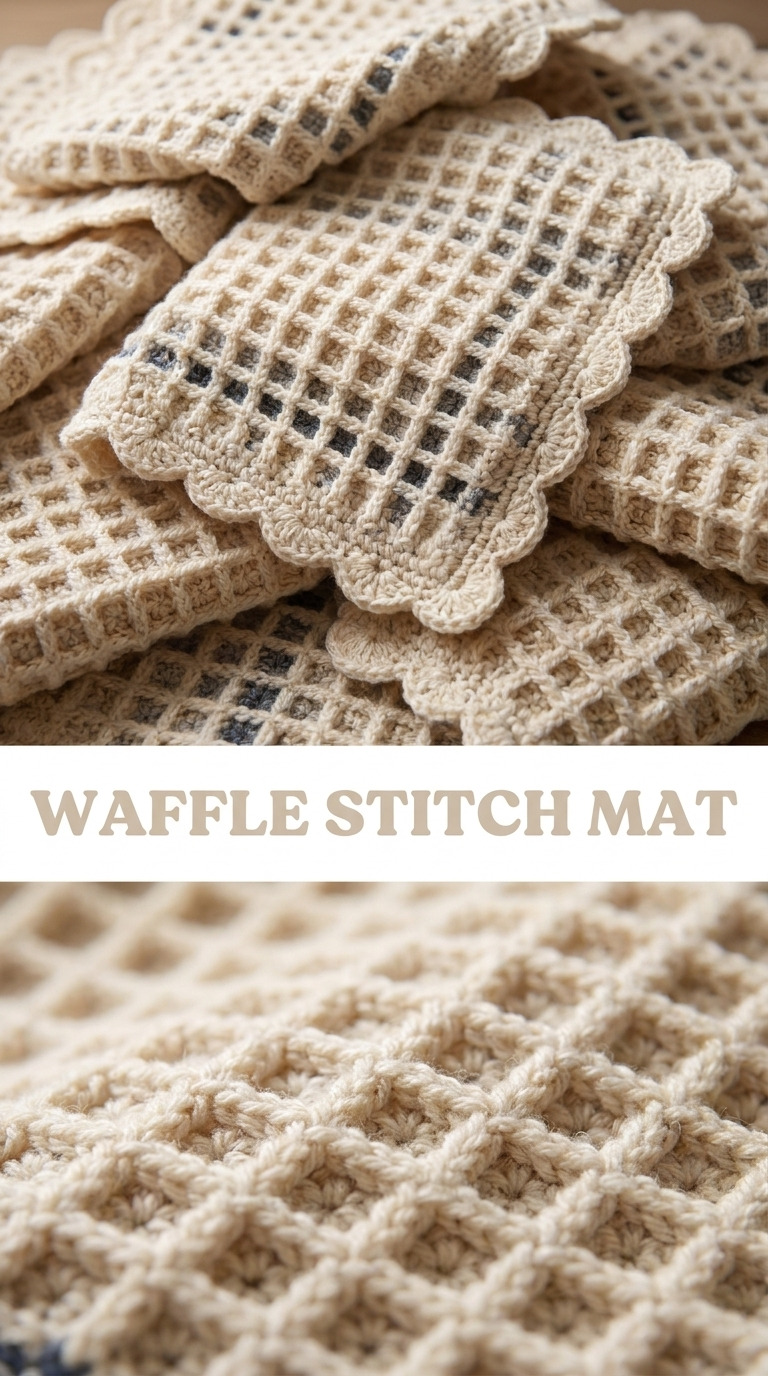
Image shown for inspiration — your finished result may vary slightly.