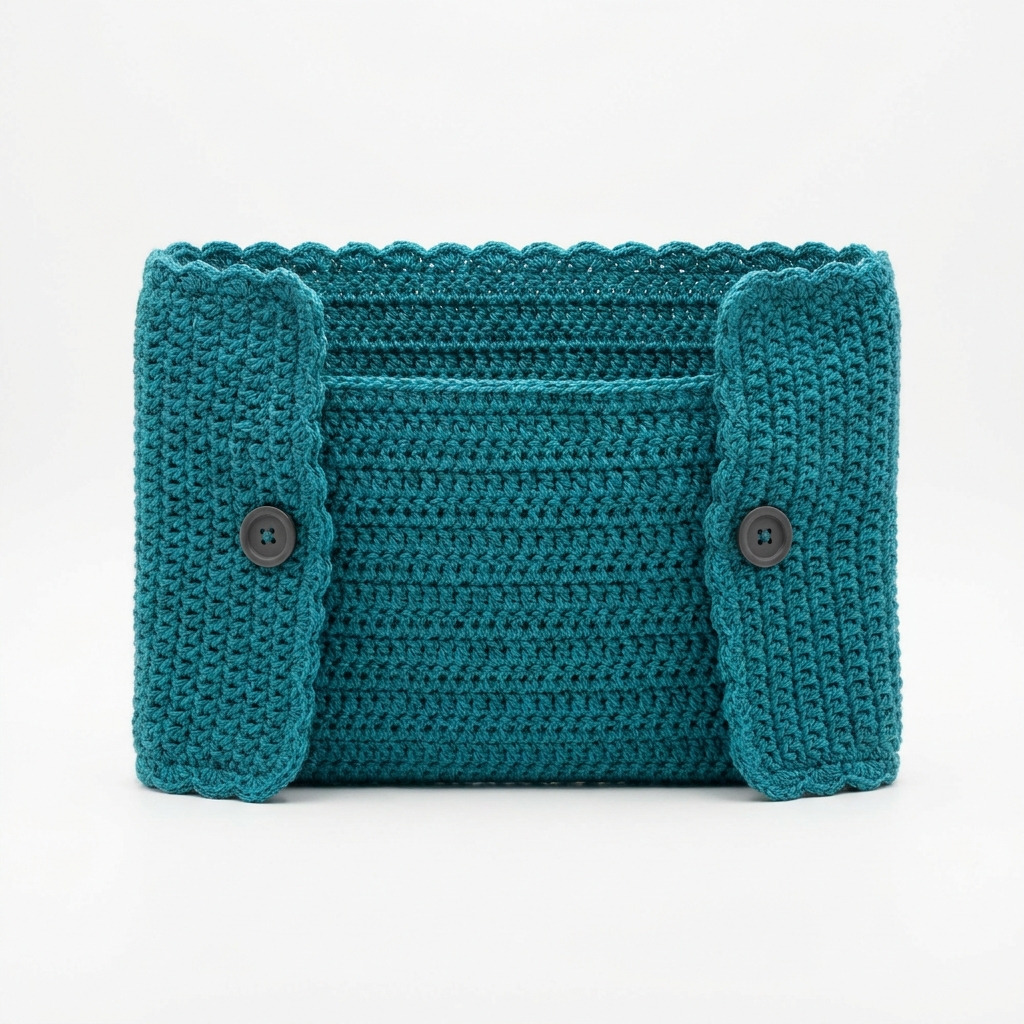
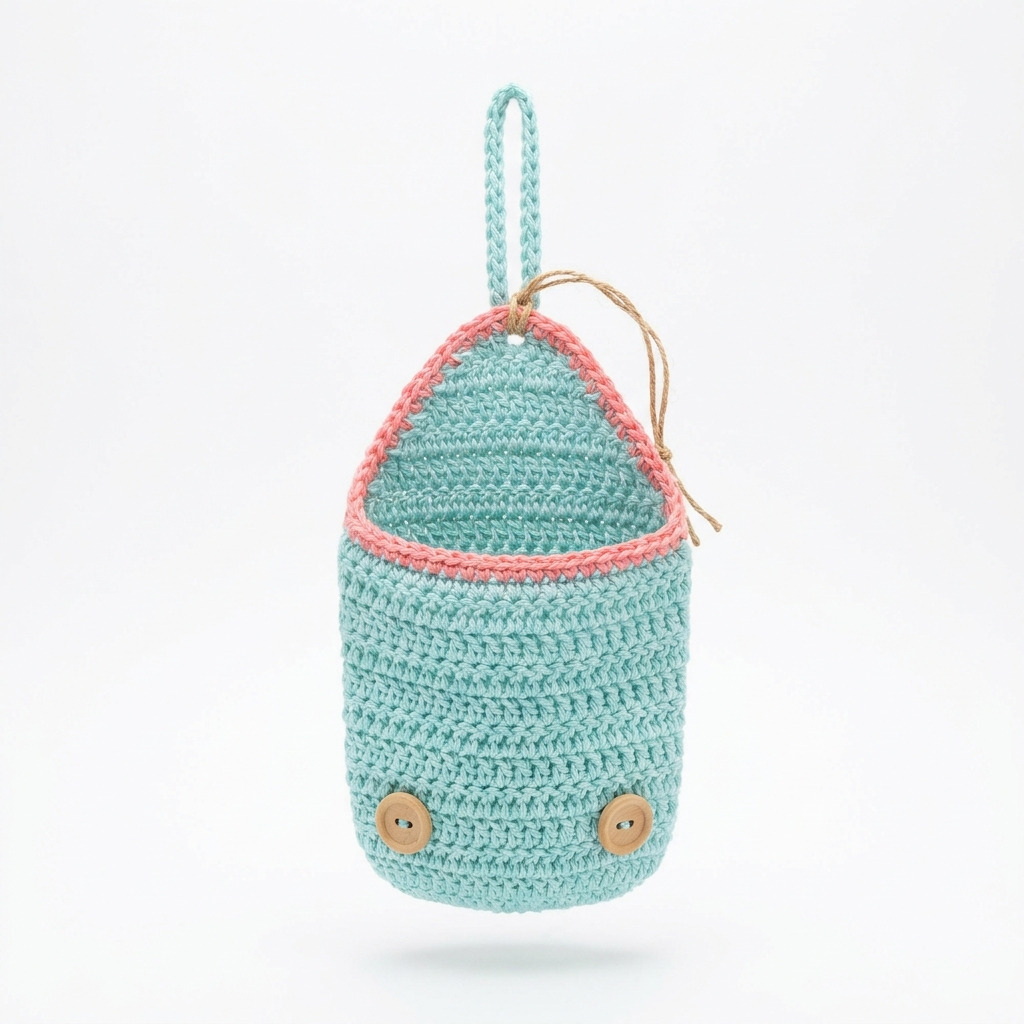
This crochet hair dryer holder pattern, known as The Dryer Nest, is designed to hang neatly on your bathroom wall, providing a secure spot for your hair dryer. With its simple yet elegant design, you’ll find it adds both functionality and charm to your space. The project primarily uses basic stitches like double crochet and single crochet, making it a satisfying project to create.
This pattern is perfect for beginners and those looking to build their skills. You’ll learn how to create rows of stitches and join them to form a practical holder, enhancing your crochet repertoire.
Why You’ll Love This Hair Dryer Holder
- Functional design – keeps your hair dryer organized and accessible.
- Quick to make – perfect for a weekend project or a thoughtful gift.
- Customizable colors – easily suit any bathroom decor with your yarn choices.
- Easy construction – simple stitches and techniques make it approachable for beginners.
Is This Pattern Good for Beginners?
Absolutely! This pattern uses basic stitches such as chains, single crochet, and double crochet. You’ll gain confidence with each stitch as you create a practical item for your home.
Crochet Abbreviations (US Terms)
- ch – chain
- sc – single crochet
- dc – double crochet
- sl st – slip stitch
- sp – space
Size and Gauge
- Finished Size: Approximately 30.5 cm × 15.2 cm (12 in × 6 in)
- Gauge: 14 dc and 8 rows = 10 cm (4 in)
Step 1: Create the Body
The body of the holder is made by creating rows of stitches.
- Foundation Row: Ch 40.
- Row 1: In the 4th ch from the hook, dc. Continue dc in each ch across. (38 dc)
- Row 2: Ch 3 (this counts as your first dc), turn. Dc in each dc across. (38 dc)
- Row 3: Ch 1, turn. Sc in each dc across. (38 sc)
- Rows 4–12: Repeat Rows 2 and 3 alternating until you have 9 dc rows and 8 sc rows.
- Row 13: Ch 1, turn. Sc in the first 18 sc, ch 2, skip 2 sc, sc in the last 18 sc. (36 sc, 2 ch)
- Row 14: Ch 3, turn. Dc in each sc across, working 2 dc in each of the ch 2. (40 dc)
- Rows 15–18: Ch 3, turn. Dc in each dc across. (40 dc)
- Row 19: Ch 1, turn. Sc across, do not fasten off. (40 sc)
You should now have a nice rectangular piece ready for the next step!
Step 2: Make the Top Loop
We will now create the top loop for holding the hair dryer.
10. Row 20: Ch 1, sc in the first 20 sc, ch 20, skip 20 sc, and sc in the last 20 sc. (40 sc + 20 ch)
11. Row 21: Ch 1, sc in each sc across including the chain. (60 sc)
Step 3: Finishing the Holder
We need to form the shape of the holder by joining the sides together.
12. Join: Fold the sides inwards, aligning the edges. Join the sides by sc through both layers to create a pocket.
13. Edging: Sc around the top to smooth out any unevenness and create a finished edge. Fasten off and weave in ends.
How to Attach the Buttons
- Sew the wooden buttons on the lower part of the holder for a decorative touch.
- Use the yarn needle for a sturdy attachment.
Adding a Ribbon for Hanging
- Thread a piece of ribbon or twine through the top loop for easy hanging. This will help keep your hair dryer easily accessible.
Beginner Tips for a Neat Hair Dryer Holder
- Use stitch markers to mark your rows, helping you keep count.
- Take breaks to check your tension; it helps maintain consistency throughout your project.
- When joining or attaching parts, take your time to ensure neatness.
Common Mistakes (and How to Fix Them)
- “My stitches are too tight.” – This can happen if you’re holding your yarn too tightly. Try to relax your grip as you crochet.
- “The edges are uneven.” – This may occur if you skip stitches. Count your stitches at the end of each row to avoid this issue.
- “It doesn’t seem to hold the dryer.” – If it’s too small, ensure you’re checking your gauge before starting. Adjust your hook size if necessary.
How to Care for Your Hair Dryer Holder
Hand wash your crochet holder in cold water and lay it flat to dry. Avoid wringing it out to maintain its shape.
FAQ
How do I resize my hair dryer holder?
To resize, simply adjust the foundation chain length while keeping your stitch counts consistent throughout the pattern.
Can I use a different yarn weight?
Yes, but keep in mind that this may change the final size and stability of your holder. Adjust hooks accordingly if using a heavier or lighter weight.
How do I ensure even tension?
Practice consistently managing your yarn tension and take breaks to check your work. Regularly counting stitches can also help maintain evenness.
Looking for more ideas? Check out our collection of lovely blankets.
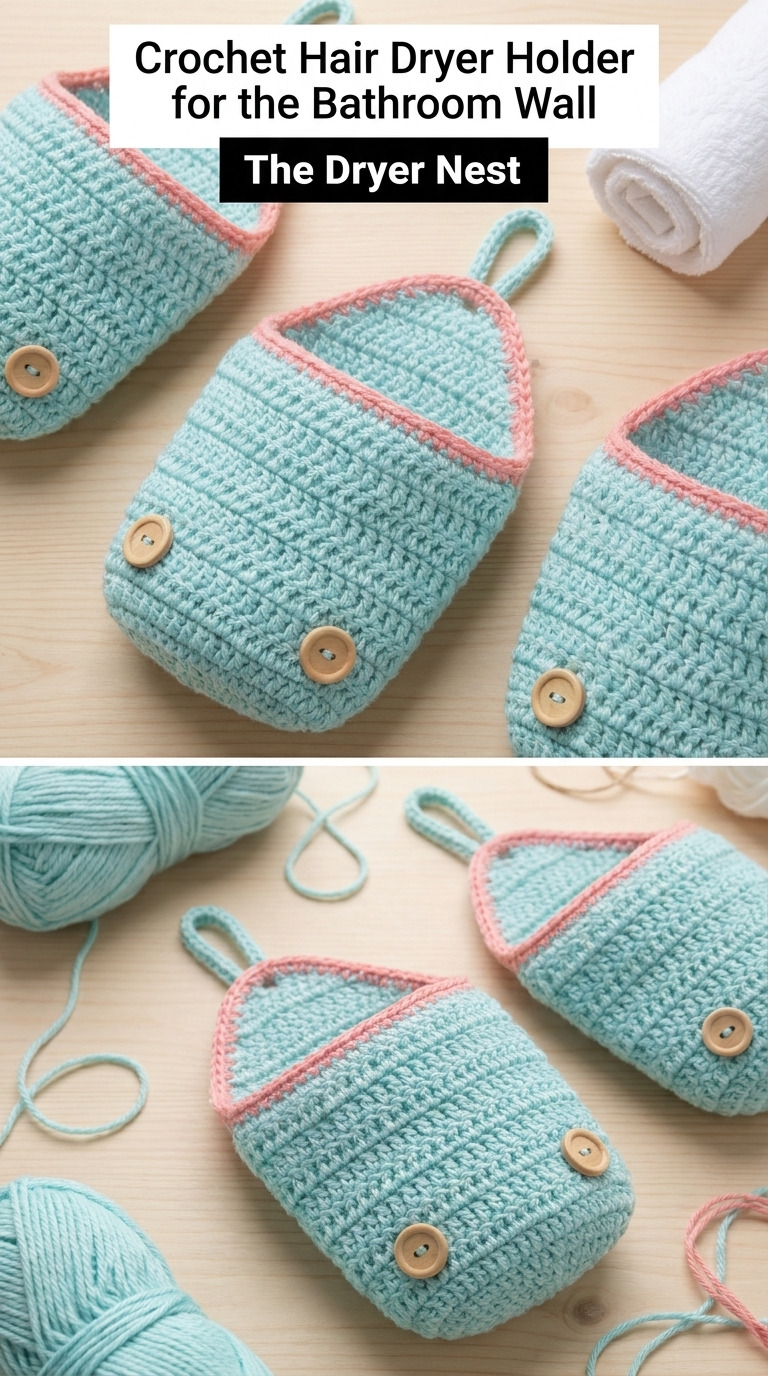
Image shown for inspiration — your finished result may vary slightly.