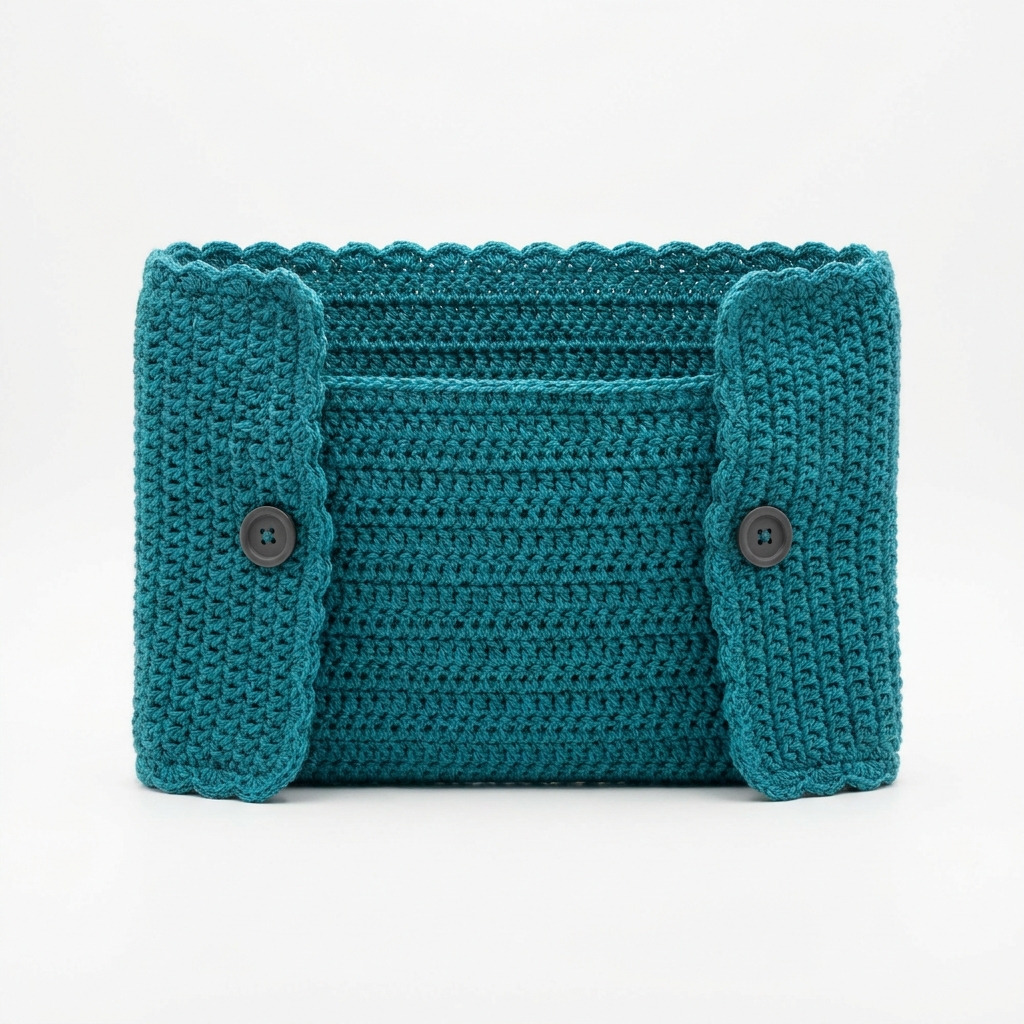
This Crochet Monitor Side Pocket Organizer pattern is perfect for keeping your workspace tidy and organized. Known affectionately as The Screen Saddle, this practical item attaches to the side of your computer monitor and holds small items like pens, notepads, and other essentials. You’ll be making basic stitches, such as double crochet and single crochet, while creating a useful accessory for your desk.
This project is suitable for crocheters who are looking to add functional décor to their workspace. Whether you’re a beginner or someone with some experience, you’ll gain skills in double crochet and shaping while making this handy organizer.
Why You’ll Love This Organizer
- Practical design – keeps your workspace neat and organized.
- Quick to make – ideal for those who want a functional project in a short time.
- Easy to customize – change the colors to suit your personal style or workspace decor.
- Minimalist approach – uses simple stitches and minimal materials.
Is This Pattern Good for Beginners?
Absolutely! This pattern uses basic stitches and offers guidance throughout. You’ll build confidence as you work through the rows and learn to shape your organizer.
Crochet Abbreviations (US Terms)
- ch – chain
- sc – single crochet
- dc – double crochet
- sl st – slip stitch
- inc – increase (2 stitches in the same stitch)
Size and Gauge
- Finished Size: 30.5 × 20.3 cm (12 × 8 in)
- Depth: 10.2 cm (4 in)
- Gauge: 12 dc and 7 rows = 10 cm (4 in)
How to Crochet the Body (Step by Step)
The body of the organizer is created using simple rows of double crochet.
- Foundation Row: Ch 42.
- Row 1: Dc in the 4th ch from hook, dc in each ch across. Turn. (40 dc)
- Row 2: Ch 3 (counts as dc), dc in each st across. Turn. (40 dc)
- Row 3: Ch 3, *dc in next 4 dc, inc in next dc; repeat from * across. Turn. (48 dc)
- Row 4: Ch 3, dc in each st across. Turn. (48 dc)
- Rows 5–14: Repeat Row 4. (48 dc each row)
- Row 15: Ch 1, sc in each st across. Turn. (48 sc)
- Row 16: Ch 1, sc in each st across. (Do not turn.) (48 sc)
Adding the Flaps
The flaps are created to secure the organizer and add structure.
- Right Side Flap: Ch 1, turn, sc in the first 12 sc.
- Row 1: Ch 1, sc in each of the first 12 sc. (12 sc)
- Rows 2–6: Repeat Row 1 for 5 more rows. (12 sc each row)
- Fold and Pin Flap: Fold flap back toward the main body and pin in place.
- Left Side Flap: Repeat steps 9–12 for the left side.
Adding Structure
- Cut interfacing or foam board to size. Insert into the pocket for support.
Edging and Buttonholes
Add a border around your organizer for a polished finish.
- Edging: Working along the edges, use sc to crochet a border around the entire piece. Complete 2 sc in each corner.
- Buttonholes (optional): For closure, create a 6-ch loop, skipping the first 3 stitches, sc in the next sc, repeat for both flaps. Sew buttons to opposite flaps.
Assembly & Finishing
- Lay the body flat and ensure the flaps are correctly positioned.
- Using a whip stitch or slip stitch, attach the flaps to the body.
- Weave in all ends using a tapestry needle.
- Block the piece gently to maintain its shape.
Beginner Tips for a Neat Organizer
- Use stitch markers to keep track of your rows or flaps.
- Regularly count your stitches to ensure consistency.
- Manage your tension for a uniform appearance throughout.
Common Mistakes (and How to Fix Them)
- My stitches are too tight: This could be from using a smaller hook; try a larger hook.
- The edges are uneven: Ensure you are counting stitches and following the pattern closely.
- My organizer doesn’t hold its shape: Make sure to add the interfacing or foam board for support.
How to Care for Your Organizer
Hand wash in cool water and lay flat to dry to keep the shape and maintain quality.
FAQ
How do I resize my organizer?
You can adjust the foundation chain in multiples of 3 to make it wider or narrower as desired.
Can I use a different yarn weight?
Yes, but it may affect the final size and structure. Adjust your hook size accordingly.
How do I attach the buttons?
Simply sew them onto the opposite flaps, ensuring they align with your buttonhole loops.
Looking for more ideas? Check out our collection of lovely blankets.
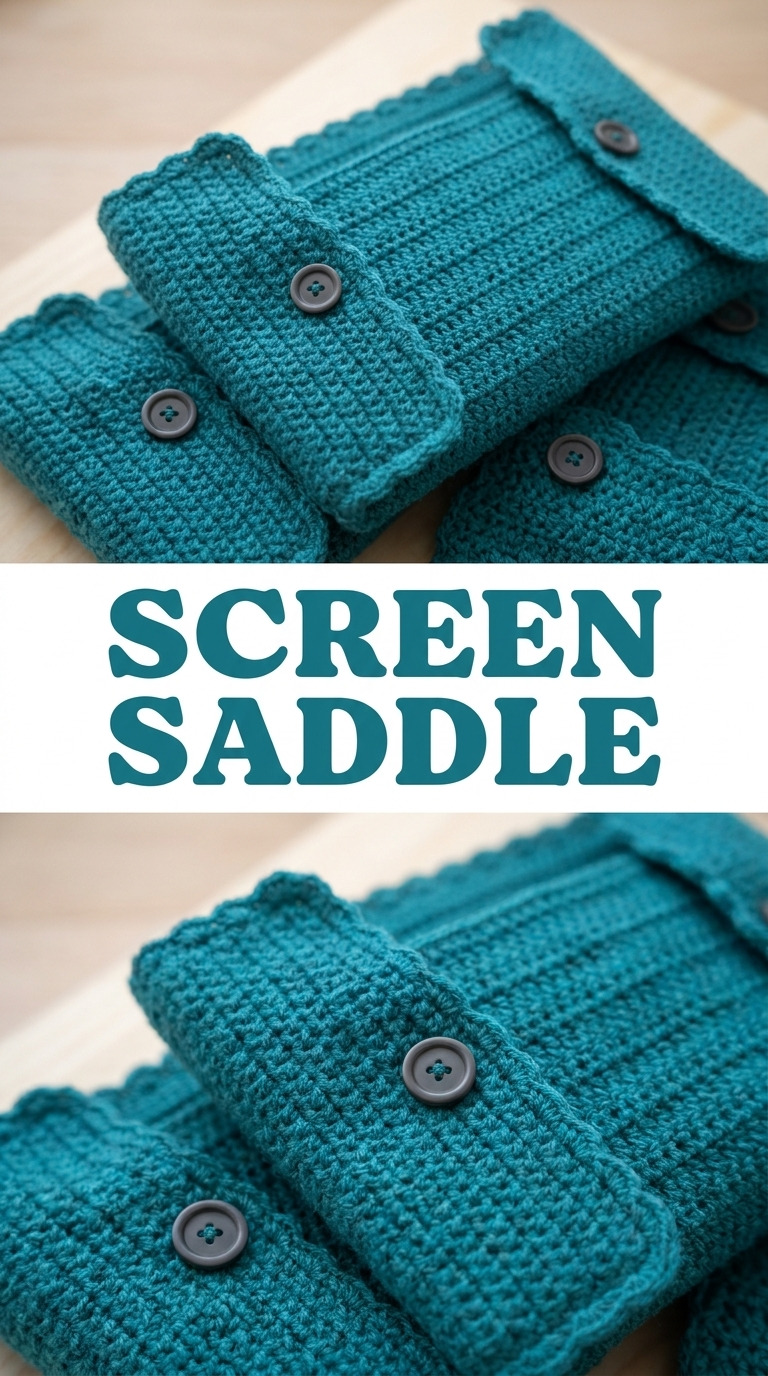
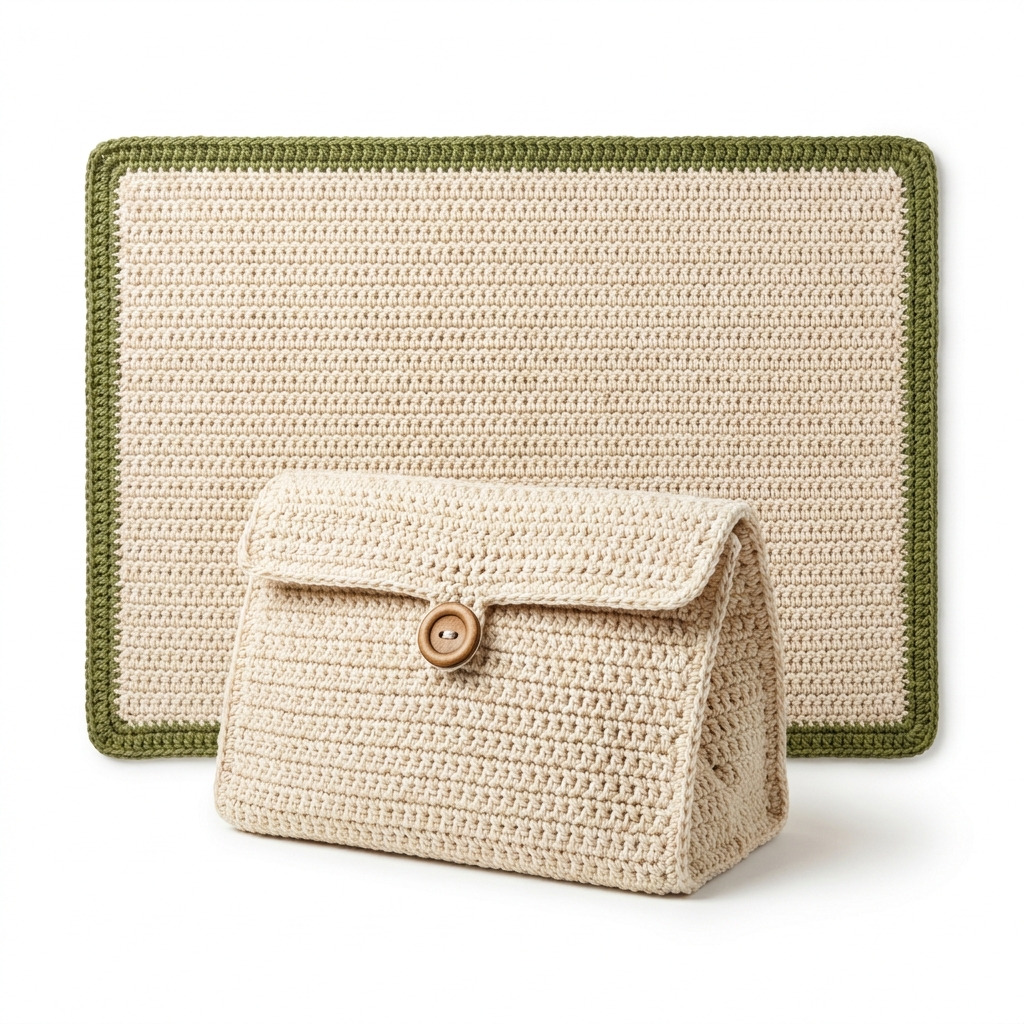
Image shown for inspiration — your finished result may vary slightly.