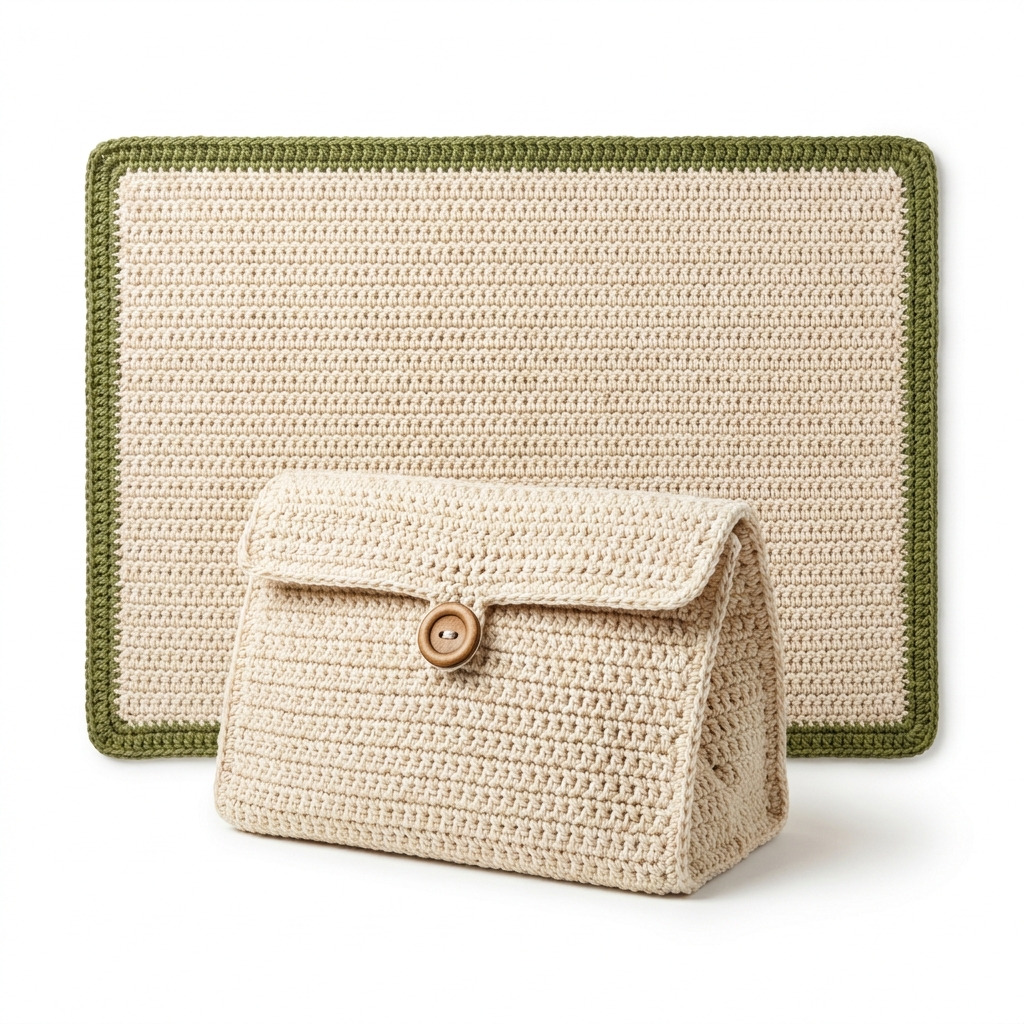
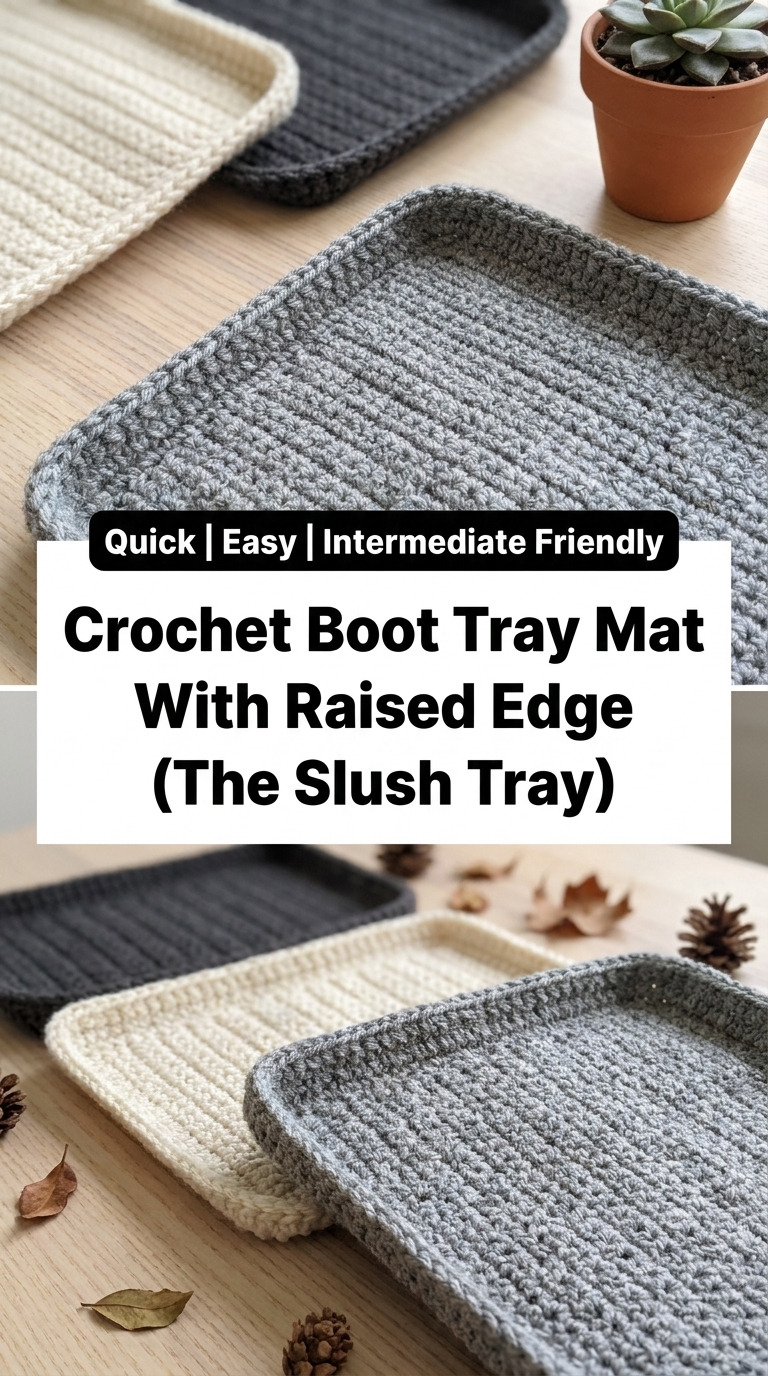
This practical crochet boot tray mat with raised edge, known as the Slush Tray, helps keep your floors clean and dry from wet or muddy boots. It’s a simple yet satisfying project that uses basic crochet stitches, making it a great addition to your home.
This project is perfect for those who have some experience in crochet. You’ll have the chance to work with double crochet and front post double crochet, giving you more confidence in your skills as you create a functional piece for your entryway.
Why You’ll Love This Boot Tray Mat
- Functional design – keeps your floors free from mud and water.
- Raised edge – helps contain spills and messes.
- Quick to make – estimated completion time of around 5 hours.
- Customizable colors – match it to your home decor style.
Is This Pattern Good for Beginners?
Absolutely! While this pattern requires some intermediate skills, you’ll be guided through each step. Plus, you’ll gain valuable experience working with different stitches.
Crochet Abbreviations (US Terms)
- ch – chain
- dc – double crochet
- sl st – slip stitch
- st(s) – stitch(es)
- sc – single crochet
- HDC – half double crochet
- FPdc – front post double crochet
Size and Gauge
- Finished Dimensions: Approx. 46 × 30.5 cm (18 × 12 in)
- Raised Edge Height: Approx. 5 cm (2 in)
- Gauge: 12 dc and 7 rows = 10 cm (4 in) in double crochet.
To check gauge, make a small swatch using the main stitch. Adjust your hook size if needed to match the gauge.
How to Crochet the Boot Tray Mat (Step by Step)
Step 1: Create the Base
The base is made in flat rows.
- Foundation Row: Ch 39.
- Row 1: Dc in 4th ch from hook, dc in each ch across. (37 sts)
- Row 2: Ch 3 (counts as dc), turn. Dc in each dc across. (37 sts)
- Rows 3–14: Repeat Row 2 until the piece measures 30.5 cm (12 in) from the starting edge.
Step 2: Crochet the Raised Edge
The raised edge adds functionality to the mat. 5. Row 15: Ch 2 (counts as HDC), turn. HDC in each dc across. (37 sts) 6. Row 16: Ch 3 (counts as dc), turn. *FPdc around the first HDC, dc in next HDC; repeat from * across. The last stitch should be a FPdc. (37 sts) 7. Rows 17–20: Repeat Row 16 three more times.
Step 3: Add the Finishing Touches
Finishing touches give your mat a polished look. 8. Border:
- Final Row: Ch 1, sc around the entire mat, working 3 sc in each corner for a rounded effect. Join with a sl st to the first sc.
- Fasten off, weave in all ends.
- Optional: Apply non-slip adhesive to the bottom if desired for stability.
Beginner Tips for a Neat Boot Tray Mat
- Use stitch markers to keep track of your rows and pattern.
- Count your stitches regularly to avoid uneven edges.
- If the edges curl, check your tension and adjust your hook size if needed.
Common Mistakes (and How to Fix Them)
- “My stitches are too tight.” – This might be caused by using too small of a hook. Try going up a hook size.
- “The piece is curling.” – This could mean your tension is too tight or you’ve missed a stitch in your rows. Check your count.
- “My edges aren’t even.” – Ensure you’re counting your stitches as you go and using stitch markers to guide your rows.
How to Care for Your Boot Tray Mat
For best results, hand wash in cold water and lay flat to dry. Avoid machine washing and drying, as this can alter the shape and structure of your mat.
FAQ
How do I resize my boot tray mat?
To resize, simply increase or decrease the starting chain in multiples of your stitch pattern. Adjust the length and width accordingly to maintain proportion.
What yarn can I use instead of what’s suggested?
You can use any worsted weight yarn. Look for a durable fiber, especially if you’ll use the mat in high-traffic areas.
How can I ensure my boot tray stays in place?
Applying a non-slip adhesive to the bottom can help keep your mat stable and prevent slipping on your floors.
Looking for more ideas? Check out our collection of lovely blankets.
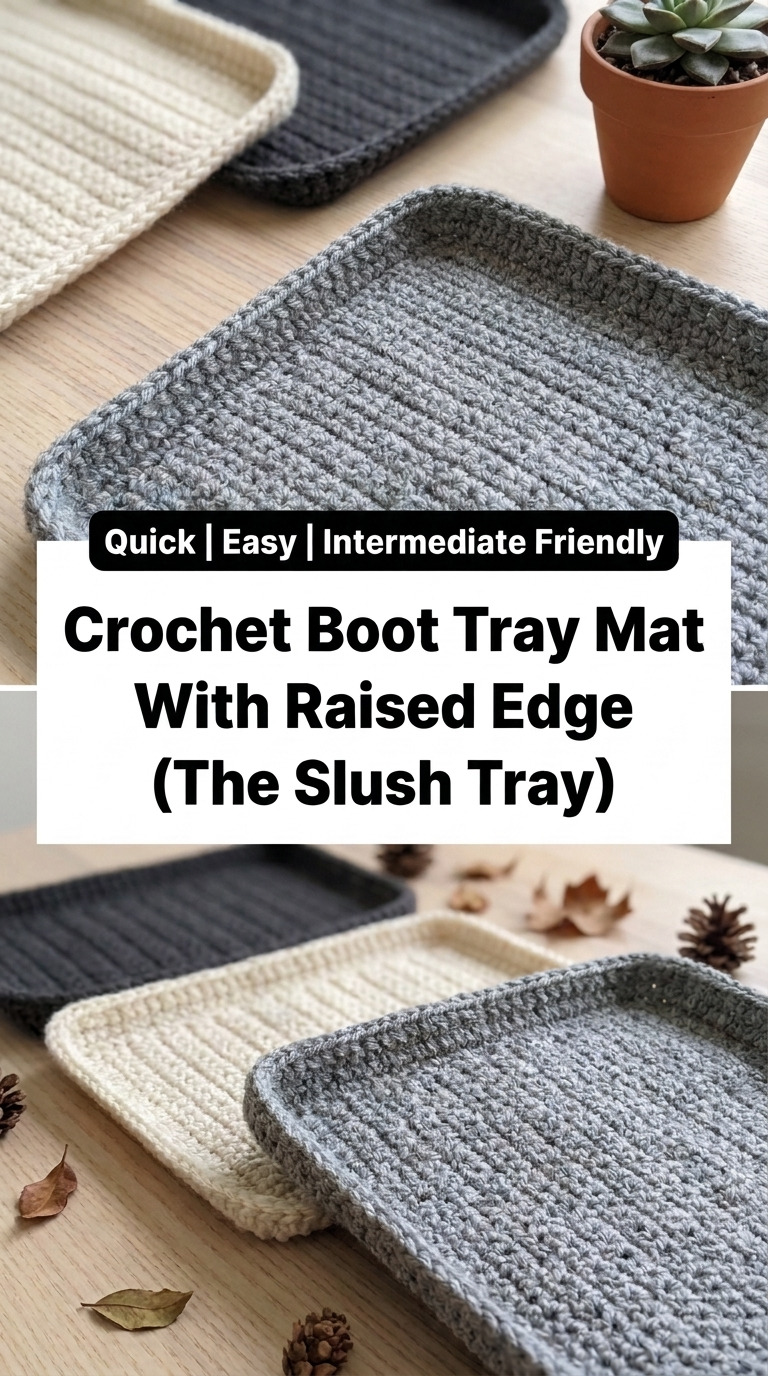
Image shown for inspiration — your finished result may vary slightly.