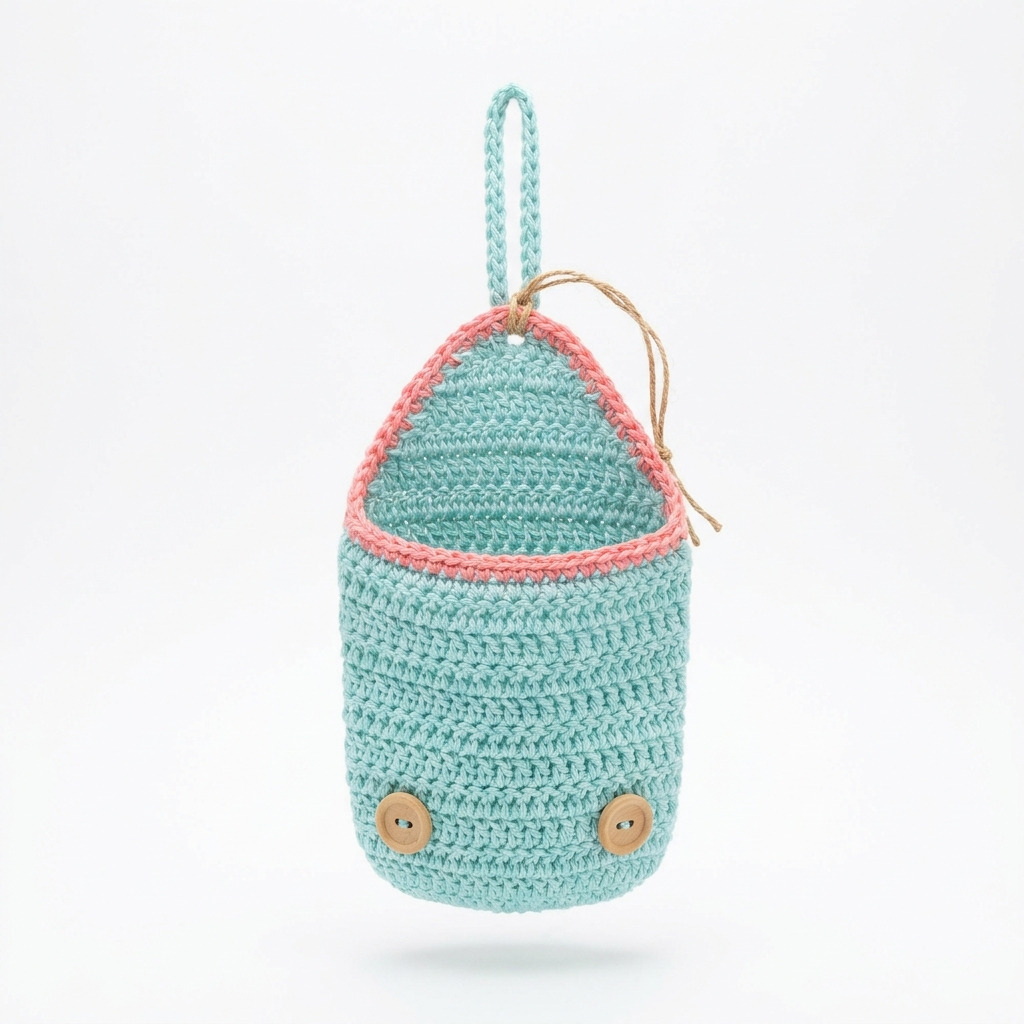
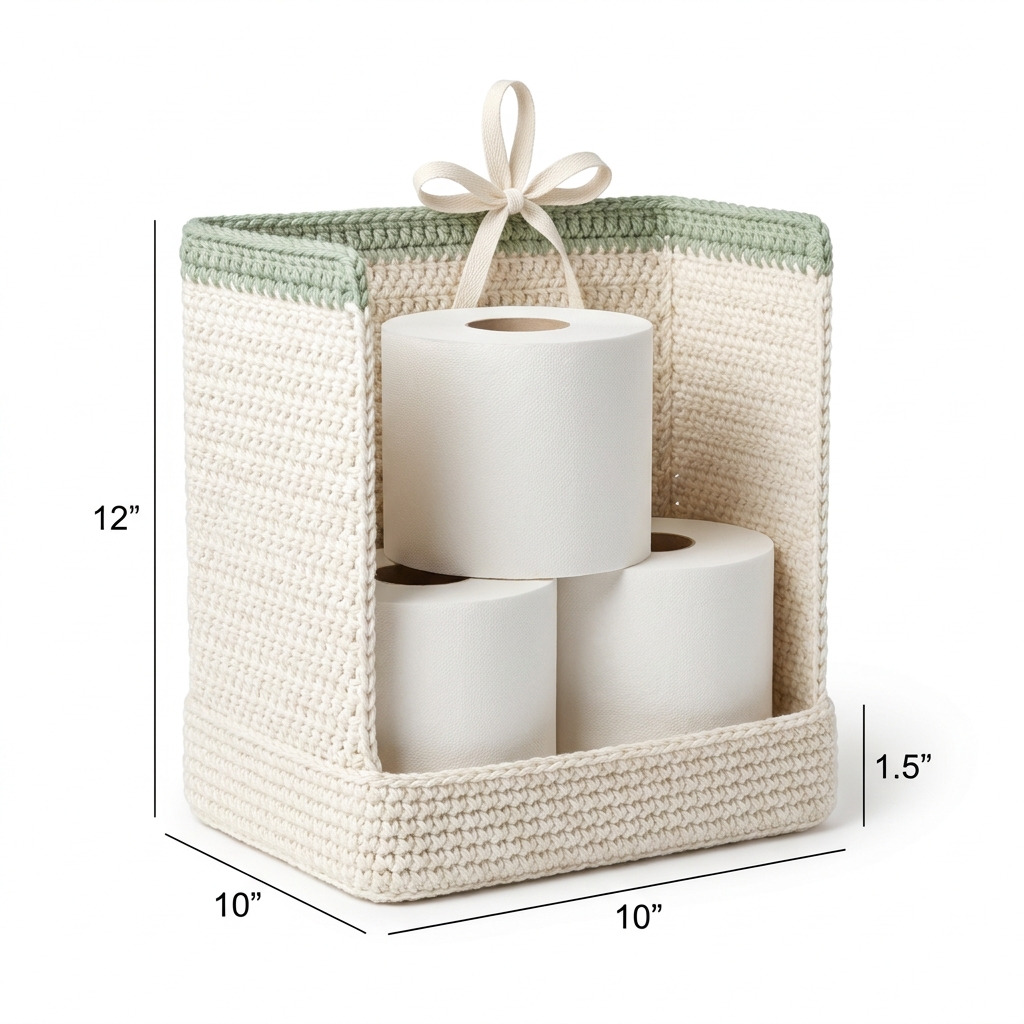
This crochet toilet paper holder pattern is perfect for neatly storing and displaying three spare rolls of toilet paper. The cozy, textured stitch pattern adds both charm and functionality to your bathroom decor. You’ll find that this project is both satisfying and easy to follow, using mainly basic stitches.
This pattern is suitable for beginners and those looking to practice their single crochet and basic assembly skills. Let’s dive into this fun and practical crochet project!
Why You’ll Love This Toilet Paper Holder
- Stylish and functional – keeps your spare rolls organized and adds a personal touch to your bathroom.
- Quick to make – you can complete this project in about 2 hours.
- Great for beginners – perfect for practicing single crochet and simple assembly.
- Customizable – play with colors or stitch patterns to match your home decor.
Is This Pattern Good for Beginners?
Absolutely! This pattern primarily uses single crochet, which is a great stitch for beginners to learn. The instructions are clear and straightforward, making it easy to follow along.
Crochet Abbreviations (US Terms)
- ch – chain
- sc – single crochet
- sl st – slip stitch
- dc – double crochet
- inc – increase (2 sc in the same stitch)
- dec – decrease (2 sc together)
Gauge and Finished Size
- Gauge: 12 sc and 14 rows = 10 cm (4 in).
- Finished dimensions: Approximately 30.5 cm (12 in) tall and 25.4 cm (10 in) wide.
How to Make a Toilet Paper Holder (Step by Step)
Base
The base is made using simple flat rows.
- Start with Color A. Ch 37.
- Row 1: Sc in the 2nd ch from the hook and in each ch across. (36 sc)
- Rows 2–6: Ch 1, turn. Sc in each sc across. (36 sc)
- Fasten off and weave in ends.
Sides
The sides are crocheted around the base to give some height. 5. With Color A (total of 2 pieces): Join with a sl st to any corner of the base. 6. Row 1: Ch 1, sc around the entire edge of the base (including corners). Join with sl st to the first sc. (36 sc) 7. Rows 2–12: Ch 1, sc in each sc around. Join with sl st to the first sc. (36 sc) 8. Switch to Color B on the last sl st of Row 12. 9. Rows 13–16: Ch 1, sc in each sc around. Join with sl st to the first sc. (36 sc) 10. Fasten off and weave in ends.
Top Edging
The top edging adds a nice finish to your holder. 11. With Color B, join with a sl st to any stitch of the last round of the sides. 12. Round 1: Ch 2, dc in the same stitch, *2 dc in the next stitch; repeat from * around. Join with sl st to the top of the beginning dc. (72 dc) 13. Fasten off and weave in ends.
Assembly & Finishing
- Fold down the top edge for a decorative look if desired, and sew the top edge to the inside of the holder for added stability.
- If desired, place a piece of cotton batting inside the holder for extra shape.
- Use a tapestry needle to add a cotton string or ribbon at the top for hanging purposes.
- Weave in any remaining ends.
Beginner Tips for a Neat Toilet Paper Holder
- Use stitch markers to keep track of your rounds, especially in the sides.
- Count your stitches at the end of each row to ensure accuracy.
- Manage your tension consistently to keep the stitches even.
Common Mistakes (and How to Fix Them)
- My stitches are too tight. – This may be due to using a hook that is too small; try a larger size.
- The piece is curling. – This usually happens if you’re missing stitches; double-check your counts regularly.
- It doesn’t fit the rolls. – Measure your rolls and adjust the number of starting chains if needed.
How to Care for Your Toilet Paper Holder
Hand wash and lay flat to dry to maintain the shape and colors of your holder. Avoid harsh detergents to preserve the cotton fibers.
FAQ
How do I resize my toilet paper holder?
To resize, simply adjust the number of starting chains for the base according to your desired dimensions while maintaining your stitch count for the sides.
What type of yarn can I use?
You can use any worsted weight cotton yarn; just make sure it’s sturdy enough to hold its shape when made into the holder.
Can I change the colors?
Absolutely! Feel free to customize the colors to match your bathroom decor or personal preference.
Looking for more ideas? Check out our collection of lovely blankets.
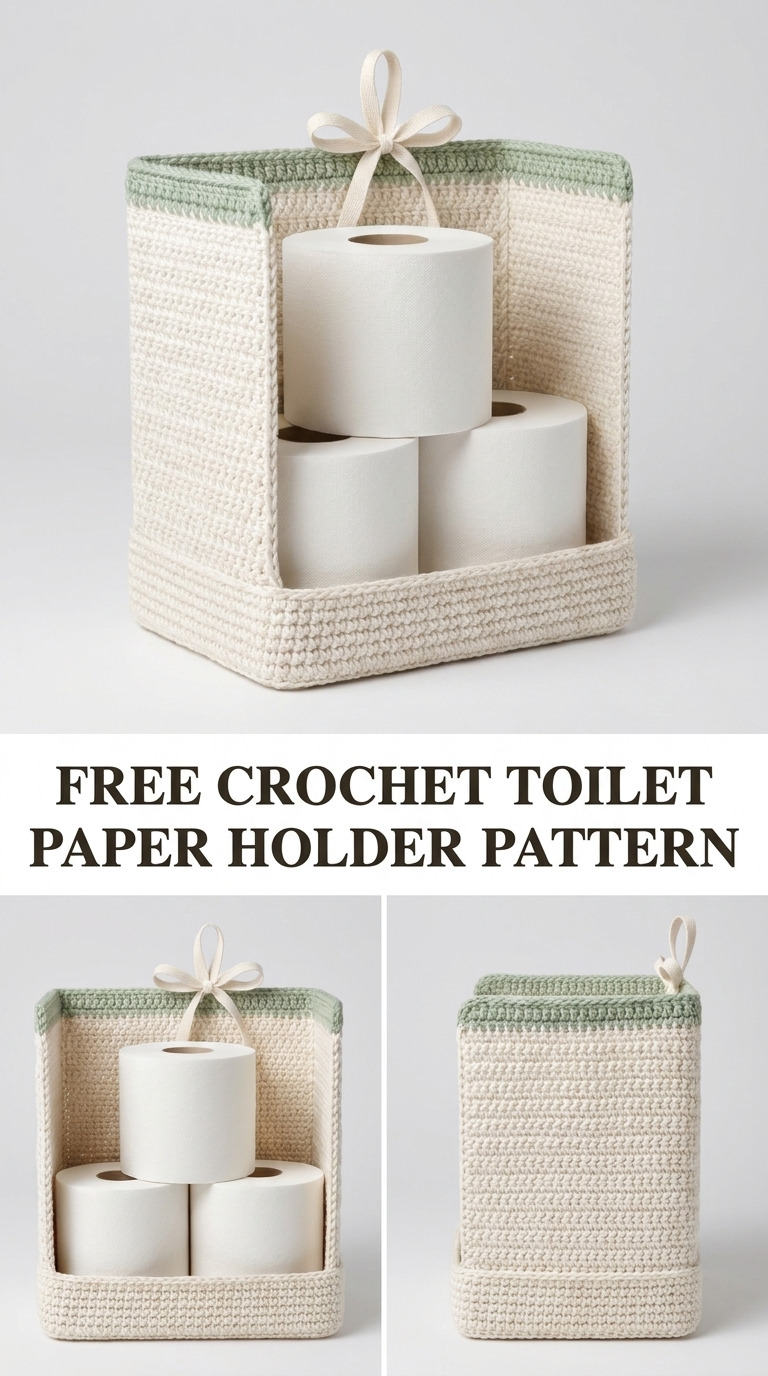
Image shown for inspiration — your finished result may vary slightly.