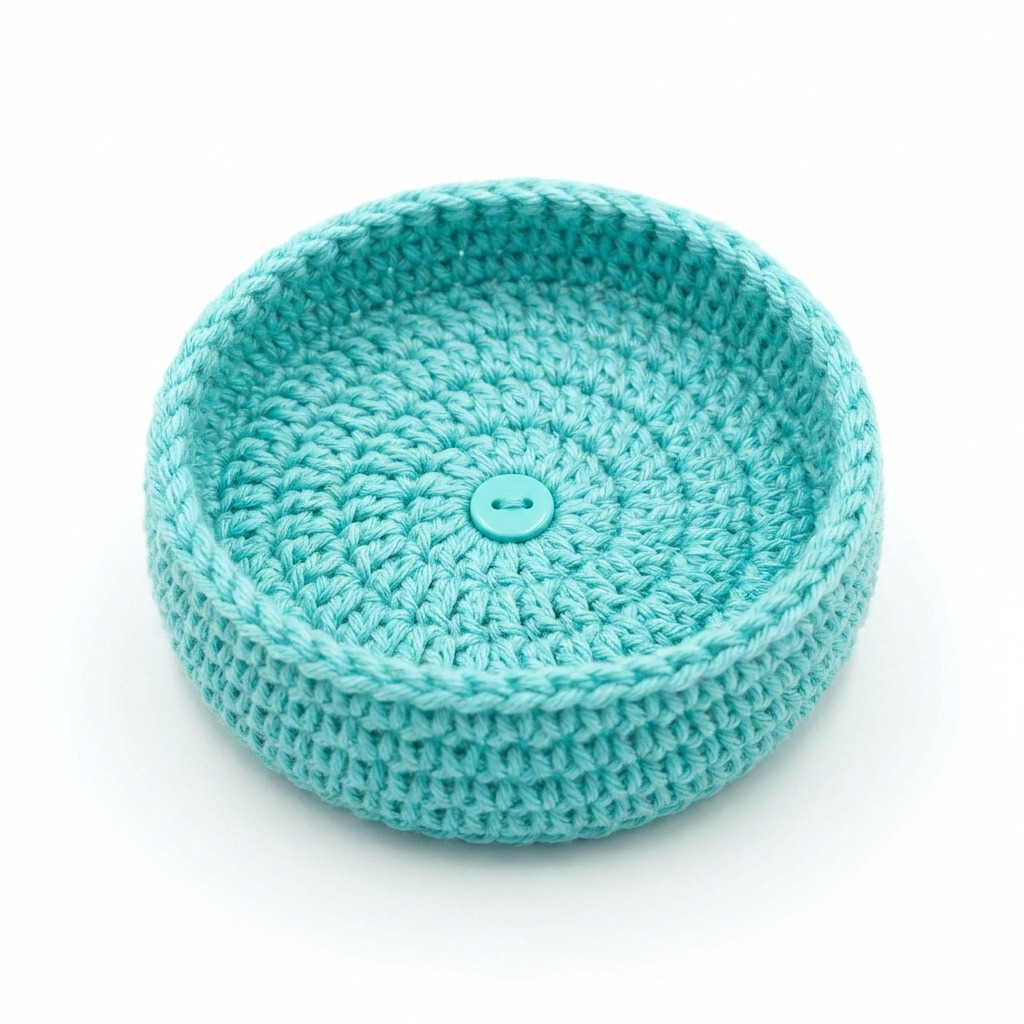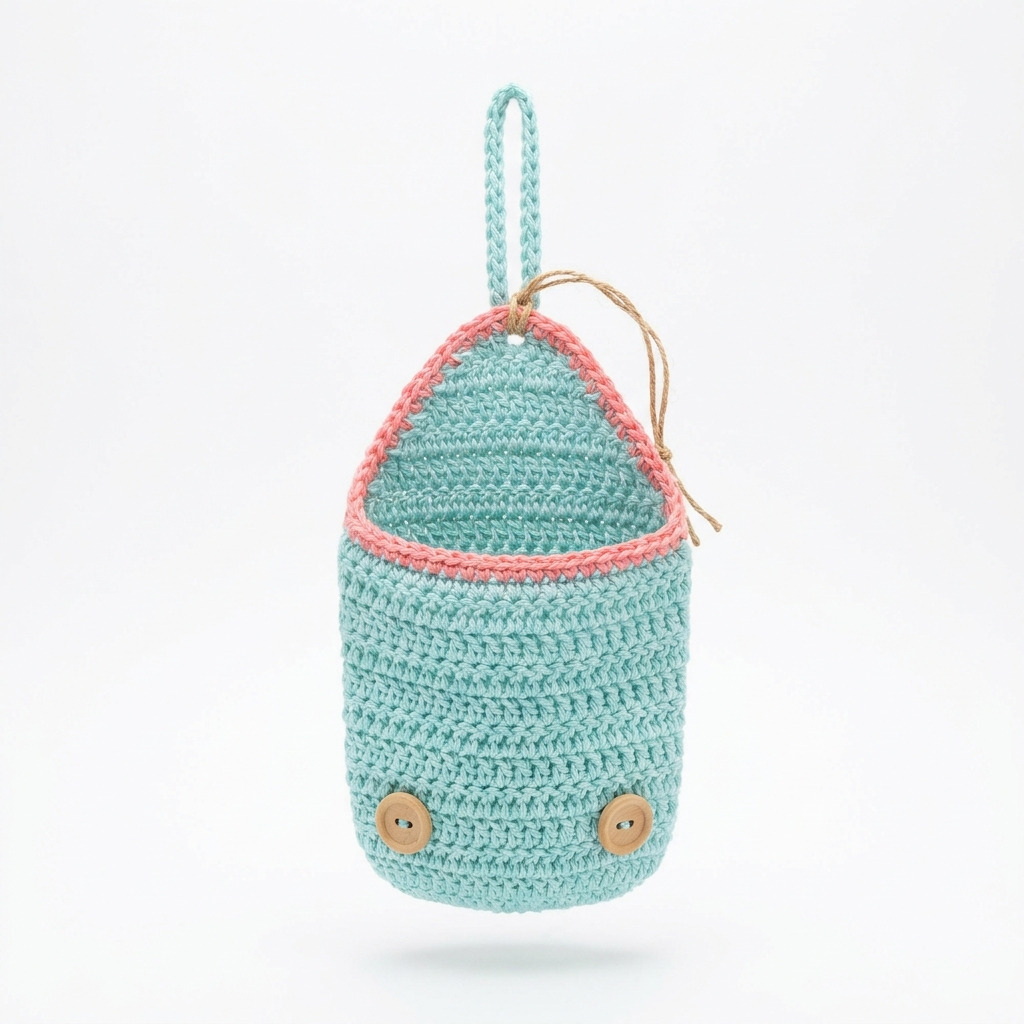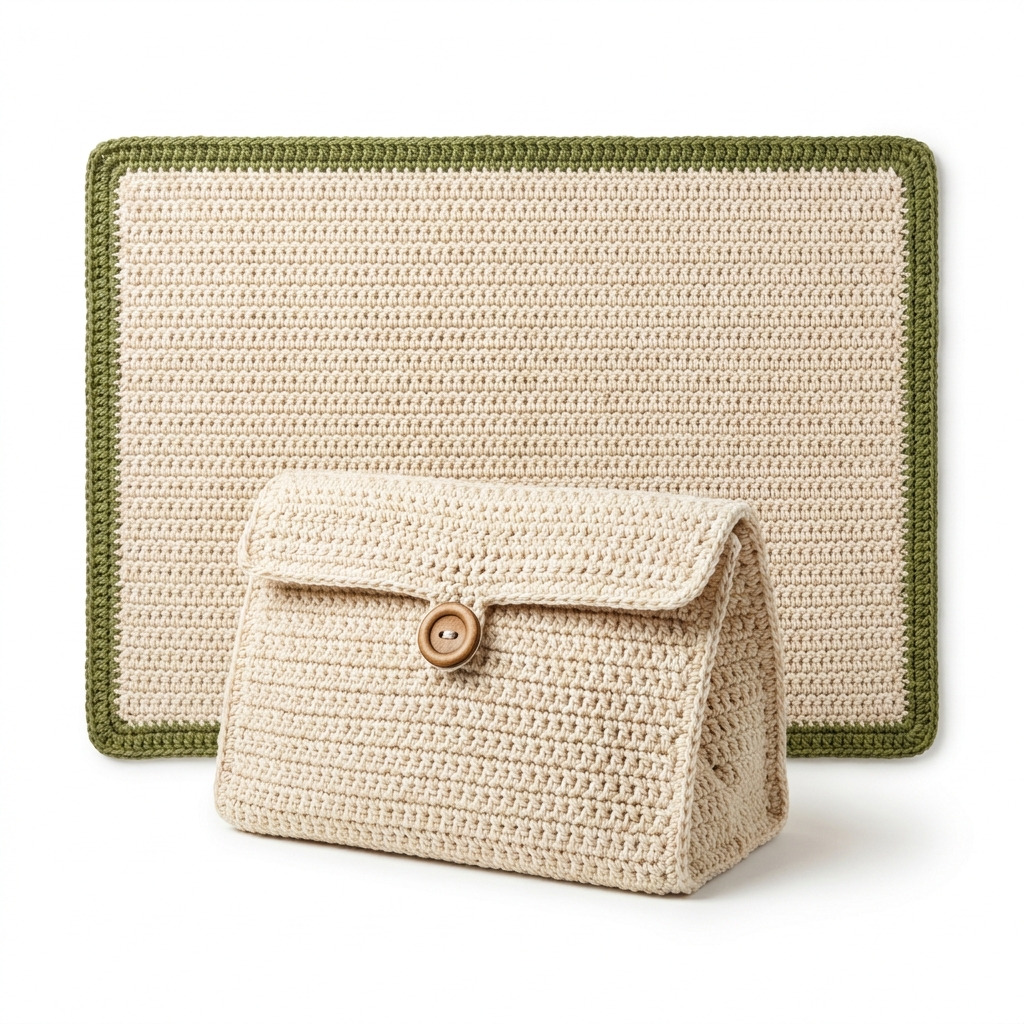
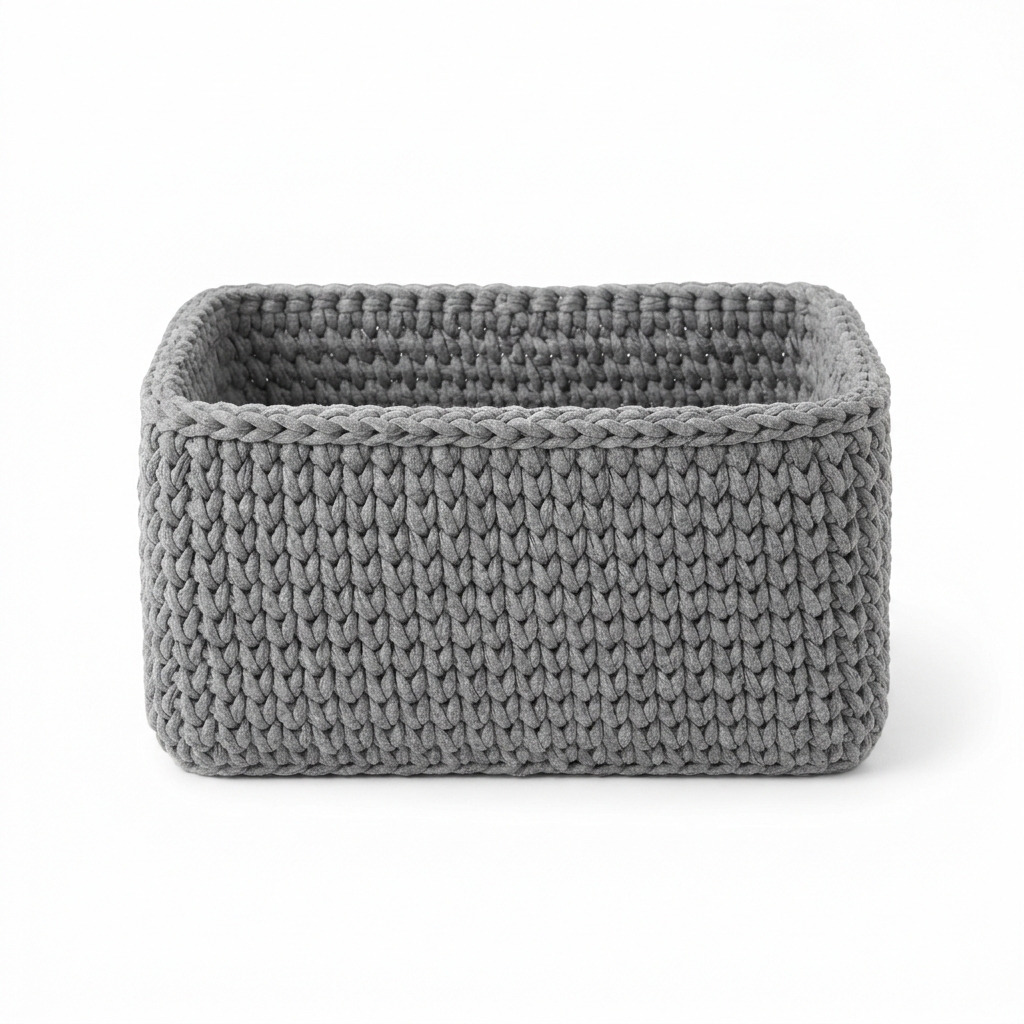
This crochet rectangular shelf basket pattern is perfect for adding organization to your home. Not only is it functional, but it’s also a stylish way to declutter while practicing basic crochet stitches like double crochet and single crochet. You’ll find this project enjoyable and satisfying as you create a lovely basket from soft, durable T-shirt yarn.
This pattern is great for beginners who want to explore creating practical items. With just a few simple stitches and some straightforward instructions, you will gain confidence in your crochet skills while making something useful.
Why You’ll Love This Rectangular Shelf Basket
- Quick to make – assemble it in around 3 hours, perfect for a last-minute gift.
- Functional design – keeps your spaces tidy while adding style.
- Easy-to-follow instructions – ideal for beginners to enhance their skills.
- Customizable colors – express your creativity by using different yarn colors or patterns.
Is This Pattern Good for Beginners?
Absolutely! This pattern utilizes simple stitches such as double crochet and single crochet, making it easy to follow along even if you’re new to crochet.
Crochet Abbreviations (US Terms)
- ch – chain
- sl st – slip stitch
- sc – single crochet
- dc – double crochet
- st(s) – stitch(es)
- inc – increase (2 sts in the same st)
- dec – decrease (work 2 sts together)
Gauge and Finished Size
- Finished size: Approximately 30 × 20 × 15 cm (12 × 8 × 6 in)
- Gauge: 8 dc and 4 rows = 10 cm (4 in)
How to Crochet a Rectangular Shelf Basket (Step by Step)
Base of the Basket
The base of the basket is made using flat rows.
- Ch 26.
- Row 1: Dc in the 4th ch from the hook, dc in each ch across (23 dc).
- Row 2: Ch 3, turn. Dc in each st across (23 dc).
- Row 3: Ch 3, turn. Dc in each st across (23 dc).
- Row 4: Ch 3, turn. Dc in each st across (23 dc).
- Row 5: Ch 3, turn. *Dc in next 10 sts, inc in next st; repeat from * across (25 dc).
- Row 6: Ch 3, turn. Dc in each st across (25 dc).
- Row 7: Ch 3, turn. *Dc in next 11 sts, inc in next st; repeat from * across (27 dc).
- Row 8: Ch 3, turn. Dc in each st across (27 dc).
- Row 9: Ch 3, turn. *Dc in next 12 sts, inc in next st; repeat from * across (29 dc).
- Row 10: Ch 3, turn. Dc in each st across (29 dc).
- Row 11: Ch 3, turn. *Dc in next 13 sts, inc in next st; repeat from * across (31 dc).
- Row 12: Ch 3, turn. Dc in each st across (31 dc).
Sides of the Basket
Now let’s create the sides to shape the basket. 14. Row 13: Ch 1, turn. Sc in each dc across (31 sc). 15. Row 14: Ch 1, turn. Sc in next 31 sts (31 sc). 16. Row 15: Ch 1, turn. Sc in next 31 sts (31 sc). 17. Row 16: Ch 1, turn. Sc in next 31 sts (31 sc). 18. Row 17: Ch 1, turn. Sc in next 31 sts (31 sc).
Finishing the Basket
We’ll finish the basket by folding and securing it. 19. Fasten off, leaving a long tail for sewing. 20. Fold the basket up at the sides for a rectangular shape. Use the tapestry needle to whip stitch the corners together securely.
How to Attach the Strap
- If you choose to add a strap, simply create a chain to your desired length and attach it to the sides using slip stitches.
Beginner Tips for a Neat Basket
- Use stitch markers to count your stitches and keep track of your rows.
- Keep an eye on your gauge to ensure the basket turns out the correct size.
- Practice managing your tension to avoid uneven stitches.
Common Mistakes (and How to Fix Them)
- “My stitches are too tight.” This could be due to using a hook that is too small; try a larger hook.
- “I can’t seem to keep the basket shape.” Make sure to count your stitches and rows accurately for even sides.
- “The base is curling.” This may happen if your starting chain is too tight; loosen up your tension as you start.
How to Care for Your Rectangular Shelf Basket
To keep your basket looking great, hand wash it in cold water and lay it flat to dry. This will help maintain its shape and softness.
FAQ
How can I make my basket sturdier?
You can use a thicker T-shirt yarn or add interfacing to the sides for added support.
Can I make this basket larger?
Yes, you can increase the number of starting chains and adjust your row counts accordingly while following the increase pattern.
What if my gauge is off?
If your gauge is larger or smaller than specified, adjust your hook size accordingly until you achieve the correct measurements.
Looking for more ideas? Check out our collection of lovely blankets.
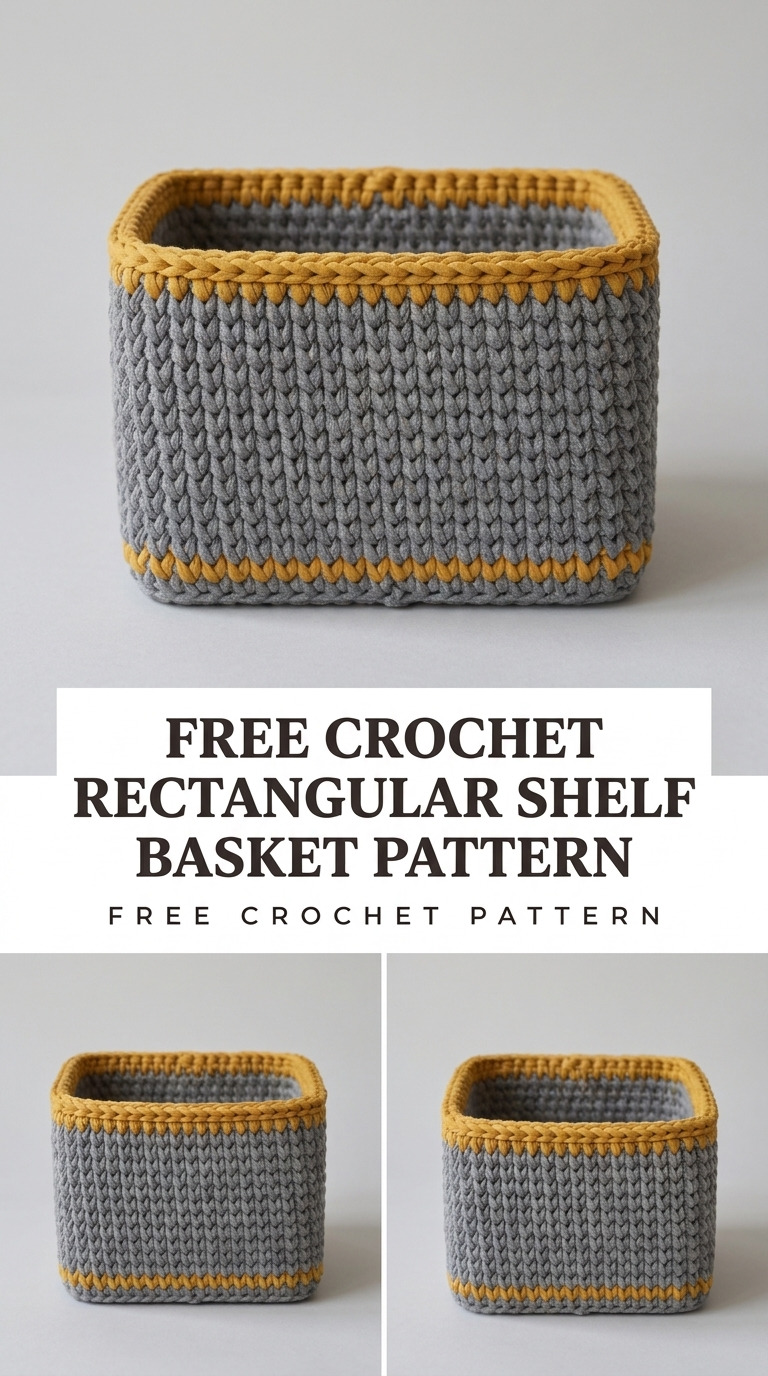
Image shown for inspiration — your finished result may vary slightly.