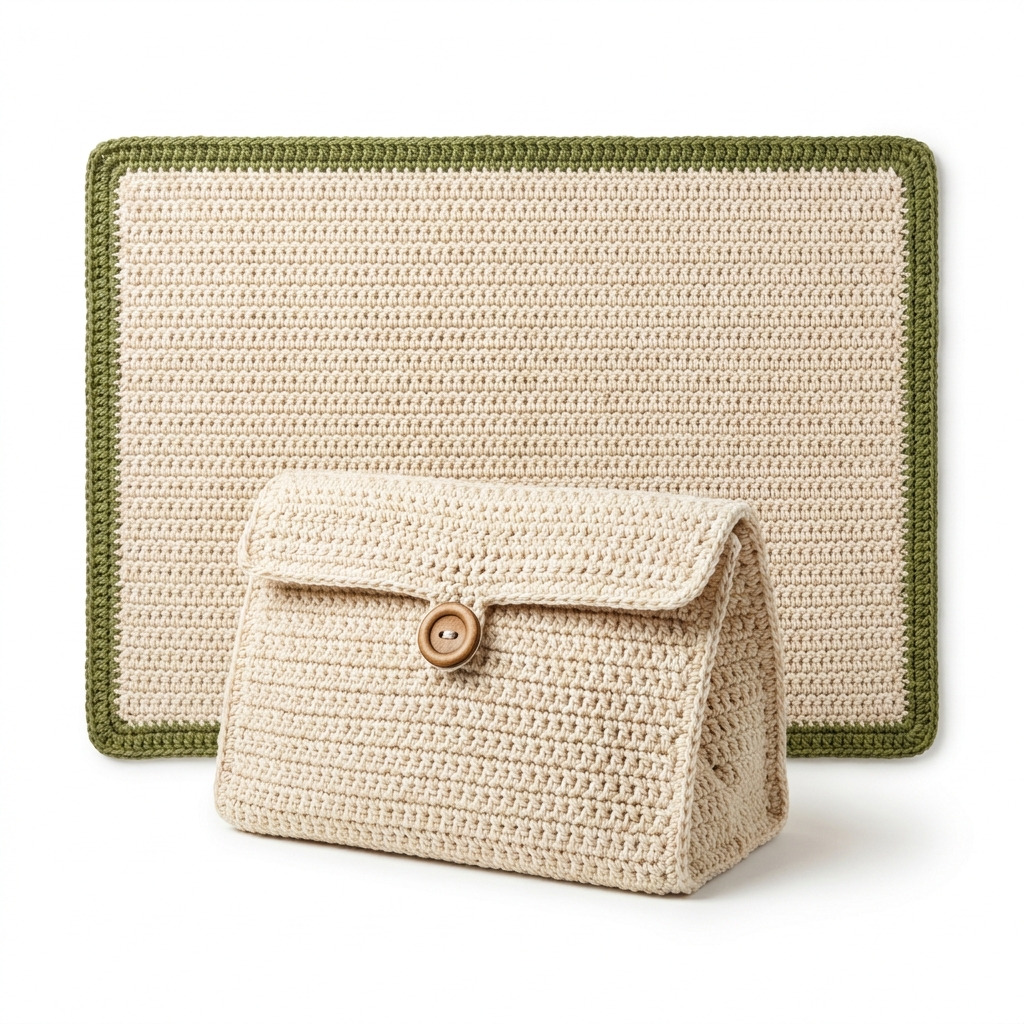
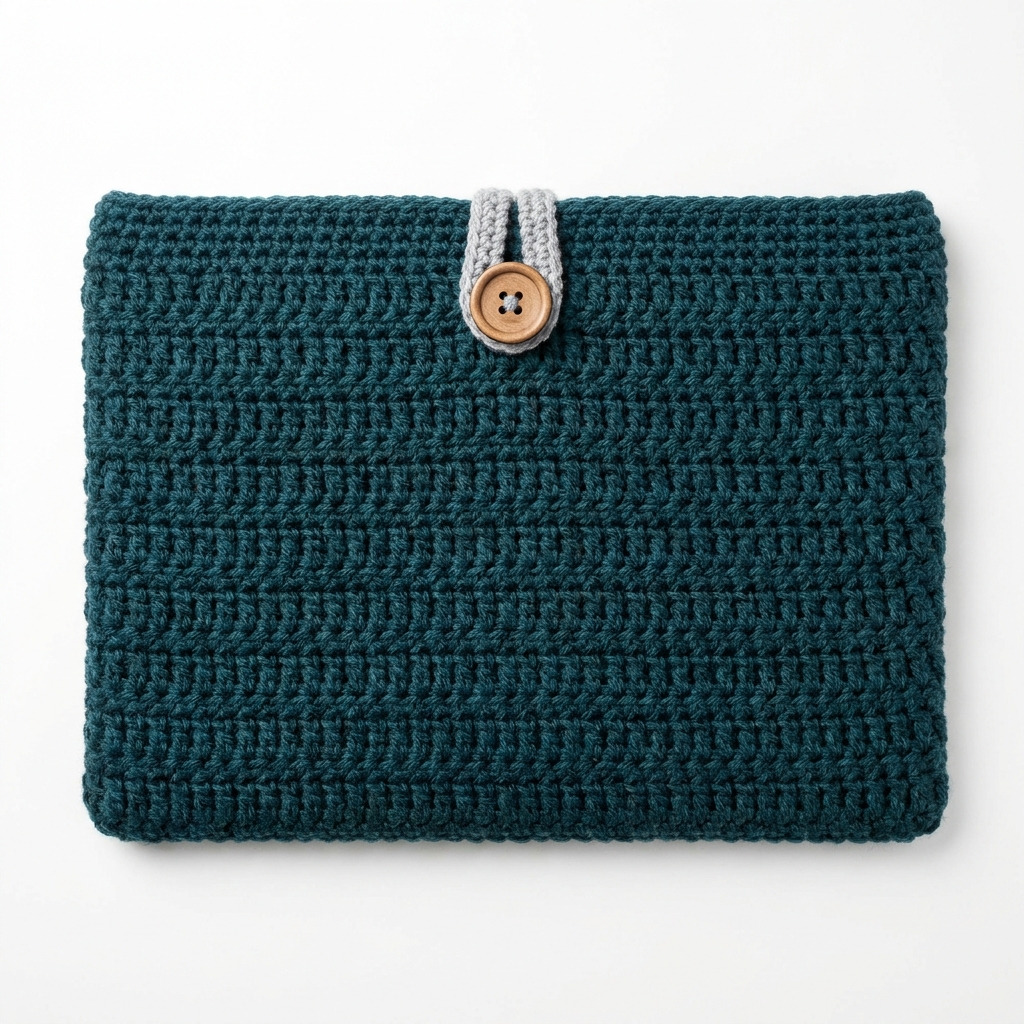
This free crochet laptop sleeve pattern with button closure is a great way to protect your laptop in style. It features a textured design and a secure button for easy access. With basic stitches like double crochet and single crochet, you’ll enjoy the satisfaction of creating something both useful and unique.
This project is perfect for beginners and those looking to enhance their crochet skills. It uses simple stitches, and you’ll gain confidence while making a practical item that can be used daily.
Why You’ll Love This Laptop Sleeve
- Quick project – perfect for last-minute gifts or personal use.
- Easy construction – suitable for beginners, with clear step-by-step instructions.
- Customizable design – choose your favorite colors or patterns to make it uniquely yours.
- Functional and stylish – protects your laptop while looking great.
Is This Pattern Good for Beginners?
Absolutely! This crochet laptop sleeve pattern uses basic stitches that are easy to follow. You’ll learn how to fold and join pieces, making it a simple introduction to crochet projects.
Crochet Abbreviations (US Terms)
- ch – chain
- dc – double crochet
- sl st – slip stitch
- st – stitch
- sc – single crochet
- fphdc – front post double crochet
Size and Gauge
- Finished Dimensions: Approximately 41 × 30.5 cm (16 × 12 in)
- Gauge: 12 dc and 7 rows = 10 cm (4 in)
How to Crochet a Laptop Sleeve (Step by Step)
Body
The body of the sleeve is made in a simple rectangular shape.
- Foundation Row: Ch 48.
- Row 1: Dc in the 4th ch from hook and in each ch across. (46 dc)
- Row 2: Ch 3 (counts as first dc here and throughout), turn. Dc in the next dc and in each dc across. (46 dc)
- Row 3: Ch 3, turn. Fphdc around the next dc, dc in the next. Repeat from * to * across. (46 dc total)
- Rows 4–20: Repeat Rows 2–3 four more times (9 total times for dc, 5 times for fphdc). (46 dc)
- Row 21: Ch 1, turn. Sc in each dc across. (46 sc)
Assembly
The sleeve will be formed by folding the piece and joining the sides. 7. Fold the Project: Fold the piece in half, aligning the bottom edges and the side seams. 8. Joining Rows: Using slip stitches, join both sides from the bottom of the fold to the top, leaving the top open. (46 stitches along each side) 9. Edging the Top: Turn sleeve inside out (if you wish to hide seams) and sc around the top edge to create a finished look. Join with a sl st. 10. Button Loop: - Ch 10, turn, and sc in the 2nd ch from hook and each ch across. (9 sc) - Join to the side of the sleeve on the same row, positioned about 5 cm (2 in) from the top. Tie off.
Button Placement
- Sew the button securely opposite the button loop on the front of the sleeve to complete.
Beginner Tips for a Neat Laptop Sleeve
- Use stitch markers to keep track of your rows, especially during assembly.
- Count your stitches after each row to ensure consistency.
- Manage your tension; not too tight, but enough to keep your stitches even.
Common Mistakes (and How to Fix Them)
- “My stitches are too tight.” – This might cause the sleeve to be too small. Try using a larger hook or relaxing your tension.
- “The edges are uneven.” – This could be from not keeping your starting chains tight. Focus on even tension as you work.
- “My button loop isn’t fitting.” – Ensure you make the loop long enough when chaining. You can always adjust as needed.
How to Care for Your Laptop Sleeve
Hand wash in lukewarm water and lay flat to dry, reshaping as necessary. Avoid tumble drying and direct heat to maintain the fabric’s integrity.
FAQ
How do I resize my laptop sleeve?
To resize, simply adjust the foundation chain according to the desired width. Ensure to keep your stitch counts consistent throughout.
Can I use a different yarn weight?
Yes! Just be mindful to check your gauge, as using a different weight may affect the fit of your sleeve.
How long will this project take?
Estimated time for completion is around 3–4 hours, depending on your crochet speed.
Looking for more ideas? Check out our collection of lovely blankets.
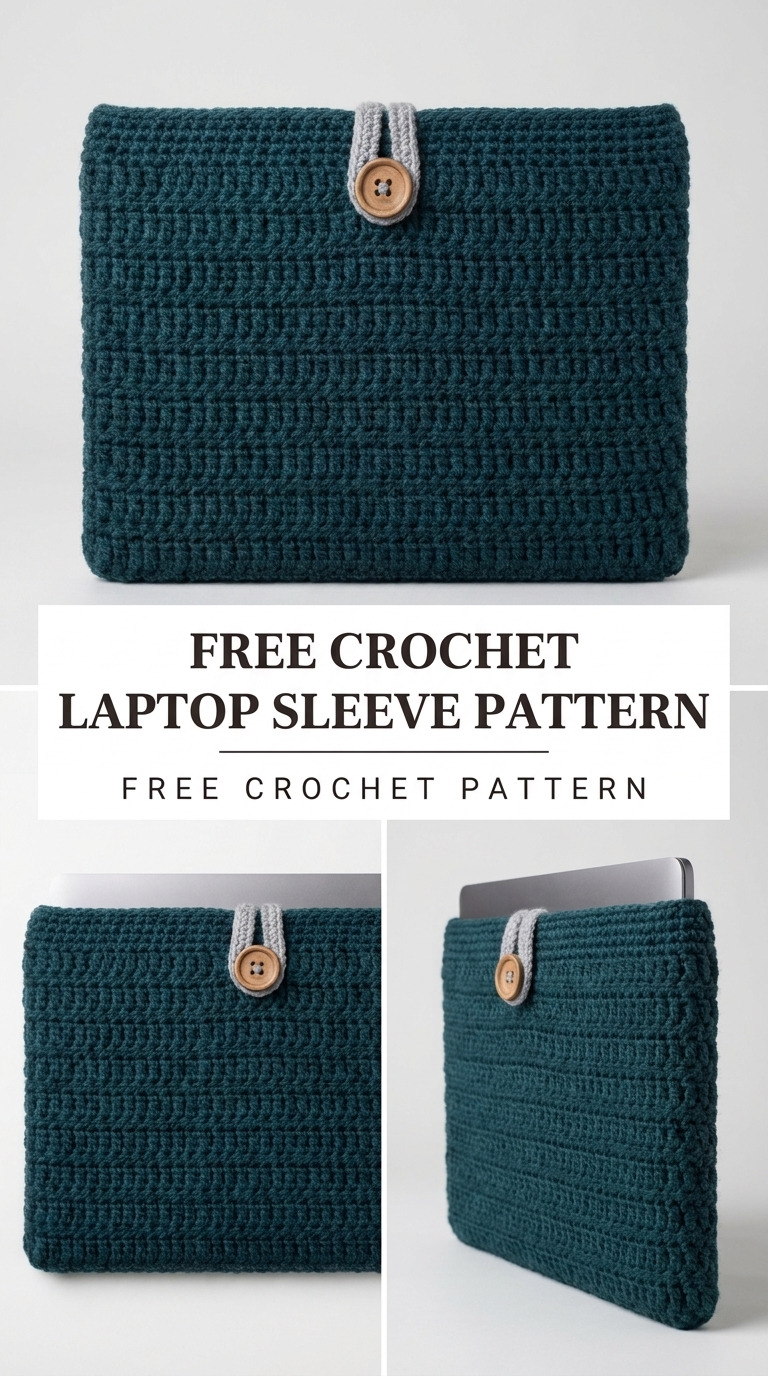
Image shown for inspiration — your finished result may vary slightly.