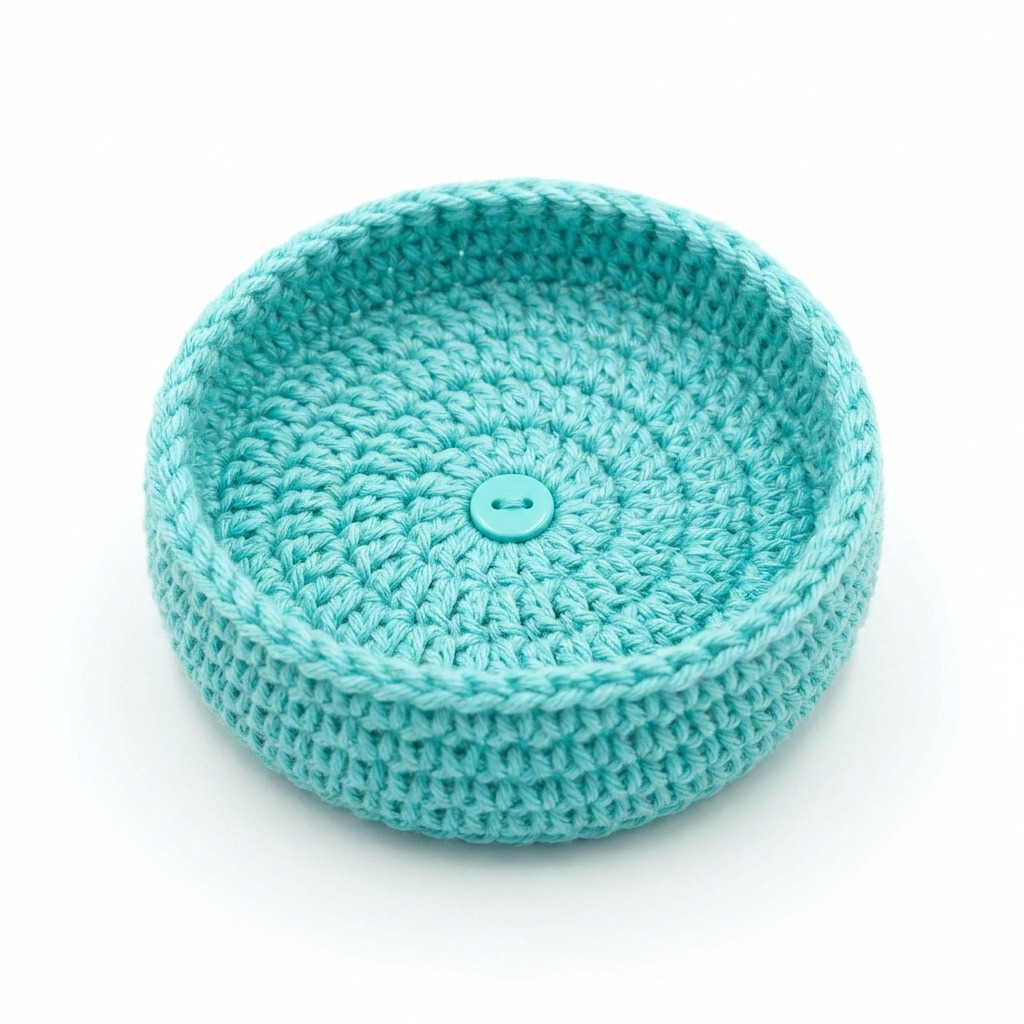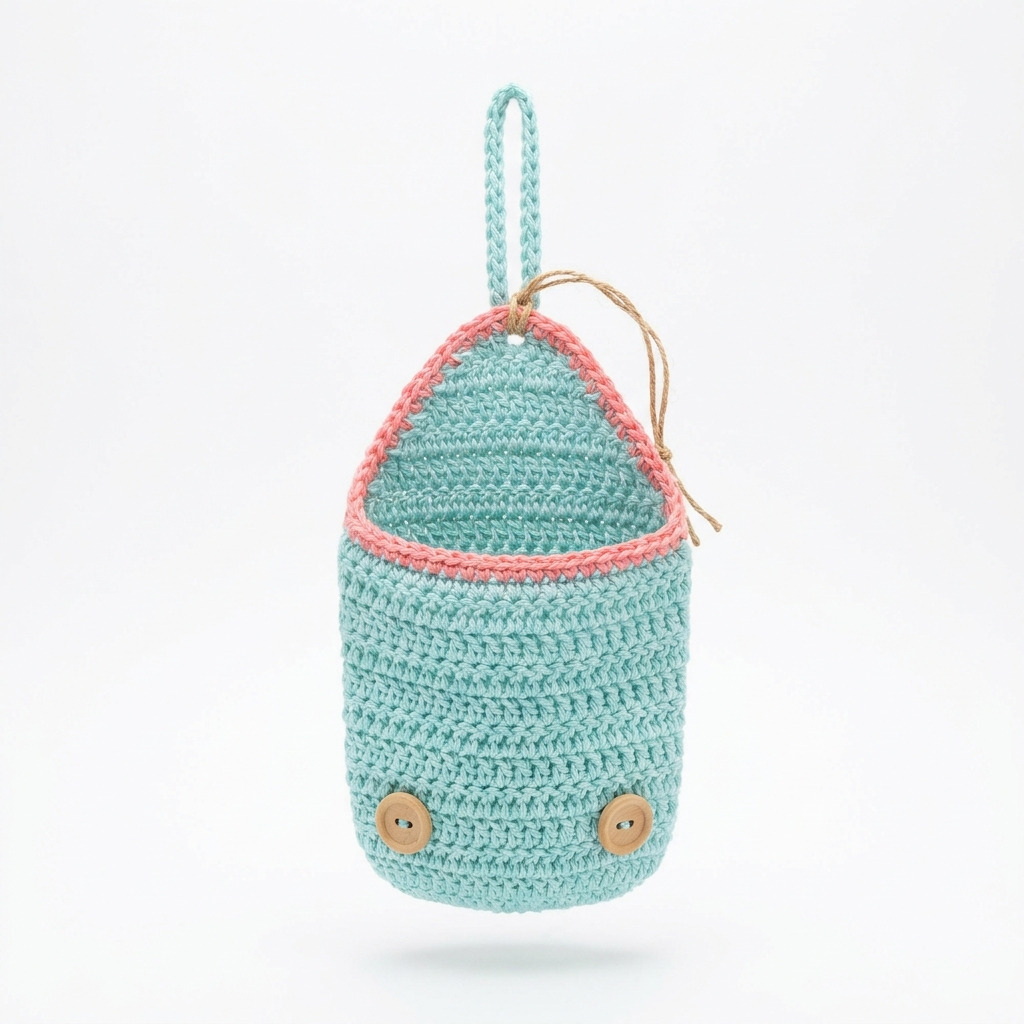
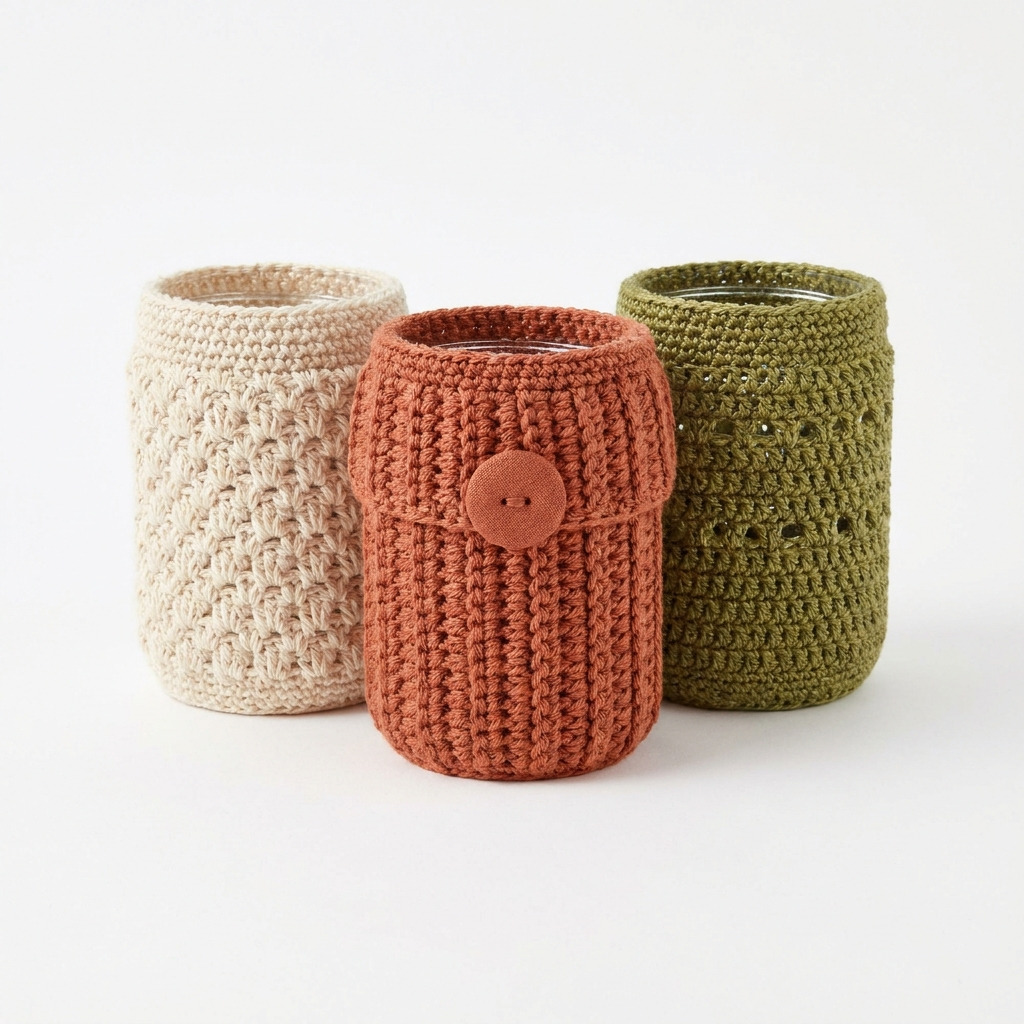
This crochet jar cover pattern allows you to create decorative and functional covers for jars, perfect for organizing your pantry with style. Each cover fits standard-sized mason jars and can be customized with different colors and decorative stitches. This project is easy and helps you practice basic stitches like double crochet and single crochet.
This pattern is suitable for beginner to intermediate crocheters. You’ll gain confidence in your crochet skills as you create these lovely jar covers to brighten up your space.
Why You’ll Love This Jar Cover
- Fun and creative – customize with your favorite colors and patterns.
- Quick to make – each cover takes only 2–3 hours.
- Practical use – keep your pantry organized and stylish.
- Perfect for gifting – a charming present for friends or family.
Is This Pattern Good for Beginners?
Absolutely! The stitches used are simple and easy to learn. As you work through the rounds, you’ll become more comfortable with crochet.
Crochet Abbreviations (US Terms)
- ch – chain
- sc – single crochet
- dc – double crochet
- sl st – slip stitch
- inc – increase (2 sc in the same stitch)
- dec – decrease (single crochet two stitches together)
Size and Gauge
- Finished Size: Fits standard mason jars, approx. 11.5 cm tall and 7.5 cm in diameter (4.5 × 3 in).
- Gauge: 12 dc and 7 rows = 10 cm (4 in).
How to Crochet a Jar Cover (Step by Step)
Jar Cover
The jar cover is made using rounds of stitches that create a snug fit.
Round 1:
- Ch 4, join to first ch with a sl st to form a ring.
- Ch 3 (counts as dc), 11 dc in the ring.
- Join with a sl st to the top of the beginning ch 3. (12 sts)
Round 2:
- Ch 3 (counts as dc), dc in same stitch, inc in each st around.
- Join with a sl st to the top of the beginning ch 3. (24 sts)
Round 3:
- Ch 3 (counts as dc), dc in next st, dc in next st, inc in next st; repeat from * around.
- Join with a sl st to the top of the beginning ch 3. (36 sts)
Round 4:
- Ch 1, sc in same st, sc in next 2 sts, inc in next st; repeat from * around.
- Join with a sl st to the first sc. (48 sts)
Round 5:
- Ch 1, sc in same st, sc in next 3 sts, inc in next st; repeat from * around.
- Join with a sl st to the first sc. (60 sts)
Rounds 6–11:
- Ch 3, dc in each st around.
- Join with a sl st to the top of the beginning ch 3. (60 sts)
- Repeat for 6 rounds total (to reach desired height).
Round 12:
- Ch 1, sc in same st, sc in next 3 sts, dec; repeat from * around.
- Join with a sl st to the first sc. (48 sts)
Round 13:
- Ch 1, sc in same st, sc in next 2 sts, dec; repeat from * around.
- Join with a sl st to the first sc. (36 sts)
Round 14:
- Ch 1, sc in each st around.
- Join with a sl st to the first sc. (36 sts)
Round 15:
- Ch 1, sc in same st, sc in next st, dec; repeat from * around.
- Join with a sl st to the first sc. (24 sts)
Round 16:
- Ch 1, sc in each st around.
- Join with a sl st to the first sc. (24 sts)
Round 17:
- Ch 1, dec around.
- Join with a sl st to the first sc. (12 sts)
Round 18:
- Ch 1, sc in each st around.
- Join with a sl st to the first sc. (12 sts)
Fasten off, leaving a long tail for sewing.
Assembly & Finishing
Gather the top of the jar cover using the long yarn tail and pull tightly to close. Secure with a knot. Optionally, sew on a button to the front of the jar cover for embellishment. Weave in all ends and block if necessary.
Beginner Tips for a Neat Jar Cover
- Use stitch markers to keep track of rounds.
- Count your stitches regularly to ensure correct sizing.
- Keep an even tension for a smooth finish.
Common Mistakes (and How to Fix Them)
- “My stitches are too tight.” – This usually means you’re pulling yarn too hard. Try relaxing your grip.
- “The piece is curling.” – This can occur if the gauge is too tight or if a decrease was missed. Check your work and adjust as needed.
- “I lost track of my stitches.” – Make a habit of counting after each round and using stitch markers.
How to Care for Your Jar Cover
Hand wash gently and lay flat to dry; do not machine wash or dry to keep the shape and integrity of your crochet.
FAQ
How do I customize my jar cover?
You can easily change colors or use different decorative stitches for a unique look. Just remember to maintain the stitch count!
Can I use different yarn types?
Yes, just make sure to maintain the same weight for a snug fit on the jars. Check the gauge to ensure your cover will fit.
How long will it take me to make all three covers?
Each cover takes about 2–3 hours, so plan for a total of 6–9 hours for three covers.
Looking for more ideas? Check out our collection of lovely blankets.
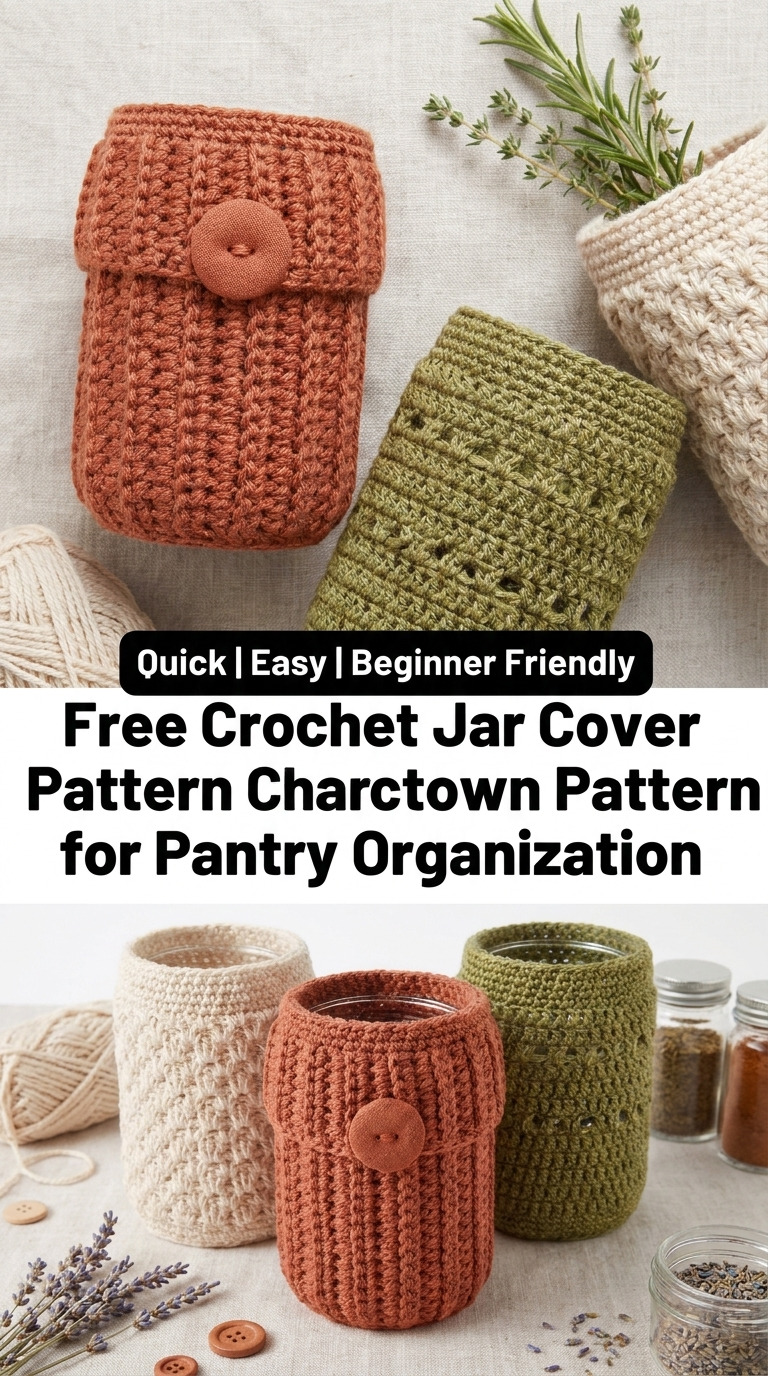
Image shown for inspiration — your finished result may vary slightly.