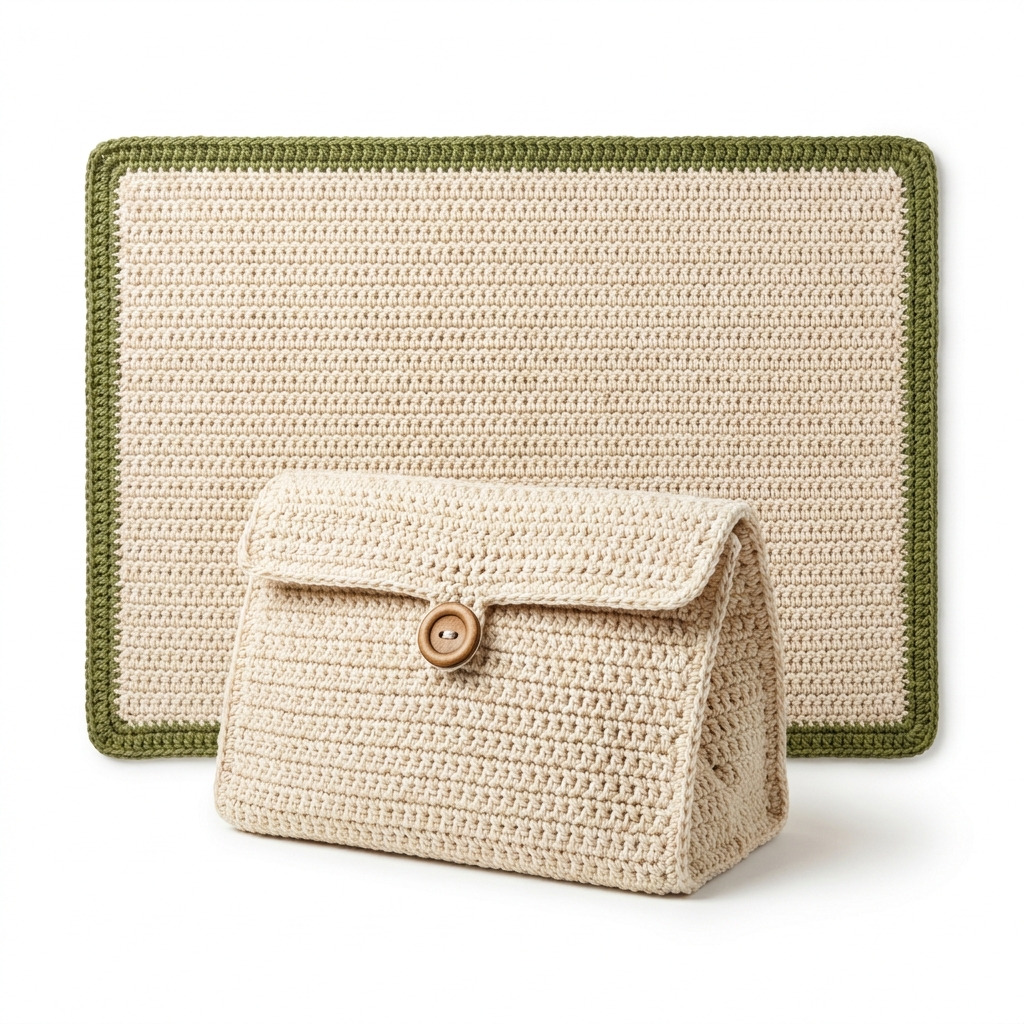
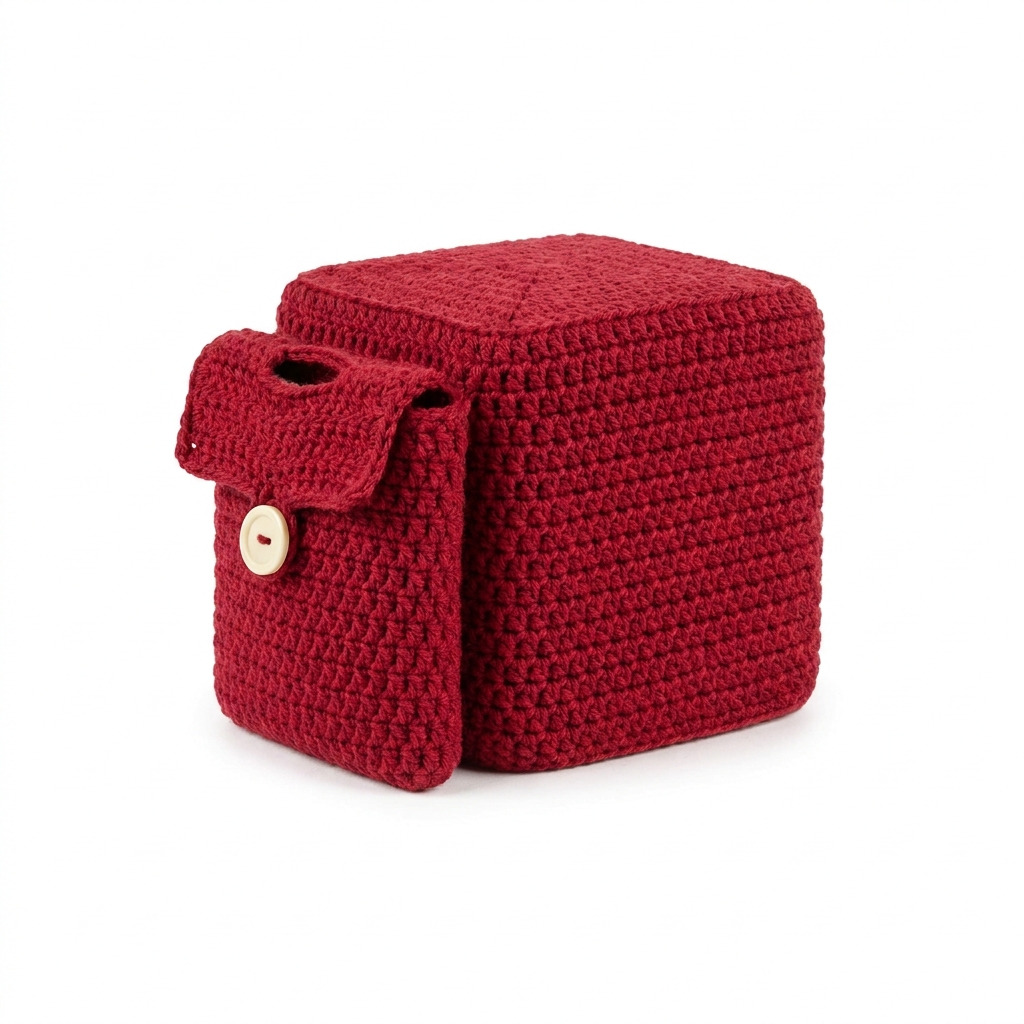
This crochet tissue box cover with trash pouch pattern is both functional and stylish. It’s designed to fit a standard tissue box while providing a convenient spot to dispose of used tissues. We’ll be using basic stitches like double crochet (dc) and single crochet (sc) throughout this project, which makes it perfect for you to practice your skills.
This project is suitable for beginners and intermediate crocheters alike. You’ll gain confidence in your technique while creating something practical for your home.
Why You’ll Love This Tissue Box Cover
- Functional design – a trash pouch is attached for easy disposal of tissues.
- Quick to make – perfect for gifts or to spruce up your own space.
- Easy to customize – choose your favorite colors to match your decor.
- Practical practice – refine your skills with basic stitches.
Is This Pattern Good for Beginners?
Absolutely! You’ll be using simple stitches and straightforward construction steps. With a bit of practice, you’ll comfortably tackle this project.
Crochet Abbreviations (US Terms)
- ch – chain
- sl st – slip stitch
- sc – single crochet
- dc – double crochet
Size and Gauge
- Finished Size:
- Tissue Box Cover: 15 × 15 cm (6 × 6 in)
- Trash Pouch: 10 × 15 cm (4 × 6 in)
- Gauge: 12 dc and 9 rows = 10 cm (4 in). Check your gauge to ensure proper sizing; adjust your hook size if necessary.
Step 1: Create the Tissue Box Cover
The tissue box cover is made with flat rows, creating a snug fit for your box.
- Foundation Row: Ch 34.
- Row 1: Dc in 4th ch from hook, dc in each ch across. (32 dc)
- Row 2: Ch 3, turn, dc in next stitch and in each across. (32 dc)
- Rows 3–12: Repeat Row 2 for 10 more rows.
- Row 13: Ch 1, turn, sc in each dc across. (32 sc)
- Row 14: Ch 3, turn, dc in next stitch and in each across. (32 dc)
- Row 15: Repeat Row 13. (32 sc)
- Rows 16–24: Repeat Row 14, then Row 13 for 4 more times.
- Row 25: Ch 1, turn, sc in each sc across. (32 sc)
- Row 26: Ch 3, turn, dc in next stitch and in each across. (32 dc)
- Row 27: Repeat Row 13. (32 sc)
- Row 28: Ch 1, fold the piece in half, sl st across top to join.
- Finish: Fasten off and weave in ends.
Step 2: Make the Trash Pouch
The trash pouch is a simple addition, adding extra functionality.
- Foundation Row: Ch 20.
- Row 1: Dc in 4th ch from hook, dc in each ch across. (18 dc)
- Rows 2–12: Ch 3, turn, dc in each across for 11 more rows. (18 dc)
- Row 13: Ch 1, turn, sc in each dc across. (18 sc)
- Row 14: Ch 3, turn, dc in next stitch and in each across. (18 dc)
- Row 15: Repeat Row 13. (18 sc)
- Row 16: Ch 1, fold the piece in half, sl st along the side, leaving a small opening at the top.
- Finish: Fasten off and weave in ends.
Assembly & Finishing
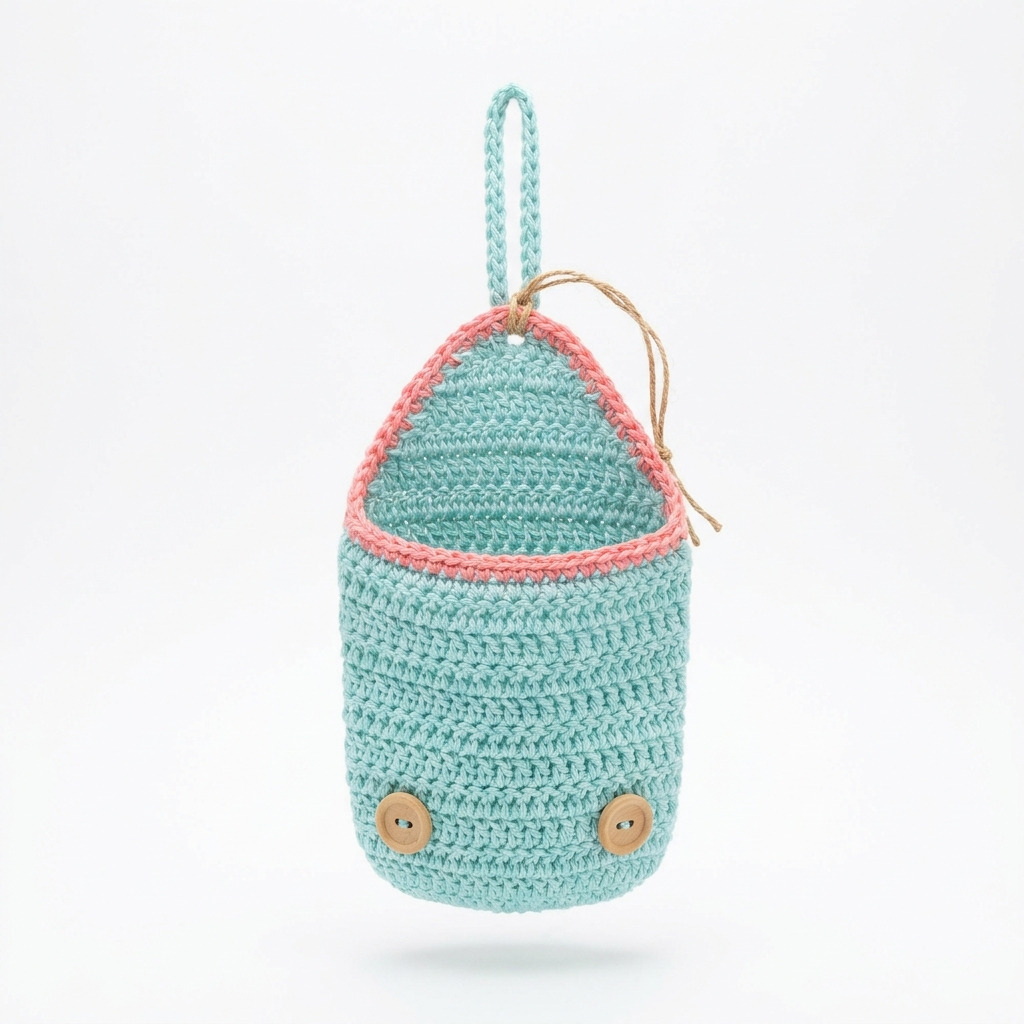
Attach the trash pouch to one side of the tissue box cover using sl st and yarn from the trash pouch. Sew the button on the front side of the trash pouch. Weave in any remaining ends and ensure all seams are secure.
Beginner Tips for a Neat Tissue Box Cover
- Keep stitch markers handy to track your progress in longer rows.
- Count your stitches as you go to avoid mistakes.
- Maintain even tension for a smooth finish.
Common Mistakes (and How to Fix Them)
- “My stitches are too tight.” – This can happen if you’re gripping your yarn too tightly. Relax your grip and practice.
- “The piece is curling.” – This often happens with uneven tension. Ensure you maintain consistent tension throughout.
- “I lost track of my rows.” – Use stitch markers or a notebook to keep track of each row completed.
How to Care for Your Tissue Box Cover
Hand wash in cold water and lay it flat to dry. This will help maintain its shape and color.
FAQ
How do I resize my tissue box cover?
To resize, add or subtract chains in the foundation row. Adjust the length of your rows as needed to accommodate the new size.
Can I use different yarn for this project?
Yes! Worsted weight yarn of any fiber blend will work. Just ensure you check your gauge.
How do I clean my crochet cover?
Hand washing in cold water and air drying is best to maintain the integrity of your crochet work.
Looking for more ideas? Check out our collection of lovely blankets.
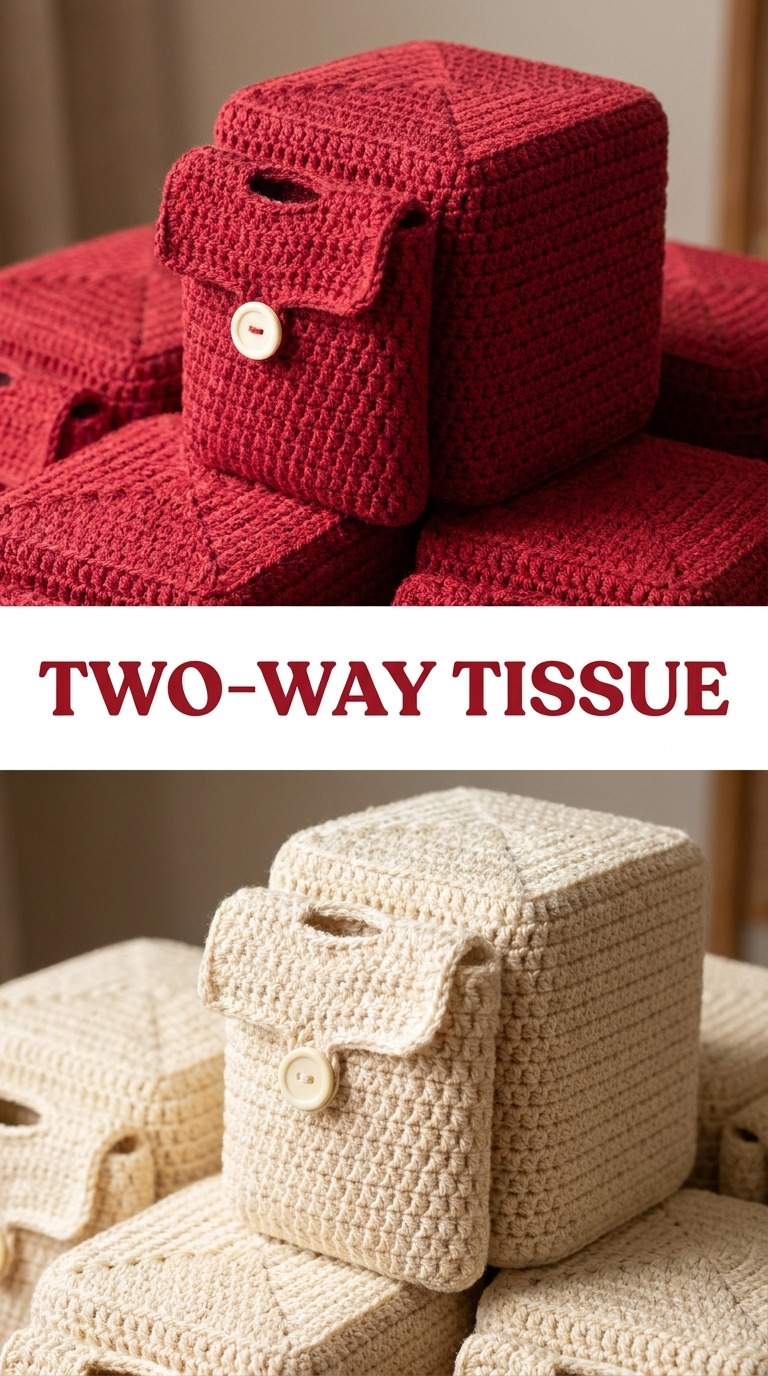
Image shown for inspiration — your finished result may vary slightly.