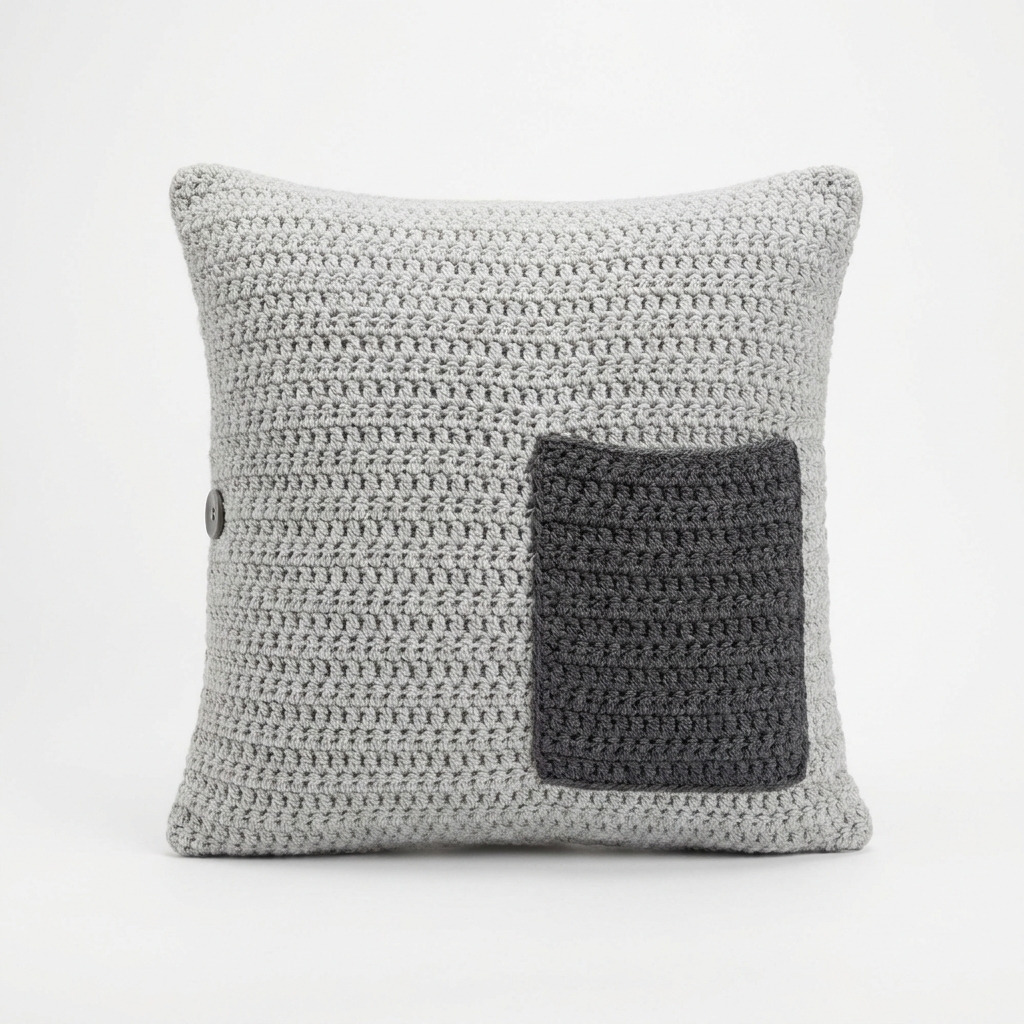
This cozy crochet pillow cover with a remote pocket is perfect for keeping your living space organized and stylish. The Cushion Keeper not only provides a comfortable place to rest but also ensures that your remote control is always within reach. Using simple double crochet stitches, this project is a wonderful introduction to crochet accessories.
This pattern is suitable for anyone with basic crochet skills. It offers the opportunity to practice your double crochet and gain confidence in assembly techniques, all while creating a practical home accessory.
Why You’ll Love This Pillow Cover
- Functional design – the remote pocket keeps everything organized.
- Quick to make – you can complete it in about 4–5 hours.
- Easy assembly – straightforward steps ensure a fun experience.
- Customizable – use any yarn color to suit your decor.
Is This Pattern Good for Beginners?
Absolutely! This pattern uses basic stitches and straightforward assembly techniques, making it perfect for crochet beginners looking to enhance their skills.
Crochet Abbreviations (US Terms)
- ch – chain
- dc – double crochet
- sl st – slip stitch
- st(s) – stitch(es)
- RS – right side
- WS – wrong side
Gauge and Finished Size
- Finished dimensions:
- Pillow Cover: 45 × 45 cm (18 × 18 in)
- Pocket: 15 × 20 cm (6 × 8 in)
- Gauge: 14 dc and 8 rows in pattern = 10 cm (4 in).
Step-by-Step Instructions
The Main Pillow Cover
The main part of the pillow is made using a simple foundation chain followed by double crochet stitches.
- Foundation Chain: Ch 61.
- Row 1: Dc in the 4th ch from the hook and in each ch across (59 sts). Turn.
- Row 2: Ch 3 (counts as 1 dc), dc in each st across (59 sts). Turn.
- Rows 3–18: Repeat Row 2 (total of 18 rows).
- Bind Off: Fasten off, leaving a long tail for assembly.
The Pocket
The pocket provides a discrete place to store your remote.
- Foundation Chain: Ch 34.
- Row 1: Dc in the 4th ch from the hook and in each ch across (32 sts). Turn.
- Row 2: Ch 3, dc in each st across (32 sts). Turn.
- Rows 3–11: Repeat Row 2 (total of 11 rows).
- Bind Off: Fasten off, leaving a long tail for assembly.
Assembly
This step involves putting all parts together.
- Aligning the Layers: Place the pillow cover RS up. Position the pocket approximately 5 cm (2 in) from the bottom edge, aligning the bottom of the pocket.
- Sewing the Pocket: With the long tail from the pocket, sew along three sides of the pocket to attach it to the cover (the bottom remains open). Ensure you can easily slide a remote inside.
- Folding and Seaming: Fold the pillow cover in half (RS facing each other) to create a rectangle. Sew the side seams shut, leaving the top open for the pillow insert.
- Turn it Inside Out: Once seams are secure, turn the pillow cover right side out.
- Insert Pillow: If you’re using stuffing, add the fiberfill. Otherwise, place the pillow form inside.
- Closure: Fold down the top opening and either stitch it closed or secure it with the button on one side.
Beginner Tips for a Neat Pillow Cover
- Use stitch markers to keep your place in rows.
- Count your stitches regularly to maintain consistency.
- Manage your tension to avoid loose or tight stitches.
Common Mistakes (and How to Fix Them)
- My stitches are too tight. – This can make your project hard to work with. Relax your grip on the yarn while working.
- The pocket isn’t flat. – Check your stitch counts; uneven counting can lead to wonky shapes.
- The pillow isn’t connecting well. – Ensure you secure your pocket properly and check that all seams are stitched tightly.
How to Care for Your Pillow Cover
Wash gently in cold water and lay flat to dry to maintain the shape of your pillow cover. Avoid bleach or harsh detergents for best results.
FAQ
How do I resize my pillow cover?
To resize, adjust the foundation chain and repeat rows according to your desired dimensions. Just make sure to maintain your gauge.
Can I make this in different colors?
Absolutely! This pattern works beautifully in any color combination. Choose colors that fit your decor or are fun and vibrant.
How should I clean my crochet pillow cover?
It’s best to wash your crochet pillow cover gently in cold water and lay it flat to dry to keep it looking its best.
Looking for more ideas? Check out our collection of lovely blankets.
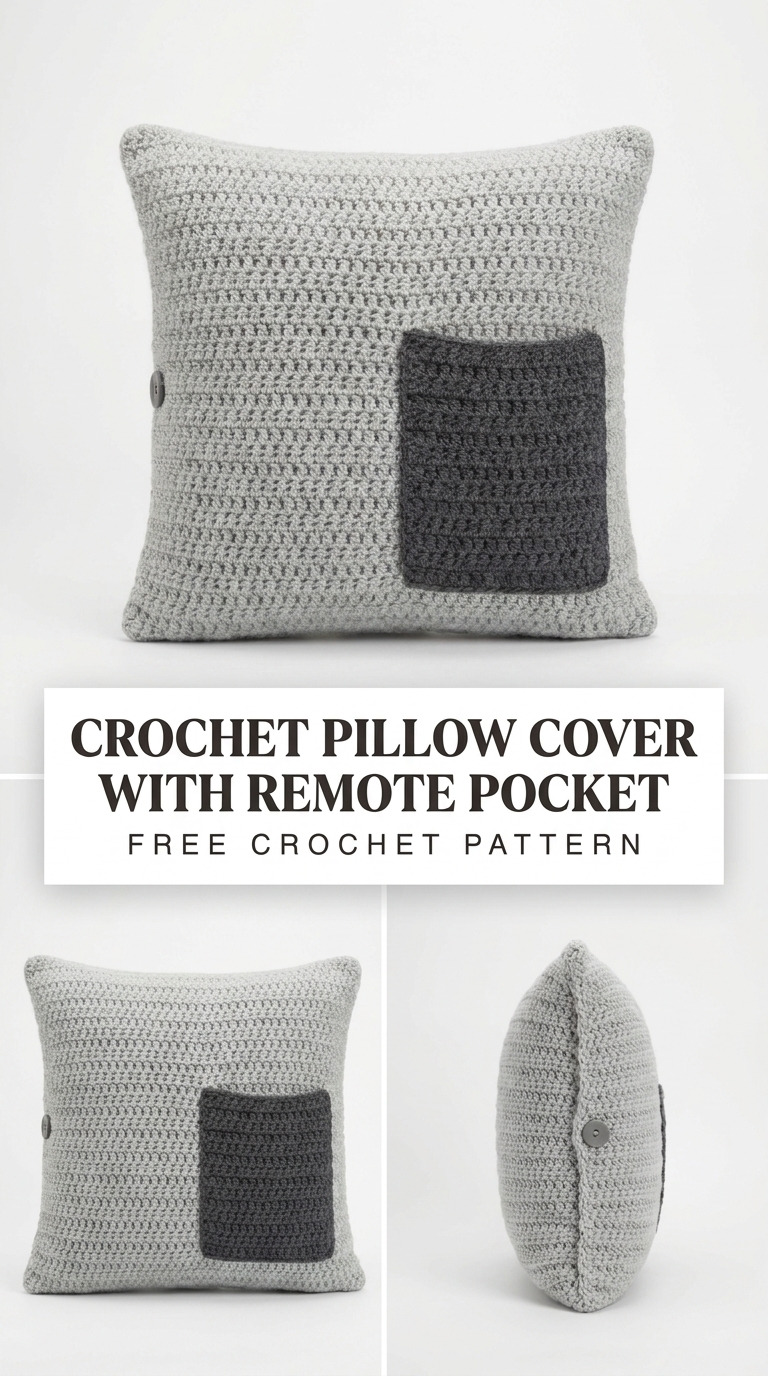
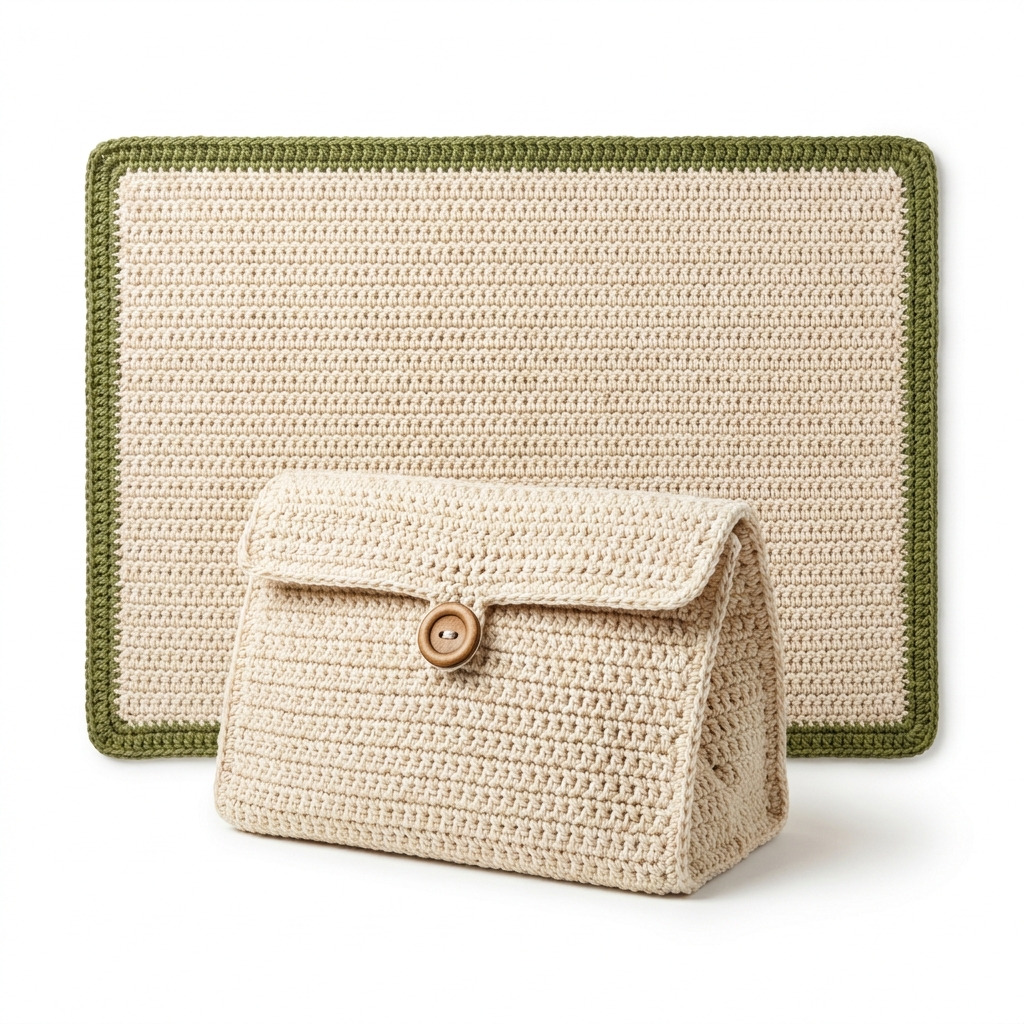
Image shown for inspiration — your finished result may vary slightly.