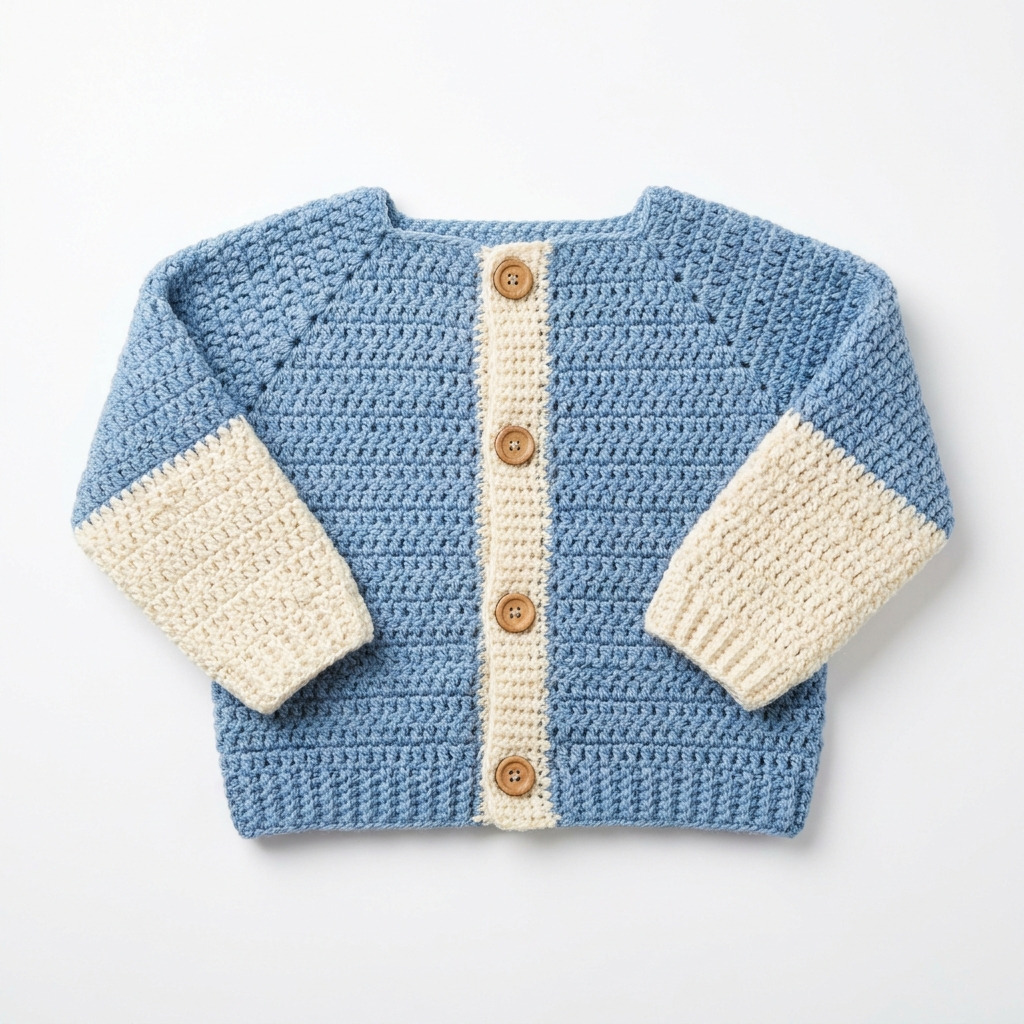
This adorable crochet toddler cardigan features a cozy design, perfect for layering during cool weather. The cardigan is finished with charming wooden buttons for added style and ease of dressing. You’ll enjoy crafting this simple project using basic double crochet and single crochet stitches, making it satisfying to complete.
This pattern is suitable for crocheters with basic skills. You’ll gain experience in working large pieces and sewing them together, which is a fantastic way to build your crochet confidence. Let’s get started!
Why You’ll Love This Cardigan
- Fun and rewarding – create a cozy, practical garment for a little one.
- Easy customization – adjust sizes for your child as needed.
- Perfect for gift-giving – a thoughtful present for baby showers or birthdays.
- Classic style – wooden buttons add charm and visual interest.
Is This Pattern Good for Beginners?
Absolutely! This cardigan uses simple stitches and straightforward assembly, making it a great choice for beginners. You’ll get to practice foundational skills in a fun project.
Crochet Abbreviations (US Terms)
- ch – chain
- dc – double crochet
- sl st – slip stitch
- st(s) – stitch(es)
- sc – single crochet
- sk – skip
- inc – increase (2 dc in the same stitch)
- dec – decrease
Size and Gauge
- Finished dimensions:
- 2T: Chest 61 cm (24 in), length 38 cm (15 in)
- 3T: Chest 66 cm (26 in), length 41 cm (16 in)
- 4T: Chest 71 cm (28 in), length 43 cm (17 in)
- Gauge: 14 dc × 8 rows = 10 cm (4 in) in double crochet
How to Crochet a Toddler Cardigan (Step by Step)
Body:
The body of the cardigan is worked in one piece.
- Foundation Row: Ch 66 (for sizes 3T: ch 70, for sizes 4T: ch 74).
- Row 1: Dc in the 4th ch from the hook, dc across (63 sts, sizes 3T: 67 sts, sizes 4T: 71 sts).
- Row 2: Ch 3 (this counts as your first dc), dc in each st across (63 sts, sizes 3T: 67 sts, sizes 4T: 71 sts).
- Rows 3–12: Repeat Row 2 for 10 more rows (63 sts, sizes 3T: 67 sts, sizes 4T: 71 sts).
- Change to Contrast Color (Cream):
- Row 13: With cream color, ch 3, dc across (63 sts, sizes 3T: 67 sts, sizes 4T: 71 sts).
- Rows 14–15: Repeat Row 2 with cream (63 sts, sizes 3T: 67 sts, sizes 4T: 71 sts).
Sleeves (make 2):
The sleeves are also worked separately.
- Foundation Row: Ch 36 (for sizes 3T: ch 40, sizes 4T: ch 44).
- Row 1: Dc in the 4th ch from the hook, dc across (33 sts, sizes 3T: 37 sts, sizes 4T: 41 sts).
- Rows 2–10: Ch 3, dc in each st across (33 sts, sizes 3T: 37 sts, sizes 4T: 41 sts).
- Change to Contrast Color (Cream):
- Row 11: Ch 3, dc across (33 sts, sizes 3T: 37 sts, sizes 4T: 41 sts).
- Rows 12–13: Repeat Row 2 with cream (33 sts, sizes 3T: 37 sts, sizes 4T: 41 sts).
Assembly:
The assembly involves joining the body and sleeves together.
- Lay the body flat, fold the edges at the bottom of the body to form armholes.
- Using a sl st, join the sleeves to the body, ensuring the seam aligns with the armhole opening.
- Seam the sleeves together, leaving a portion open for the wrist.
Button Placket:
We’ll create a way to attach the buttons.
- With the main color, ch 1 and turn the cardigan inside out.
- Sc along the edge of the cardigan body for 2.5 cm (1 in); this creates the button placket.
- Mark positions for 4 buttons, evenly spaced.
- Make button holes by ch 2, sk 2 sc before continuing to sc along the rest of the edge.
- Attach wooden buttons on the opposite side using yarn and a tapestry needle.
Finishing:
Once all pieces are joined, we’ll complete the project.
- Weave in all ends securely.
- Block the cardigan using blocking mats and pins to achieve the desired shape.
Beginner Tips for a Neat Cardigan
- Use stitch markers to keep track of the beginning of rows or to mark buttonhole placements.
- Count your stitches regularly to avoid mistakes and make sure you stay on track.
- Manage your tension: consistent tension is key to evenly shaped pieces.
Common Mistakes (and How to Fix Them)
- “My stitches are too tight.” – This may make your work difficult. Try using a larger hook until you get comfortable.
- “I can’t seem to match the stitch count.” – Ensure you’re not skipping stitches or adding extra where it isn’t needed; backtrack to find the error.
- “The piece is curling.” – This could be due to too-tight stitches. Relax your tension a bit or block the finished piece to flatten it.
How to Care for Your Cardigan
Hand wash in cool water and lay the cardigan flat to dry. This will help maintain its shape and keep it looking great for longer.
FAQ
How do I resize my cardigan?
To resize, simply add or remove stitches on the foundation chain to achieve your desired width and add rows for length.
What yarn substitutions can I use?
You can use any worsted weight yarn that matches the gauge, including cotton or acrylic blends, keeping in mind that different fibers will affect the drape and feel.
How can I ensure my buttons stay secure?
Sew the buttons on firmly using the tapestry needle, and for added security, you can reinforce the attachments with a small knot or extra yarn.
Looking for more ideas? Check out our collection of lovely blankets.
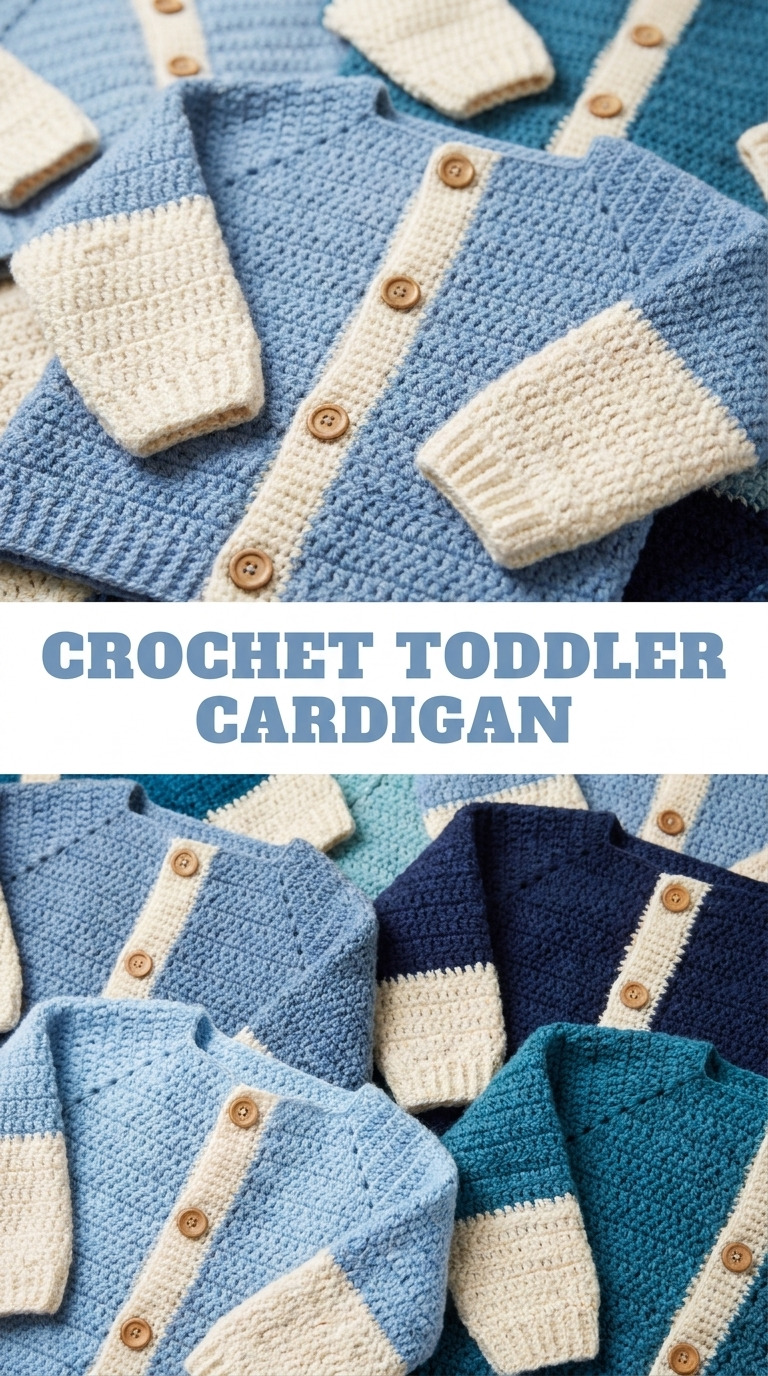
Image shown for inspiration — your finished result may vary slightly.