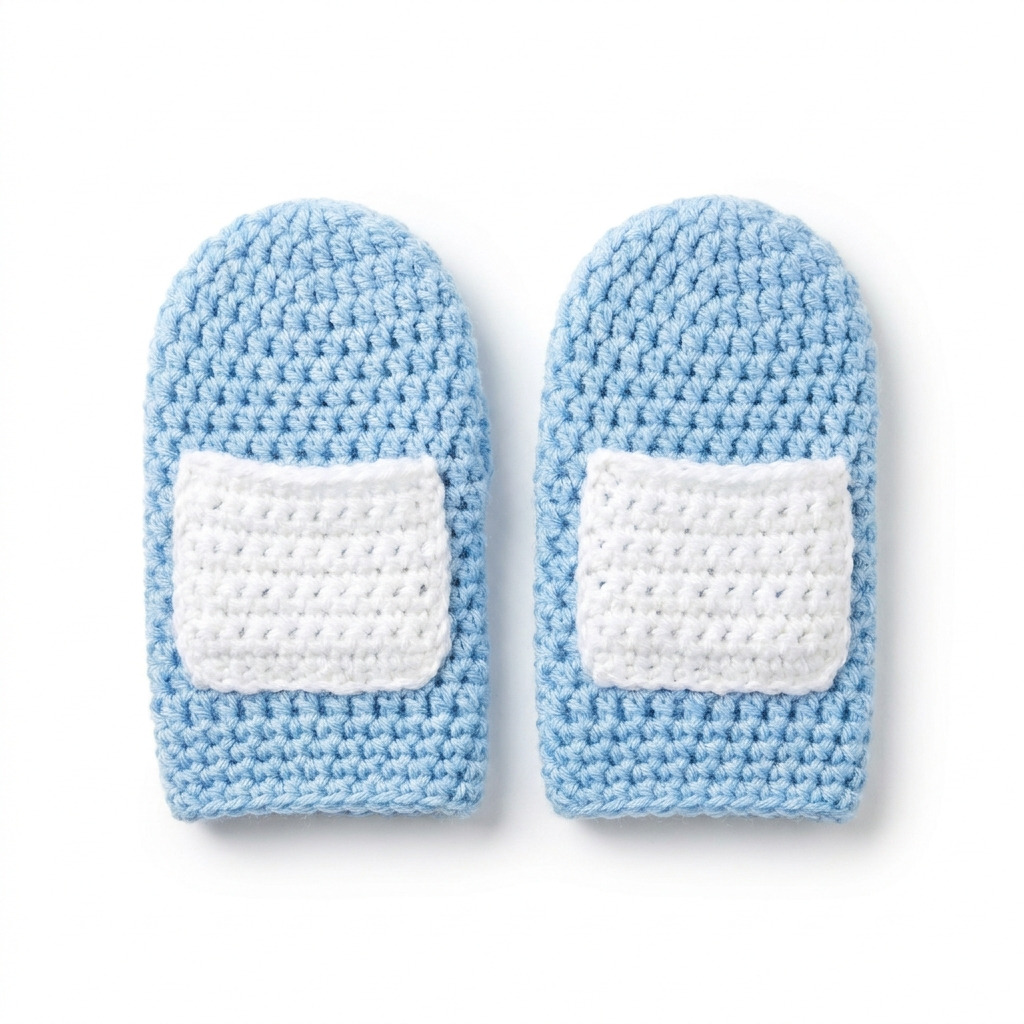
These adorable toddler mittens are designed to keep little hands warm while providing a convenient pocket for tissues, making them perfect for chilly weather and sniffles. This simple crochet project uses basic stitches to create cozy mittens that are both functional and fun.
This pattern is suitable for beginners, allowing you to practice your double crochet and single crochet skills while adding a useful tissue pocket. Let’s dive into this delightful crochet adventure together!
Why You’ll Love These Mittens
- Convenient tissue pocket – perfect for little noses that need a quick wipe.
- Quick to make – ideal for a cozy gift in just a few hours.
- Versatile colors – customize with your favorite shades for every toddler.
- Beginner-friendly – a great project to practice essential crochet skills.
Is This Pattern Good for Beginners?
Absolutely! You’ll work primarily with double crochet and single crochet, and the steps are straightforward. With a bit of practice, you’ll be crafting charming mittens in no time!
Crochet Abbreviations (US Terms)
- ch – chain
- dc – double crochet
- sl st – slip stitch
- sc – single crochet
- st – stitch
- inc – increase (2 stitches in 1 stitch)
Size and Gauge
- Finished Mitten Dimensions: Approximately 12.7 cm × 7.6 cm (5 in × 3 in).
- Tissue Pocket Dimensions: Approximately 7.6 cm × 5.1 cm (3 in × 2 in).
- Gauge: 12 dc and 7 rows = 10 cm (4 in) in double crochet.
Step-by-Step Instructions
Part 1: Making the Mittens
Mittens (Make 2):
- Foundation Row: Ch 20, join to form a ring with a sl st, being careful not to twist (20 sts).
- Row 1: Ch 3 (counts as first dc), dc in each st around, join with sl st to top of ch 3 (20 sts).
- Rows 2–6: Ch 3, dc in each st around, join with sl st to top of ch 3 (20 sts). Repeat 5 additional times for a total of 6 rows.
- Row 7: Ch 1, sc in each st around, join with sl st (20 sts).
- Row 8: Ch 1, sc in first 10 sts, ch 10 (this will be the tissue pocket opening), skip next 10 sts, join with sl st in first sc (20 sts).
- Row 9: Ch 3, dc in first 10 sc, 10 dc in the ch-10 space, continue dc in remaining 10 sc, join with sl st (30 sts).
- Rows 10–13: Ch 3, dc in each st around, join with sl st (30 sts). Repeat 4 times.
- Row 14: Ch 1, sc in each st around, join with sl st (30 sts).
- Row 15: Ch 1, sc in first 10 sts, sc2tog twice, sc in the next 10 sts, join with sl st (28 sts).
- Row 16: Ch 1, sc in first 9 sts, sc2tog twice, sc in next 9 sts, join with sl st (26 sts).
- Row 17: Ch 1, sc in first 8 sts, sc2tog twice, sc in next 8 sts, join with sl st (24 sts).
- Row 18: Ch 1, sc in first 7 sts, sc2tog twice, sc in next 7 sts, join with sl st (22 sts).
- Row 19: Ch 1, sc in first 6 sts, sc2tog twice, sc in next 6 sts, join with sl st (20 sts).
- Row 20: Ch 1, sc in first 5 sts, sc2tog twice, sc in next 5 sts, join with sl st (18 sts).
Fasten off and leave a long tail for sewing.
Part 2: Making the Tissue Pocket
- Tissue Pocket:
- With Color B, ch 10.
- Row 1: In 2nd ch from hook, sc, sc in the next 8 chs (9 sts).
- Row 2: Ch 1, turn, sc in each st across (9 sts).
- Repeat Row 2 for 4 more rows. (You should have 5 total rows.)
- Finishing the Pocket:
- Fold the pocket piece in half and sew along the sides, leaving the top open.
- Attach this pocket securely to the mitten where the chain was created (Row 8).
Assembly & Finishing
- Joining: Sew the bottom edge of the tissue pocket to the mitten. Ensure it is centered properly.
- Edging: To add a polished look, you can work a single crochet border around the wrist section of the mitten if desired.
- Weaving in Ends: Use a tapestry needle to weave in all ends securely.
- Blocking: Lightly steam block the mittens if needed, being careful not to flatten the stitches.
Beginner Tips for Neat Mittens
- Use stitch markers to track rounds.
- Count your stitches often to avoid mistakes.
- Manage your tension for even stitches; practice makes perfect!
Common Mistakes (and How to Fix Them)
- “My stitches are too tight.” – This can happen if your tension is too firm. Relax your grip while crocheting.
- “The mitten is too big.” – If it’s too loose, consider starting with fewer foundation chains for a snugger fit.
- “My tissue pocket is uneven.” – Ensure you are following the stitch count, and check for any missed stitches.
How to Care for Your Mittens
Hand wash or machine wash on a gentle cycle. Lay flat to dry and avoid ironing to maintain shape and stitch definition.
FAQ
How do I resize my mittens?
To resize, you can adjust the foundation chain by adding or removing stitches in increments of four to six for a looser or tighter fit.
Can I use different yarn types?
Yes, you can use other worsted weight yarns, but be mindful of your gauge to ensure proper sizing.
How should I wash the mittens?
Wash by hand or use a gentle cycle in your machine, and be sure to lay them flat to dry to retain their shape.
Looking for more ideas? Check out our collection of lovely blankets.
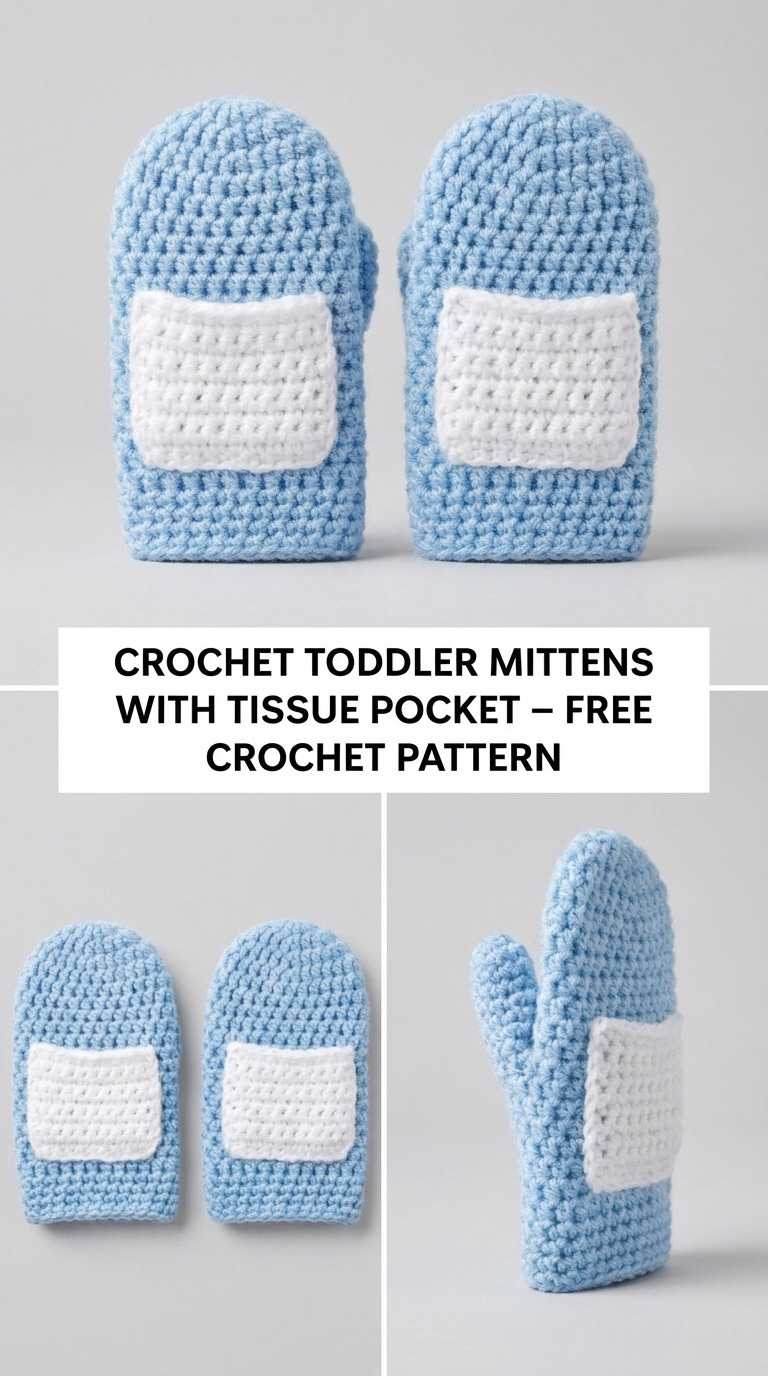
Image shown for inspiration — your finished result may vary slightly.