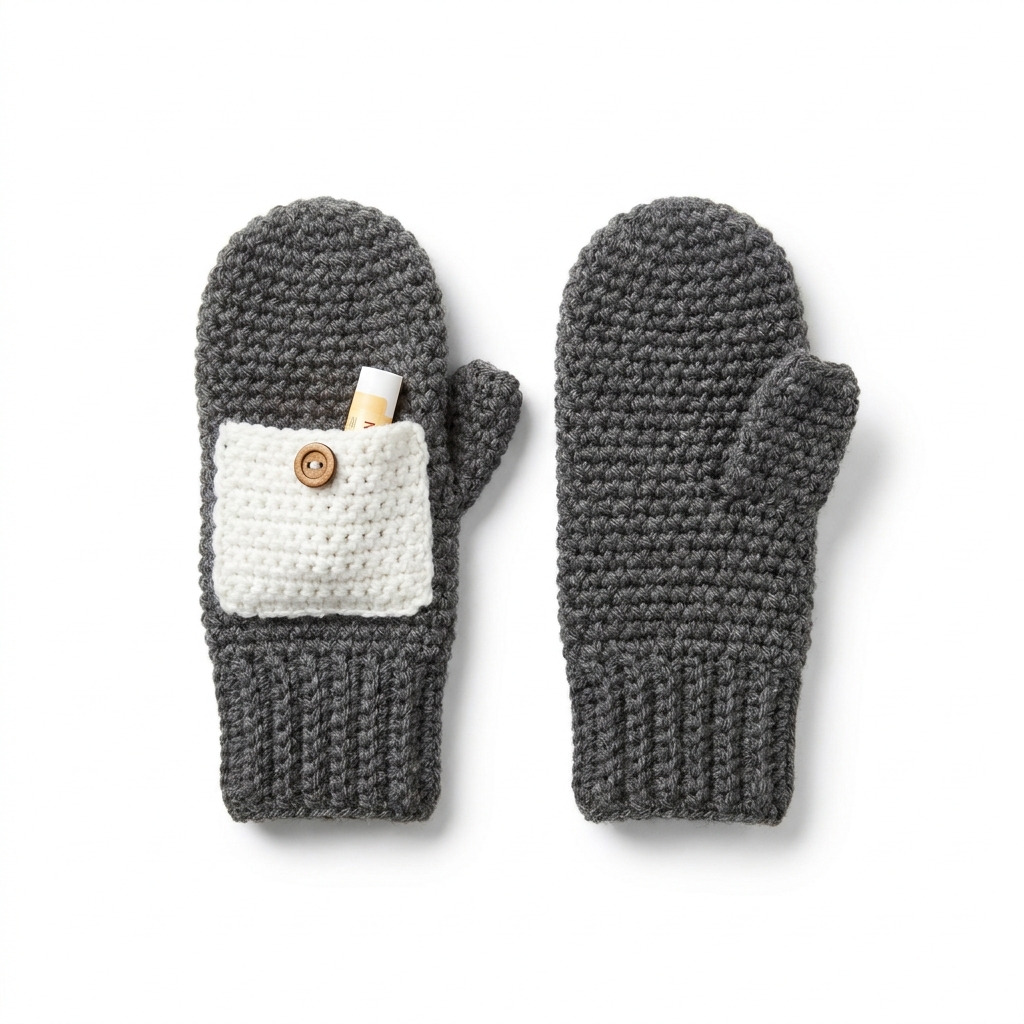
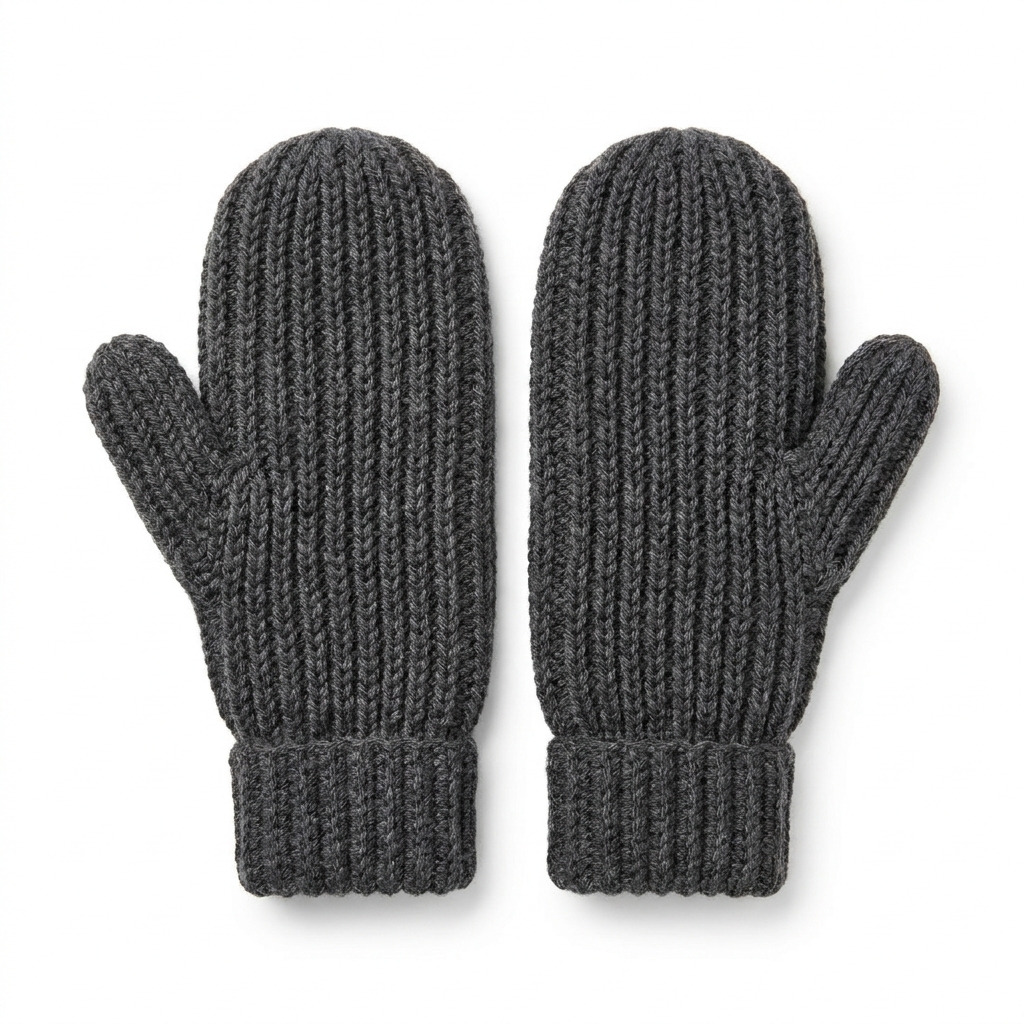
This free crochet ribbed mittens pattern for adults is great for keeping your hands warm on chilly days. With a cozy textured stitch, these mittens are both functional and stylish. You’ll be working with basic stitches like half double crochet (hdc) and some fun post stitches that add an extra touch.
This project is suitable for beginners and seasoned crocheters alike. You’ll gain experience with ribbed patterns and learn how to work thumb holes effectively as you create these easy mittens.
Why You’ll Love These Mittens
- Cozy warmth – perfect for cold weather and outdoor activities.
- Quick to make – between 2-3 hours total, great for gifts or personal use.
- Easy to customize – try different colors or add stripes for a unique touch.
- Versatile fit – designed to fit most adult hands comfortably.
Is This Pattern Good for Beginners?
Absolutely! This pattern uses basic stitches and techniques. You’ll learn new skills while working on a practical project.
Crochet Abbreviations (US Terms)
- ch – chain
- sl st – slip stitch
- sc – single crochet
- hdc – half double crochet
- dc – double crochet
- FPDC – front post double crochet
- BPDC – back post double crochet
- st(s) – stitch(es)
Special Stitches
- FPDC: Yarn over, insert hook around the post of the stitch from the front, yarn over again and pull up a loop (3 loops on hook), yarn over and pull through 2 loops, yarn over and pull through the remaining 2 loops.
- BPDC: Yarn over, insert hook around the post of the stitch from the back, yarn over again and pull up a loop (3 loops on hook), yarn over and pull through 2 loops, yarn over and pull through the remaining 2 loops.
Size and Gauge
- Finished mittens: approx. 20.3 × 11.4 cm (8 × 4.5 in)
- Gauge: 14 stitches and 18 rows in ribbed pattern = 10 cm (4 in)
How to Crochet Ribbed Mittens (Step by Step)
Cuff (Make 2)
The cuff is worked flat and then attached to the hand later.
- Ch 12.
- Row 1: Hdc in 2nd ch from hook and across (11 hdc).
- Row 2: Ch 1, turn. *FPDC in next st, BPDC in next st; repeat from * across (11 sts).
- Row 3–14: Repeat Row 2 (11 sts each row).
- Row 15: Ch 1, turn. Sl st in each st across (11 sl sts).
- Fasten off, leaving a long tail for seaming.
Hand
The hand section uses a ribbed pattern for flexibility and style.
- Ch 24.
- Row 1: Hdc in 2nd ch from hook and across (23 hdc).
- Row 2-3: Ch 1, turn. FPDC in next st, BPDC in next st; repeat from * across (23 sts).
- Row 4: Ch 1, turn. Hdc in each st across (23 hdc).
- Row 5: Ch 1, turn. Repeat Row 2 (23 sts).
- Row 6: Ch 1, turn. Hdc in each st across (23 hdc).
- Row 7: Ch 1, turn. Repeat Row 2 (23 sts).
- Row 8–13: Repeat Row 4–7 (23 sts for each row).
- Row 14: Ch 1, turn. Hdc in next 12 sts, ch 8 (to create hole for thumb), skip 8 sts, hdc in last 3 sts (22 hdc).
- Row 15: Ch 1, turn. Hdc in each st across including thumb chain (30 hdc).
- Row 16–20: Repeat Row 2–6 (30 sts for each row).
Thumb (Make 2)
The thumb is worked separately and attached later for easy assembly.
- Ch 8.
- Row 1: Hdc in 2nd ch from hook and across (7 hdc).
- Row 2-3: Repeat Row 2 for cuff (7 sts).
- Row 4: Ch 1, turn. Hdc in each st across (7 hdc).
- Row 5: Ch 1, turn. Repeat Row 2 (7 sts).
- Row 6: Ch 1, turn. Hdc in each st across (7 hdc).
- Row 7: Ch 1, turn. Hdc in each st across (7 hdc).
- Row 8: Ch 1, turn. Hdc in each st across (7 hdc).
- Fasten off.
Assembly & Finishing
- Align the cuffs with the hand part. Using the long tail from the cuff, seam the cuff to the bottom of the hand part using a whip stitch.
- Position the thumb pieces correctly: insert each thumb into the side of the hand, allowing it to overlap the wrist section. Using the same method, attach the thumbs to the hand section securing them with whip stitches.
- Weave in all ends using the tapestry needle.
- Block mittens if necessary to enhance the stitch pattern.
Beginner Tips for a Neat Project
- Use stitch markers to mark the start of rounds and help keep track of your stitches.
- Count your stitches frequently to avoid losing track.
- Manage your tension to ensure your stitches are even and consistent.
Common Mistakes (and How to Fix Them)
- “My stitches are too tight.” – This may be caused by using a hook that’s too small. Try using a larger hook.
- “My mittens are too big.” – Check your gauge before starting. Make adjustments by decreasing your initial chains.
- “The piece is curling.” – This can happen if your tension is too tight. Loosen up a bit as you work.
How to Care for Your Mittens
To keep your mittens looking their best, wash them in cold water and lay them flat to dry. This will help maintain their shape. Avoid bleach as it can damage the fibers.
FAQ
How do I resize my mittens?
To resize, adjust the starting chain for the hand and cuff to make them shorter or longer. For a wider fit, you can increase the number of stitches in the foundation chain.
Can I use a different yarn weight?
Yes! Just ensure you adjust your hook size and check the gauge to match the dimensions.
How do I wash my mittens?
Wash in cold water and lay flat to dry. Avoid any bleach to keep the colors vibrant.
Looking for more ideas? Check out our collection of lovely blankets.
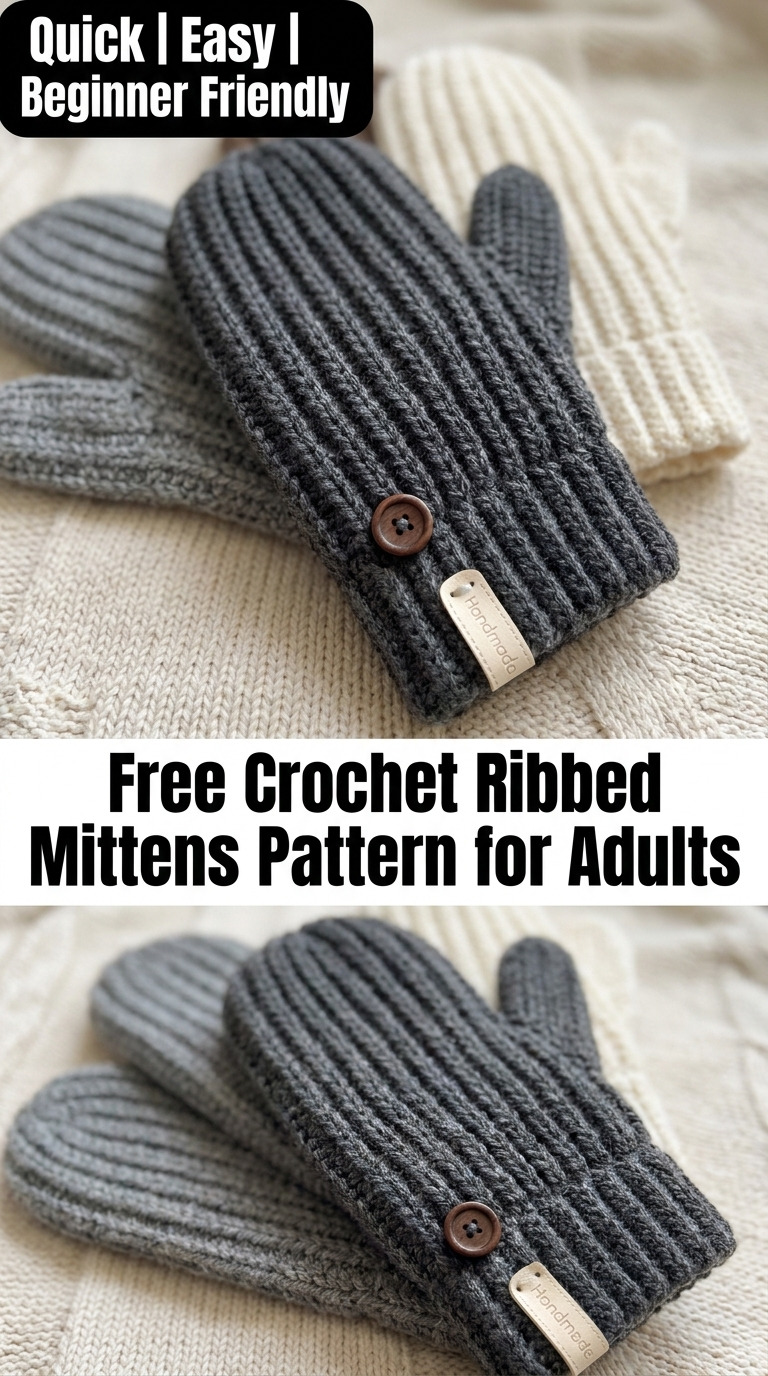
Image shown for inspiration — your finished result may vary slightly.